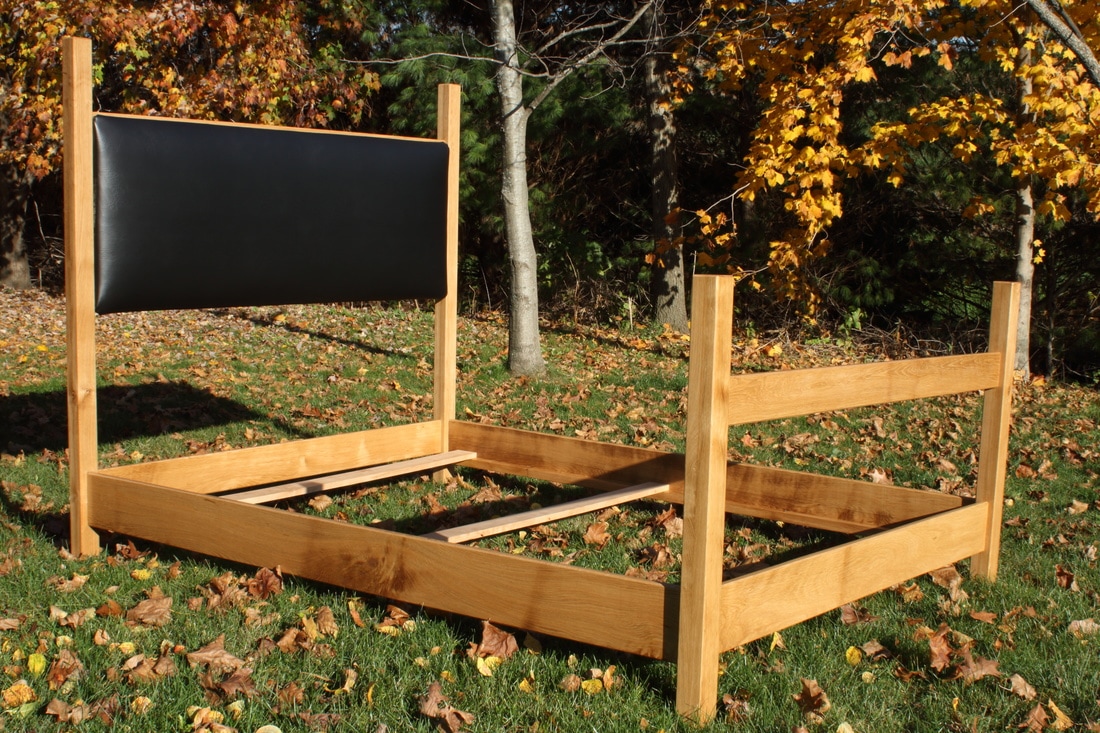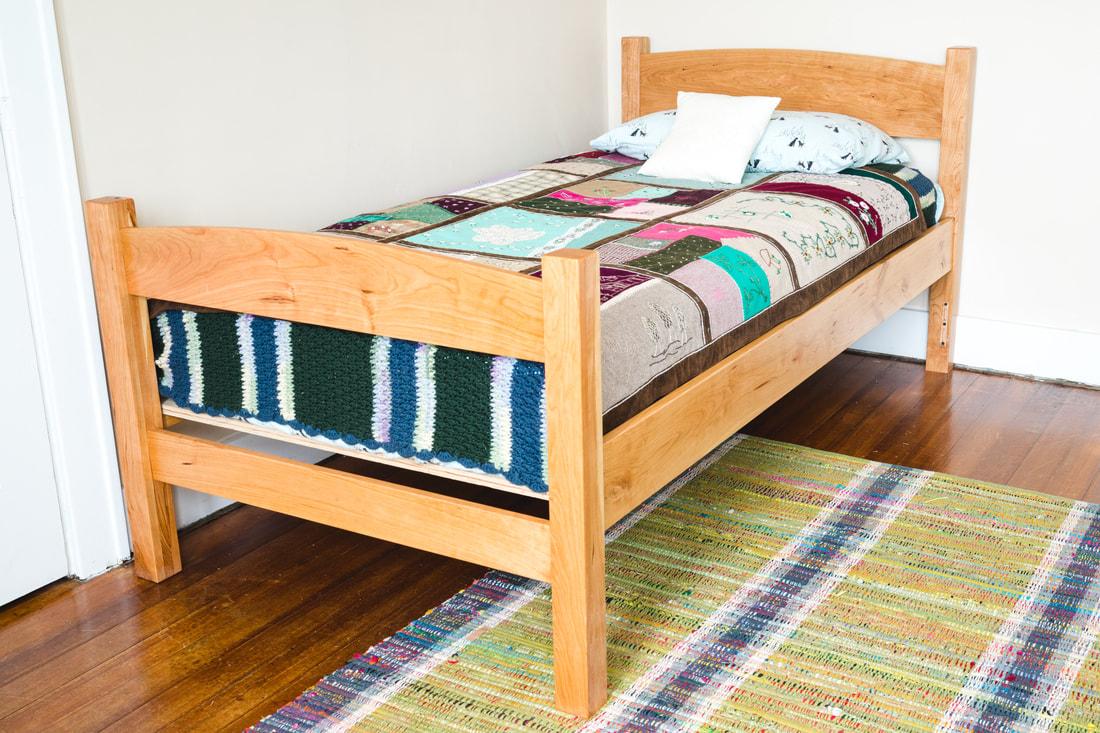
 I was commissioned by my sister in law to build a bed. It had very few requirements but she really wanted an upholstered headboard. "I've never done this before, but I'm pretty sure I'm awesome at it." One of my good friends told me this a few years ago. Ever since, I have applied this thought to hundreds of events in my life. At first, it sounds arrogant but for me its a deep rooted belief that I can do anything I set my mind to. Going into a new situation with this phrase in your head gives you the confidence to be successful. Let's build a bed with an upholstered headboard!
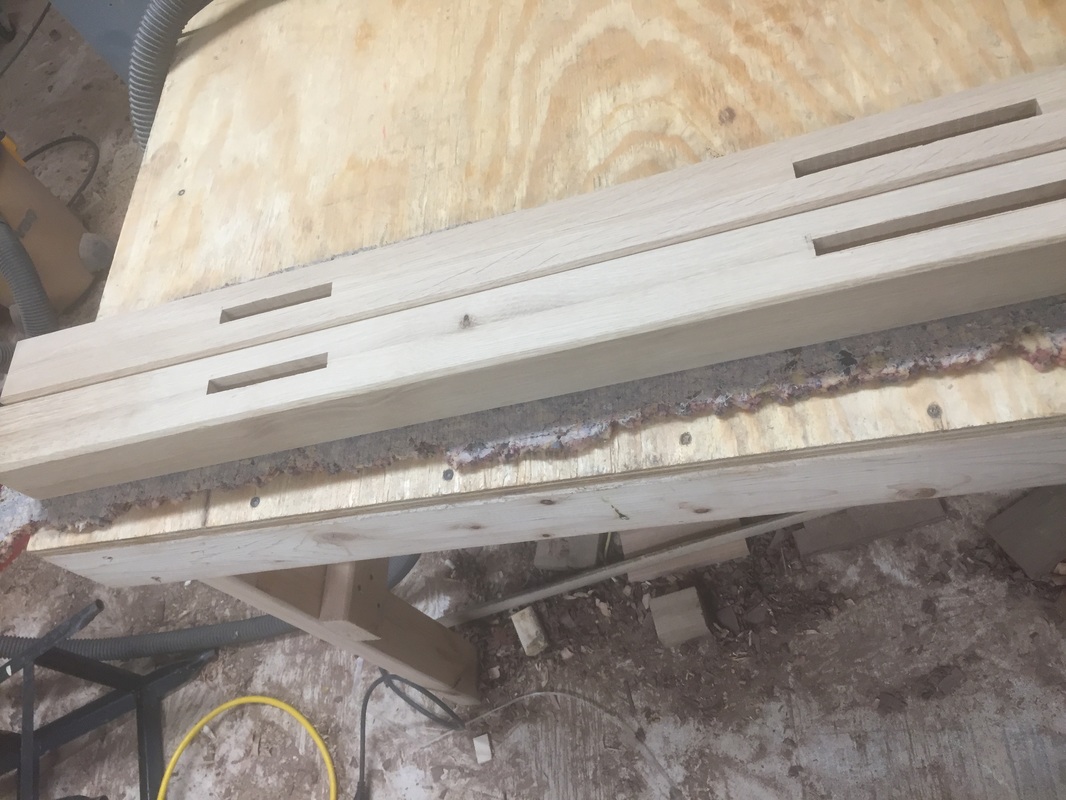
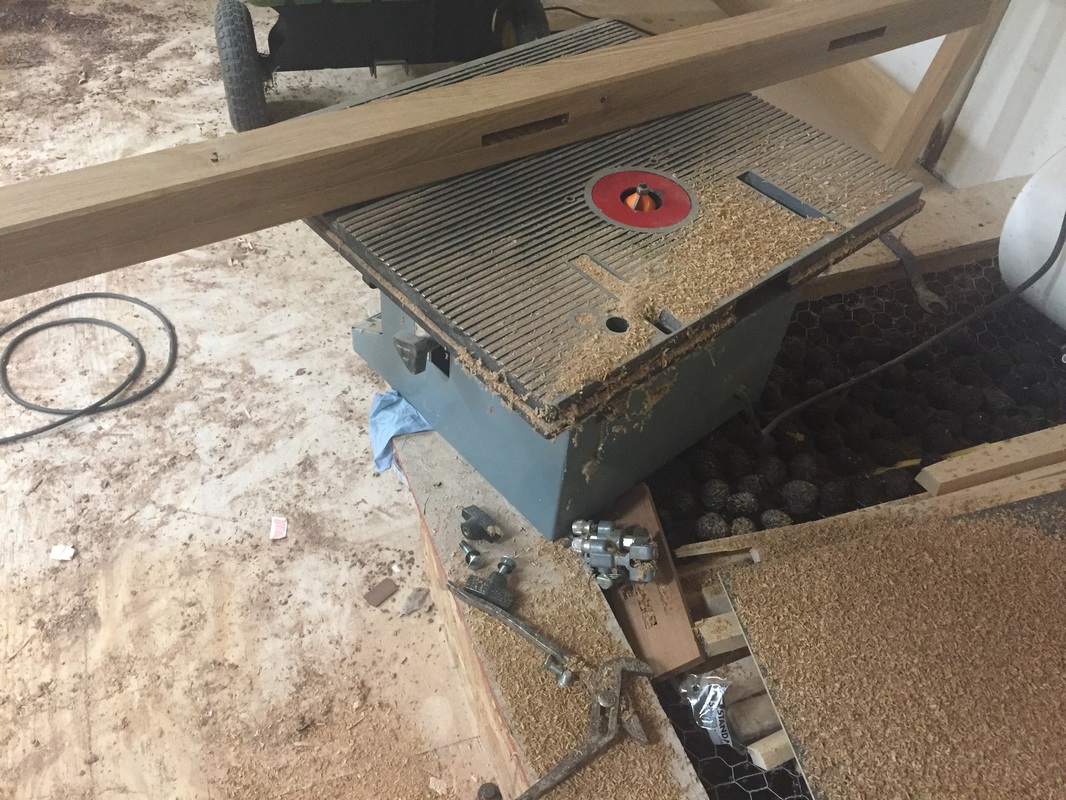
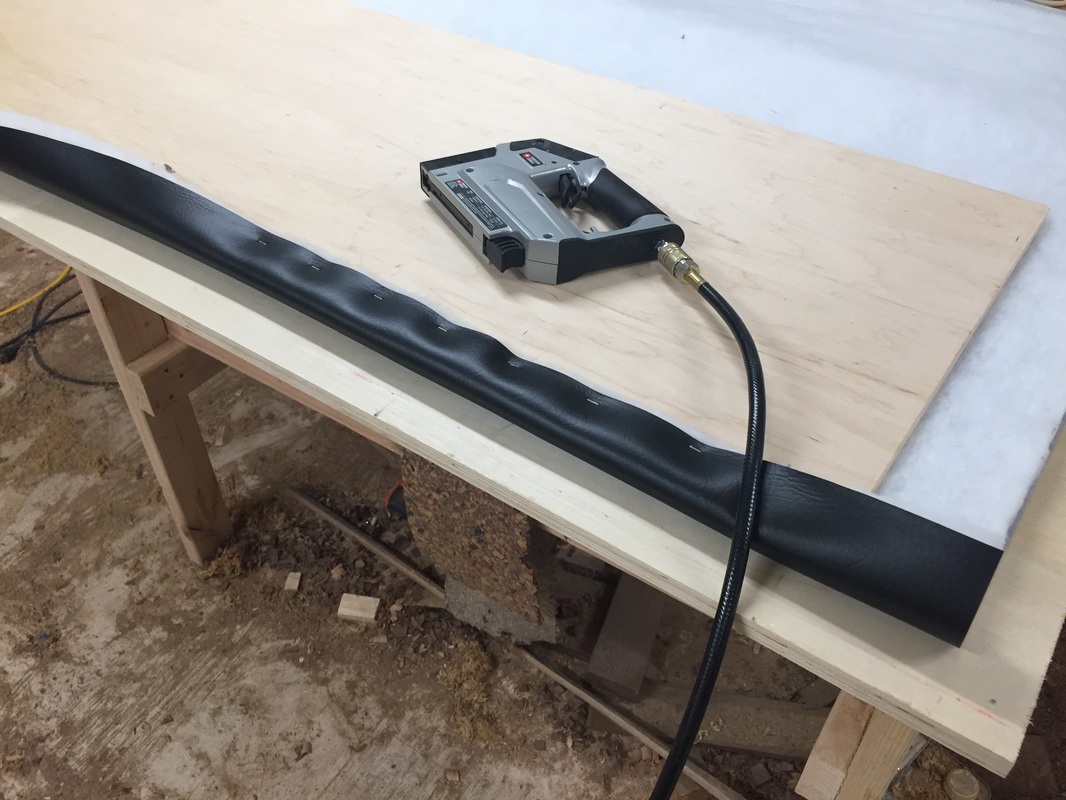
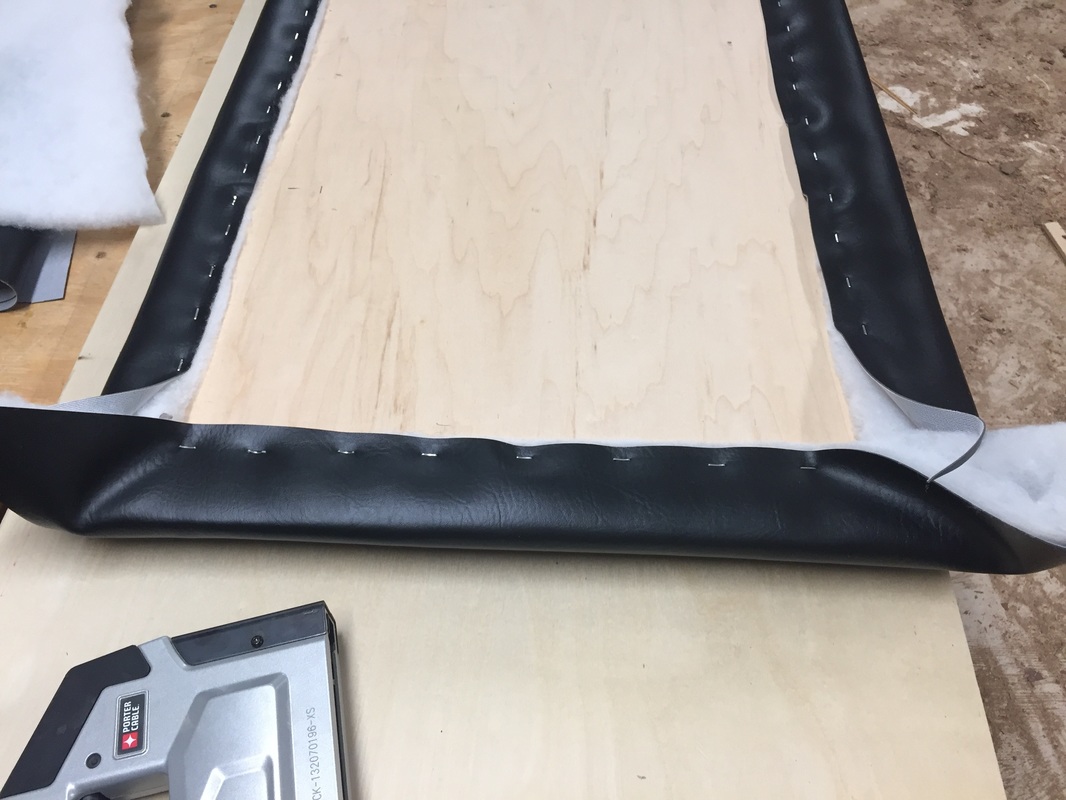
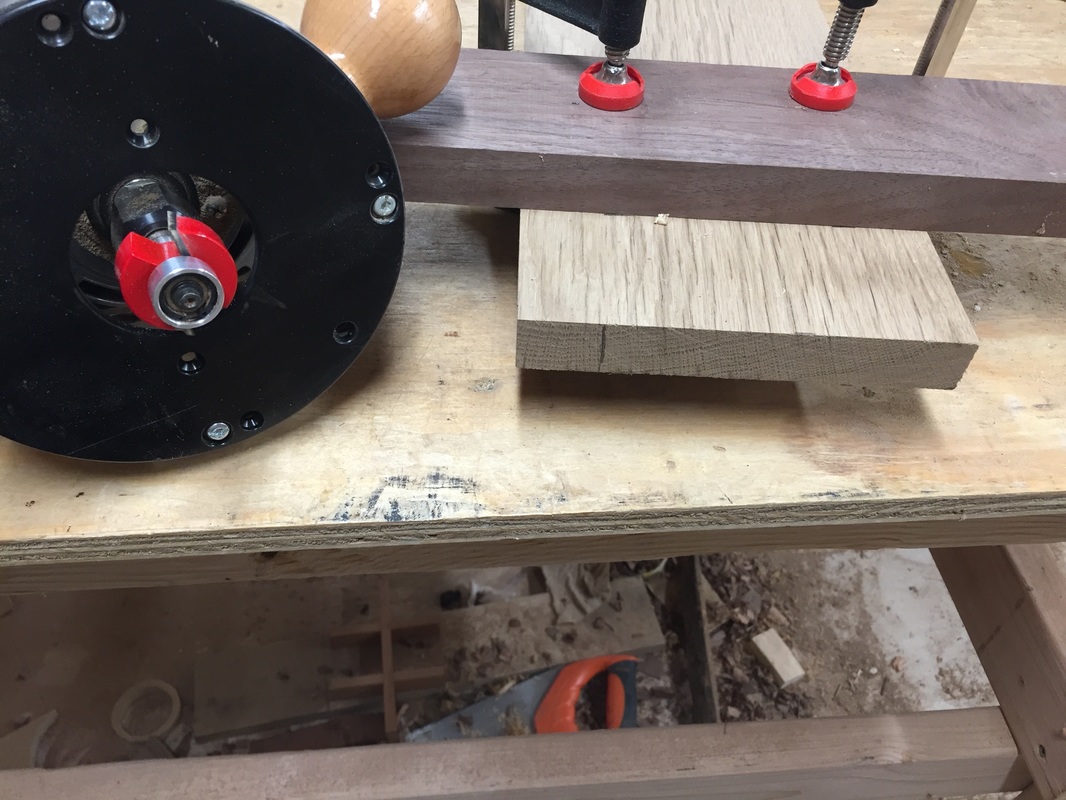
The wood for this build came from the Flood Farm. It is some burr oak from when the Oakfield tornado knocked down a bunch of trees. My father in law had it sawn and was sitting in their barn for almost 20 years. I'm not going to spend a whole lot of time on the joinery. It's a pretty simple mortise and tenon construction. I used a chamfer bit in the router table on all the edges. It leaves an edge thats sharp to the eyes but once sanded is soft to the touch. 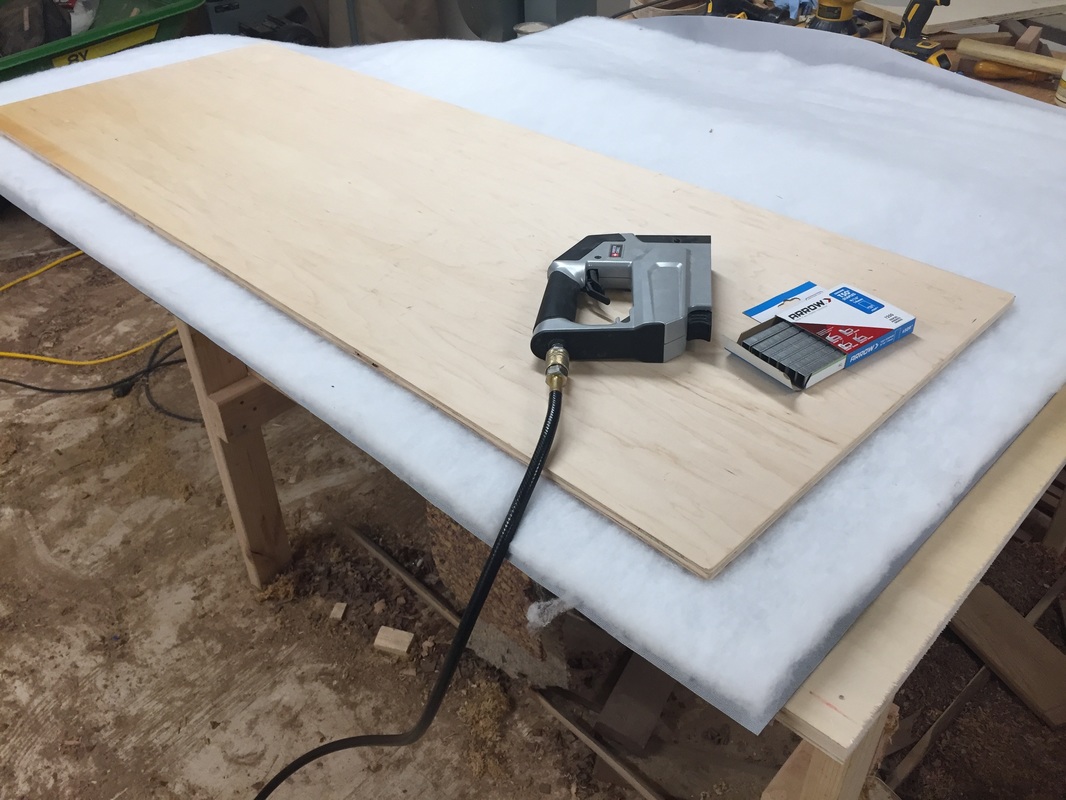 Let's learn something new! I researched upholstery a little bit on the internet. I'm probably doing something wrong here but I think it turned out pretty nice. If you know upholstery and you know a better way to do it, let me know. I used a pneumatic stapler with 9/16" T50 staples. This stapler came in a compressor kit I bought a few years ago or I probably wouldn't have a pneumatic one. A regular stapler could be used instead if you don't have a gun. The material is a very thick upholstery pleather I got from Joann Fabrics. They were pretty helpful in helping me get what I needed. This was the first time I intentionally went into a fabric store. I have to say, it wasn't as scary as I thought it would be.
I start by going along one long edge and working end to end stapling every few inches. When the first side is done, I transitions to he other. It's important to pull the fabric tight enough to take the wrinkles out, but not so tight that the staples cause ripples in the front. It took a little practice but I got the hang of it.
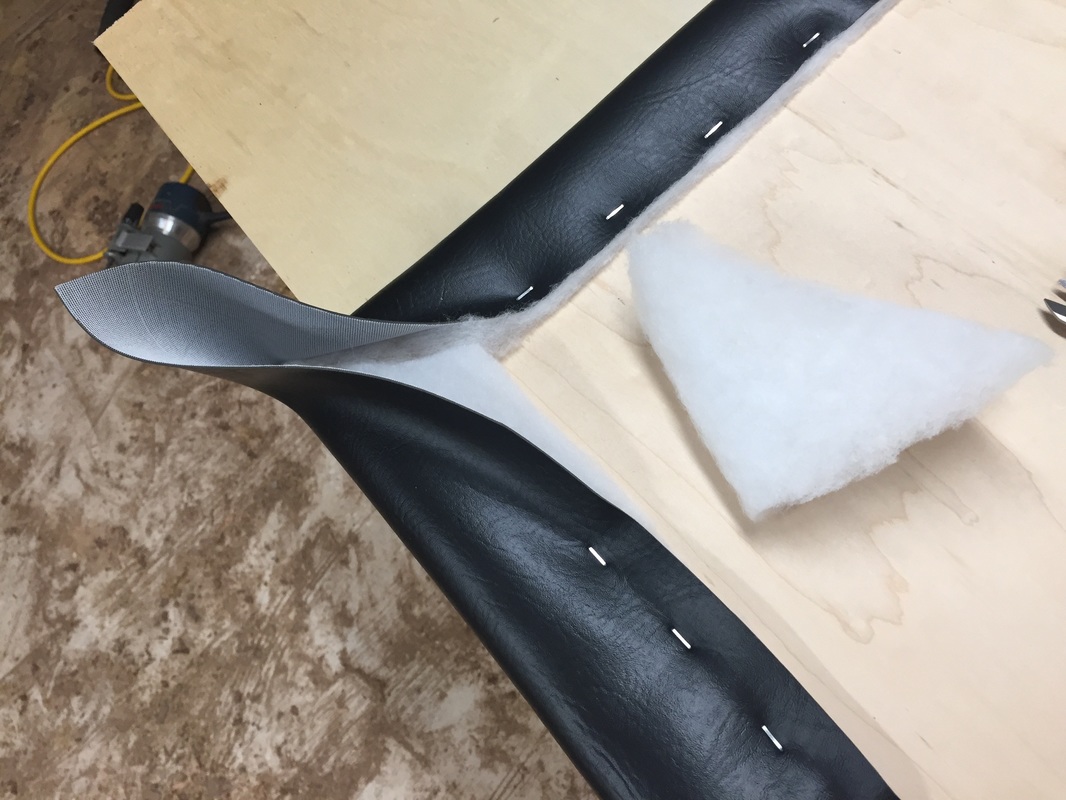
The short ends are stapled next and then it's on to the corners. The extra batting was removed to make shaping the corners go better. 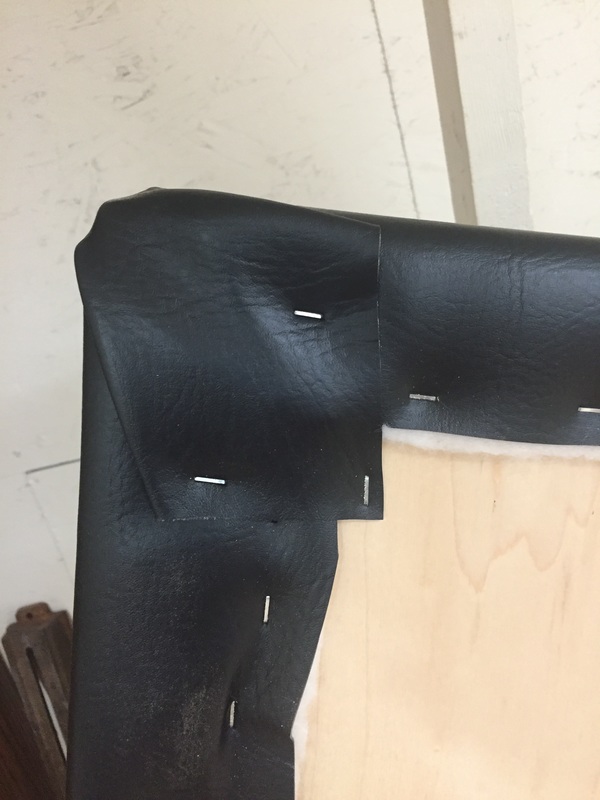 For the corners, I made sure the outside was smooth and stapled the very corner first. Then added two more staples to hold down the remaining material.
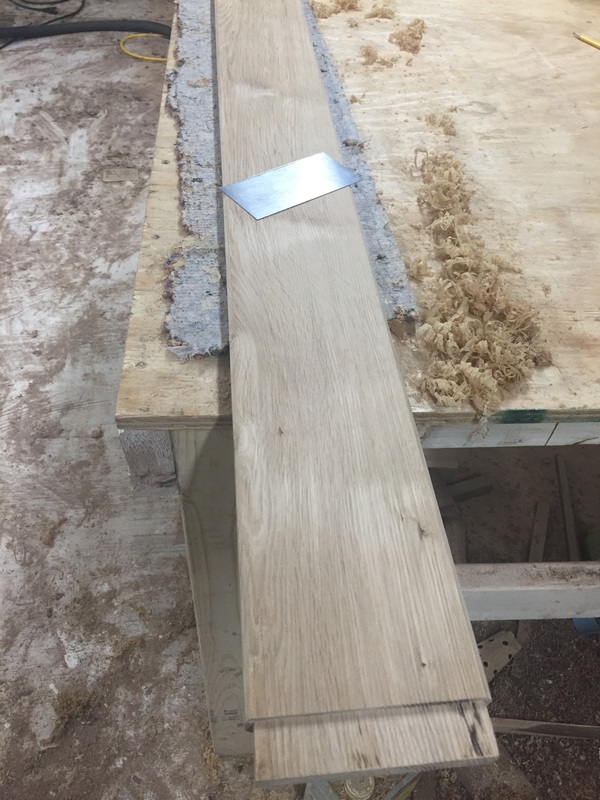
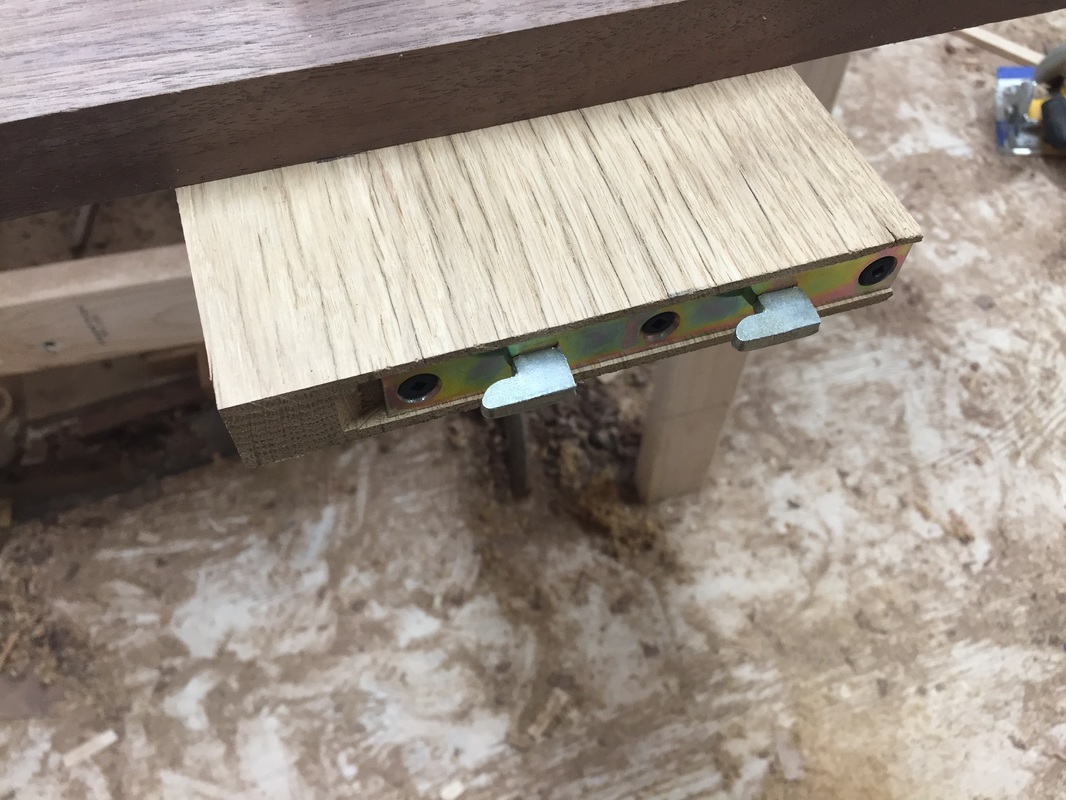
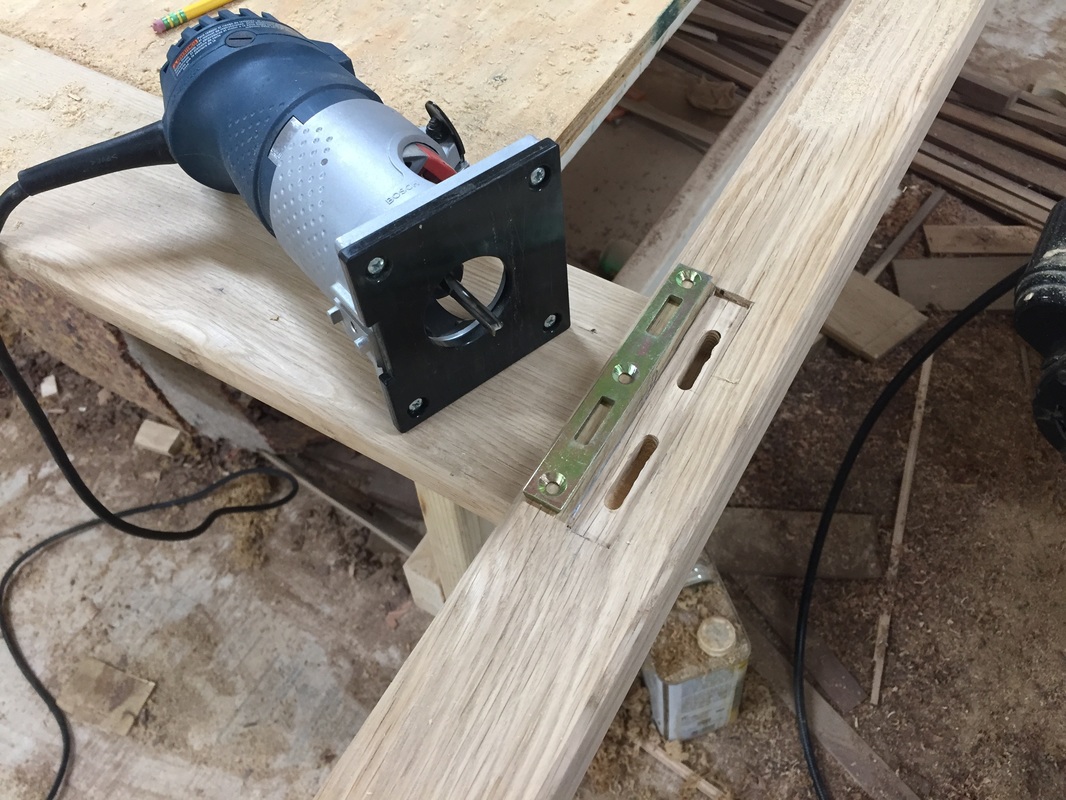 The rail hardware was cut in with a rabbeting bit and the end hardware was cut with the trim router and a 1/4" straight bit. 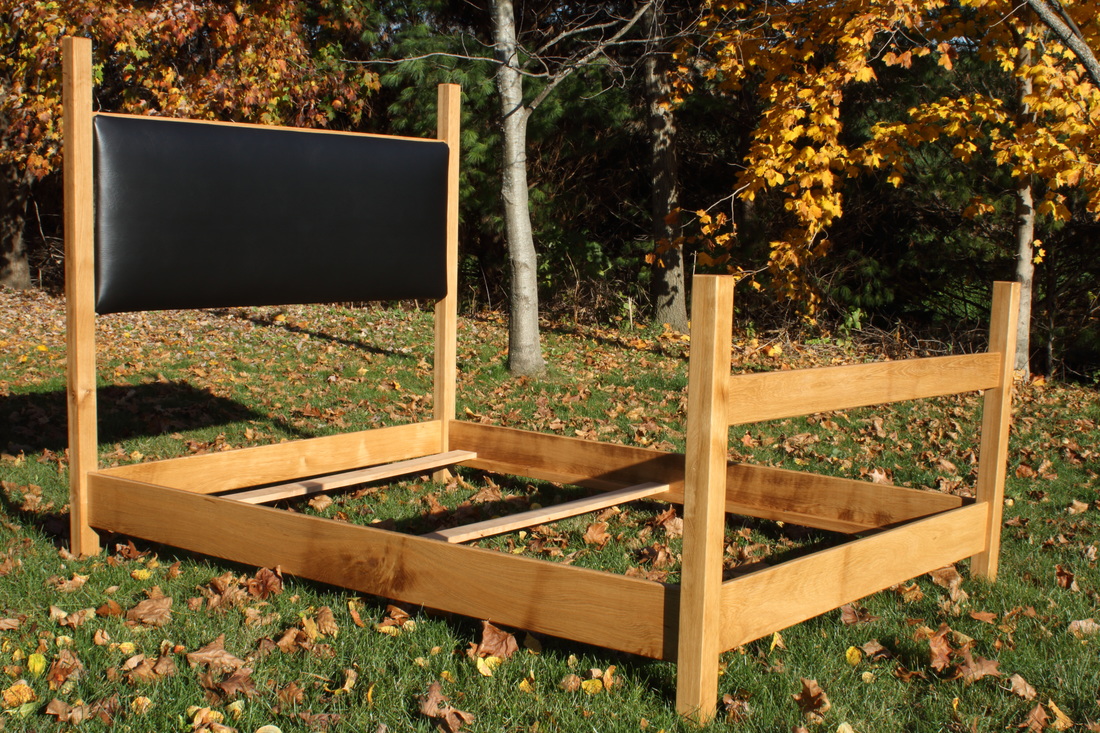 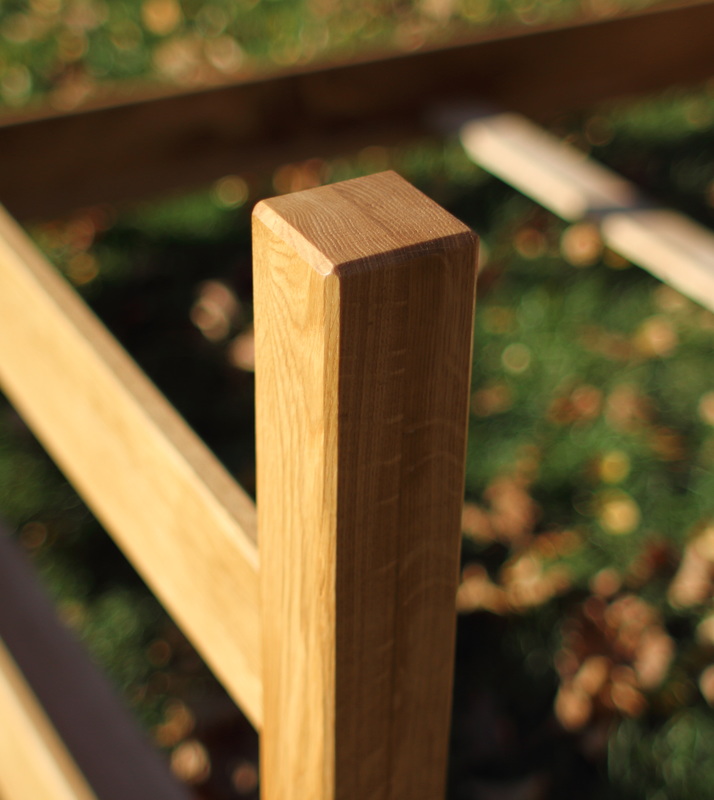 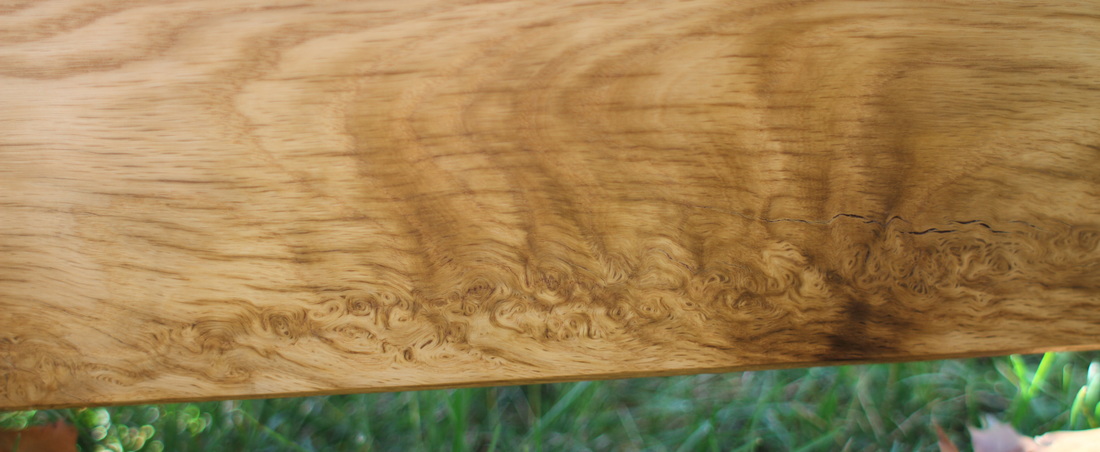 I am very happy with how this turned out and I think my sister in law was as well. My favorite detail on this bed is the chamfered corners. They keep the edges looking very sharp but they are all extremely soft to the touch.
The upholstery turned out pretty nice and I think I'll be using more of it in future designs. One of the rails had this curly grain that was pretty neat.
0 Comments
Leave a Reply. |
Aaron Whalen:A blog about woodworking in Southwest Wisconsin Previous Projects
Archives
February 2024
|