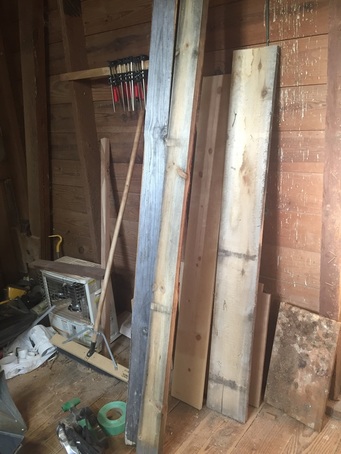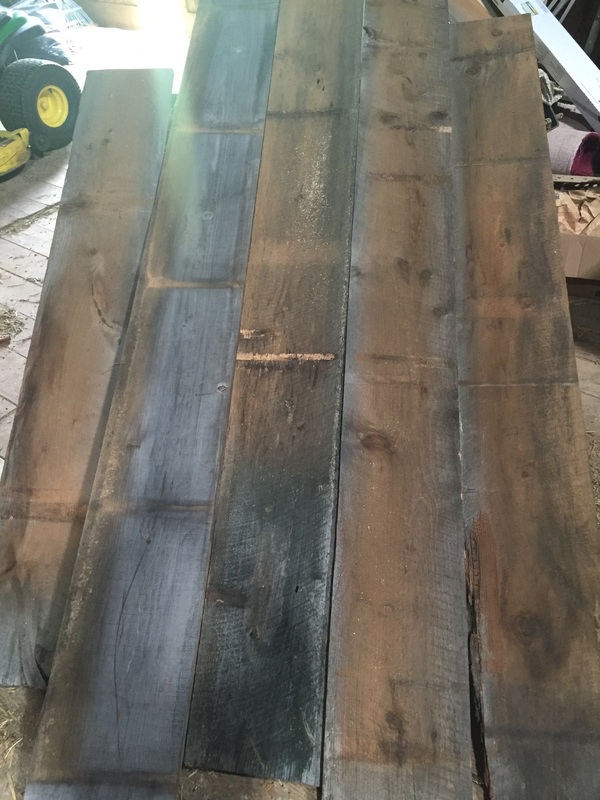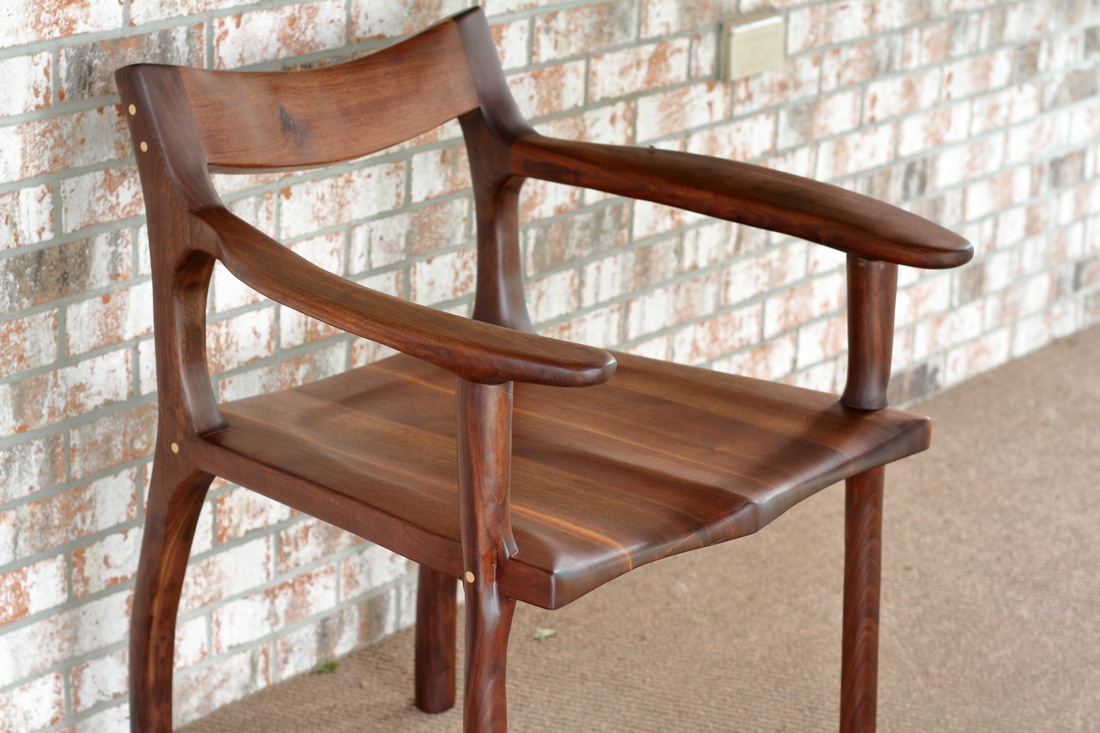
 A while back I came across a old man on the internet who had a peculiar way of woodworking. His pieces were gorgeous. All black walnut, interesting curves and perfect shape. They were mostly chairs. This old man was Sam Maloof and he is probably the most well known American woodworker. Sam's chairs are famous. So famous, some of his pieces have ended up in museums and two others spent time in the Whitehouse with Jimmy Carter and Ronald Reagan. I fell in love with his design style and the construction and decided to make one. You may have been following me on here for a while and noticed I skipped from chair number one to chair number 3. Chair 2 was an improvement over my first but I didn't really try a whole lot of new things in it so I didn't make post for it. Since my last post, I met another person on Craigslist. He had a garage full of various chunks of wood. The previous owner was a lifelong woodworker and left it there. After some haggling we settled on a price and I hauled two truck loads of wood home. In the pile, were two 12' long 2x6s of hard maple. I hadn't worked with maple much so I didn't really know any better. It is always an experience working with a new wood. They are all so different in so many ways. Hard Maple, happens to be (you guessed it) REALLY HARD.
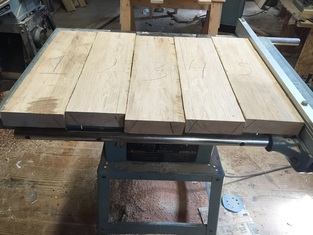
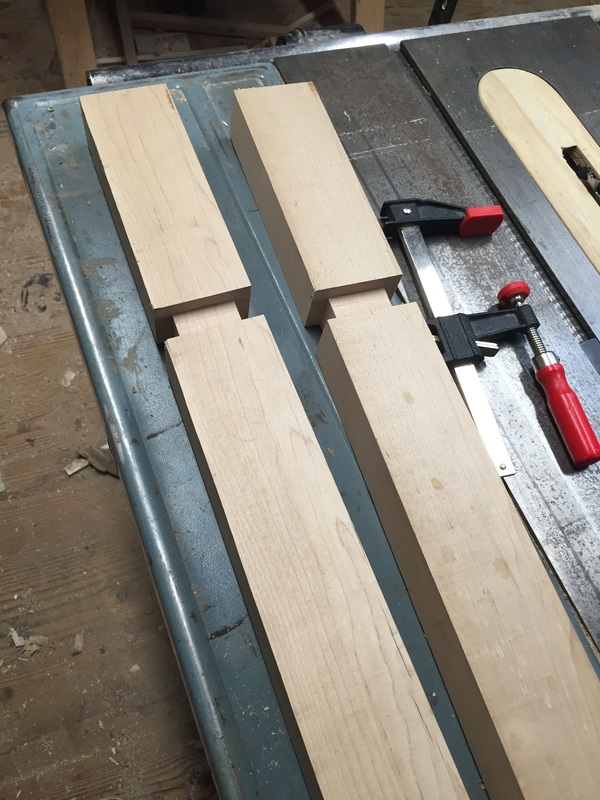
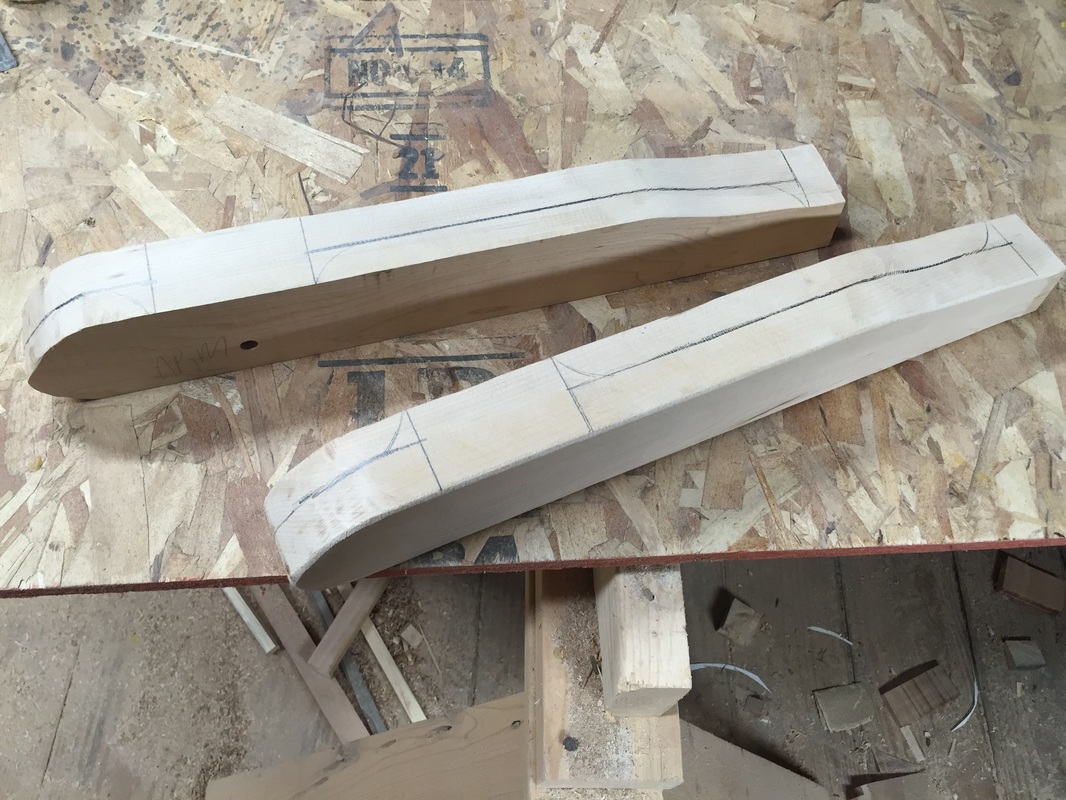
I start by cutting the boards to length, jointing one side and then cutting 3 degree angles on the boards. The angles are cut in a way that creates a natural cup in the entire seat. This adds a ton of organic shape to the chair right off the bat and will making shaping it with the grinder much easier later in the process.
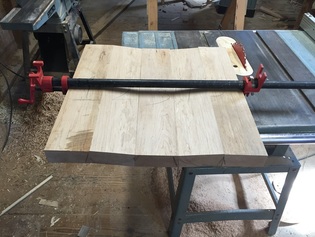
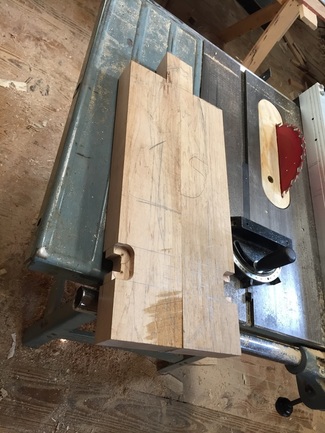
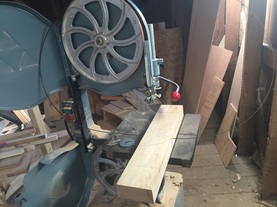
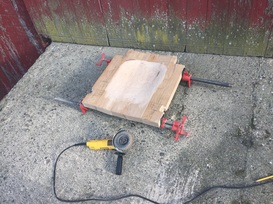
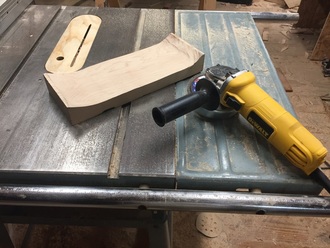
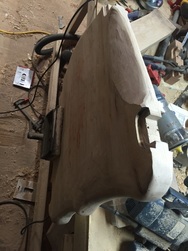
Next I cut notches out for the legs on the tables saw and then route out 1/2" rabbit around the edges 1/2" deep on each side. This will provide a huge amount of surface area for glueing the legs on. I cut out the majority of the seat waste on the band saw. The top right picture is when my blade got stuck. My bandsaw wasn't tough enough to handle cutting through 4.5" of maple. Outside I grab the grinder with a very rough flappy sanding disc and go to town. It makes quick work but it sure is dusty. This was actually pretty fun. This is best to do outdoors on a windy day so it blows into your neighbor's yard.
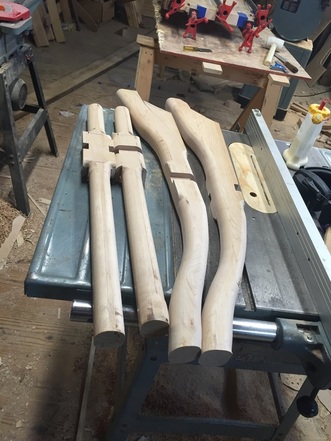
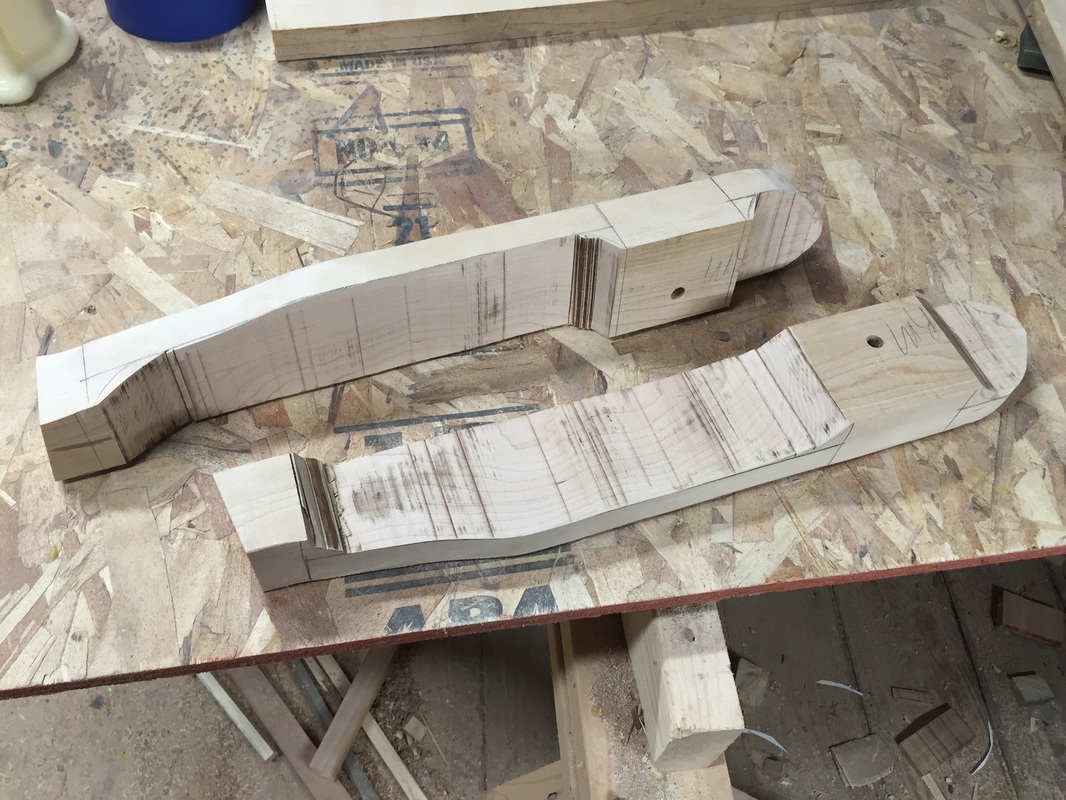
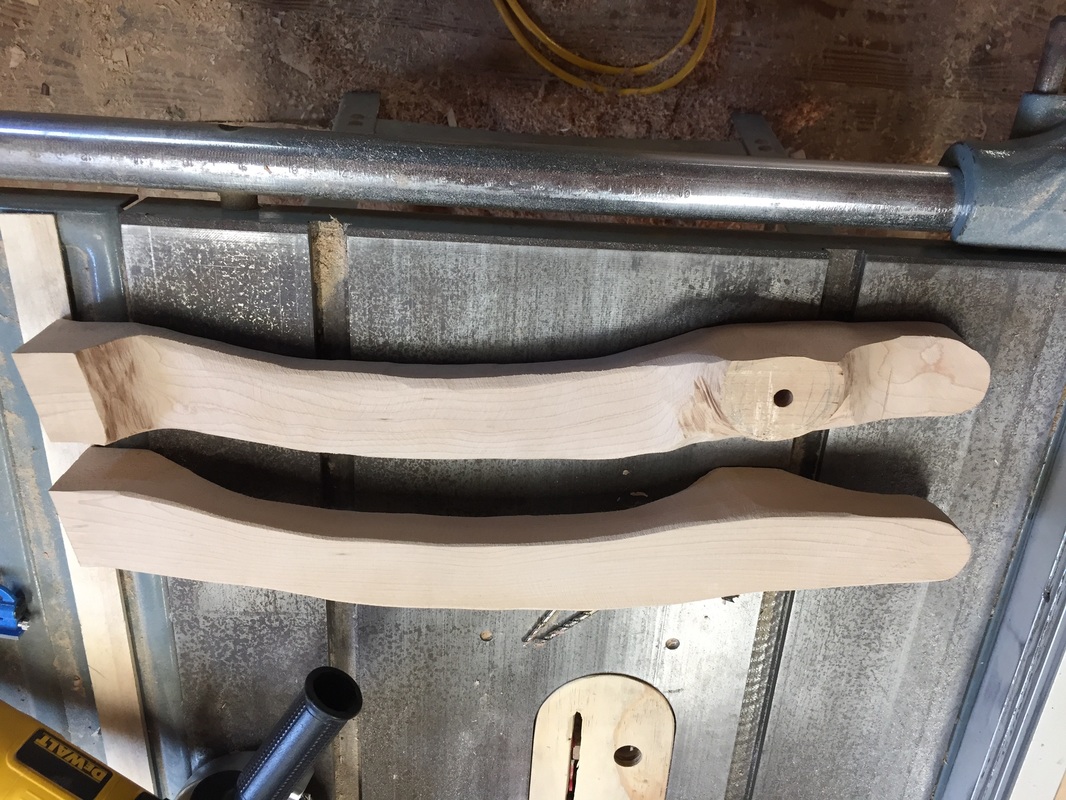
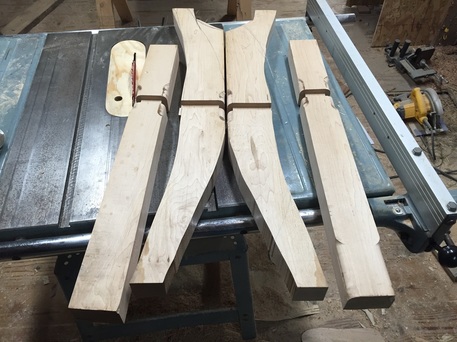 The front and rear legs start out as 2x3s and 2s6s. They all get dados cut in them to receive the seat and then progressively get shaped until they are mostly round. I don't own a lathe so I cut them on the table saw and band saw and then rounded the edges with the router. Final shaping was done with the belt sander and random orbit sander.
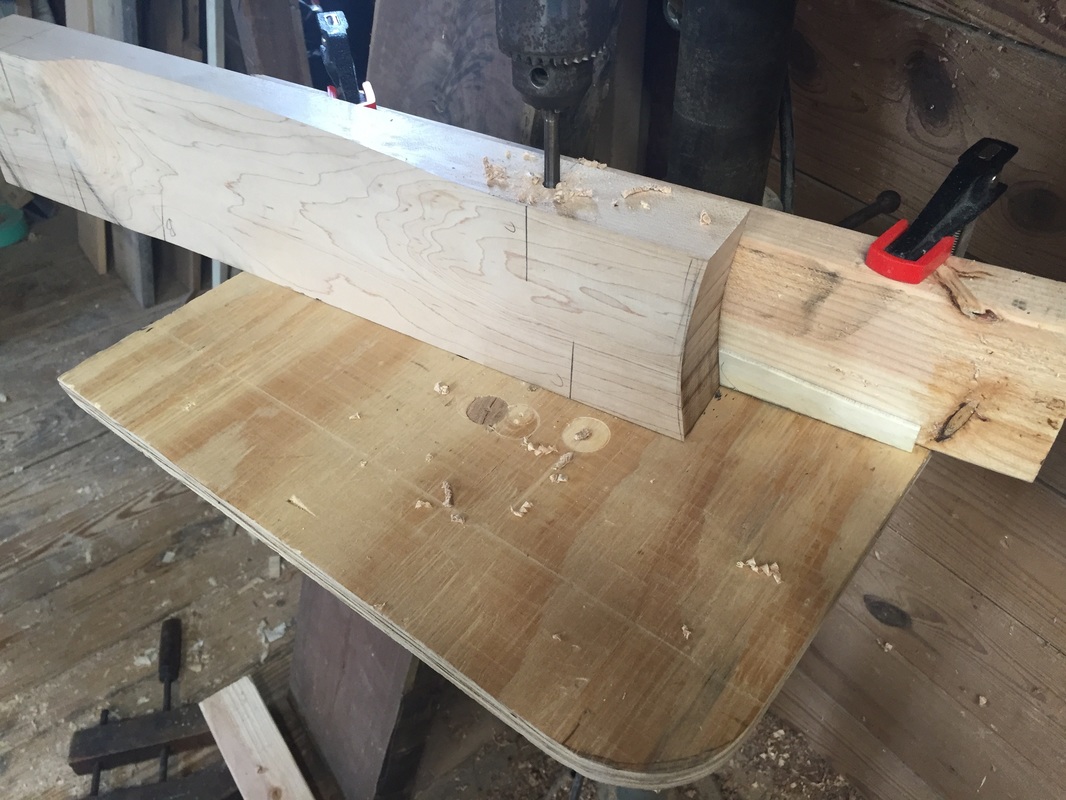
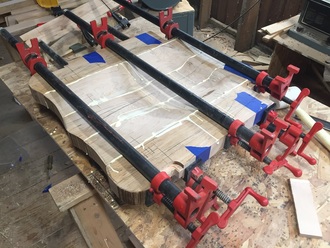
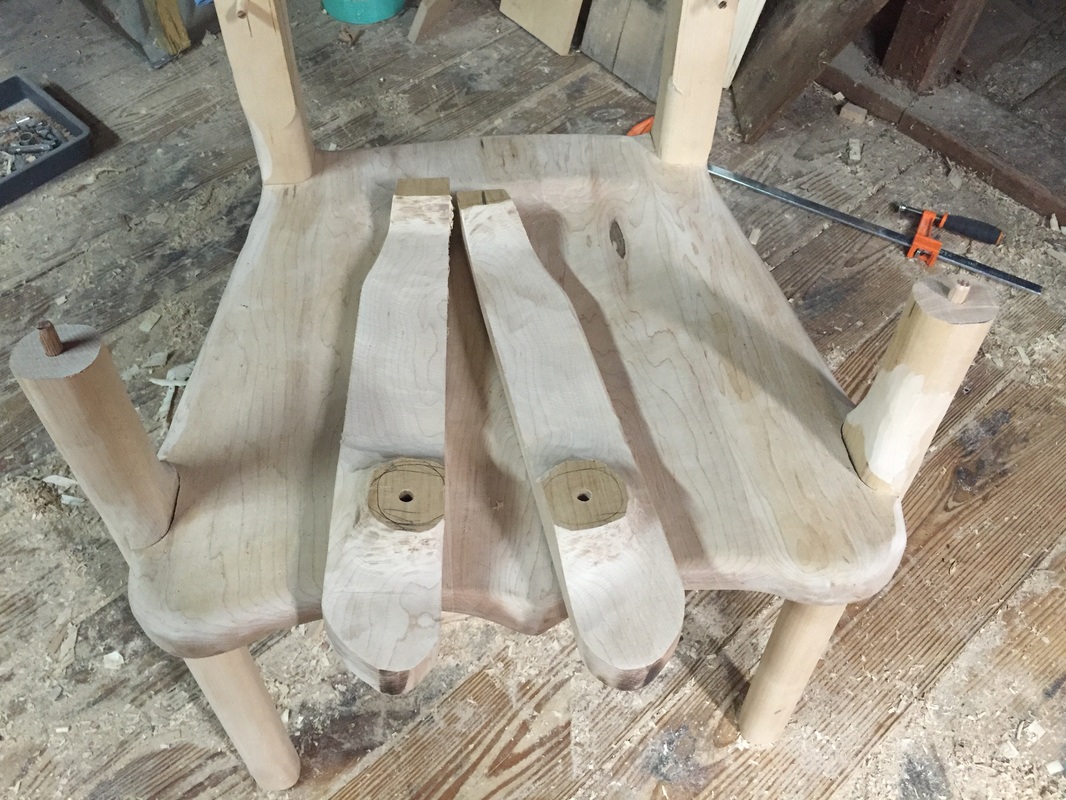
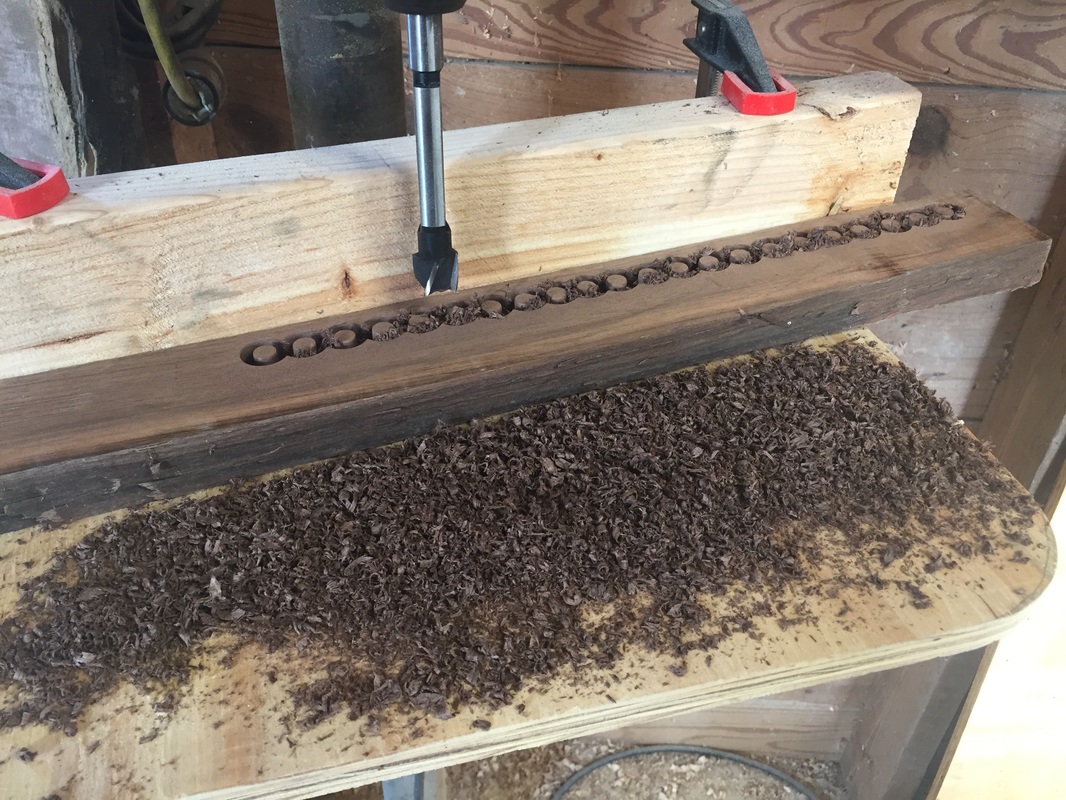
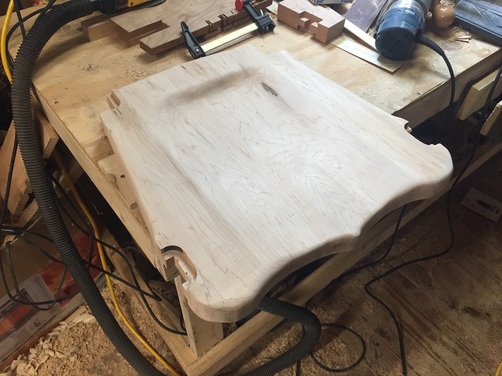 In the mean time, I drilled holes for dowels. This was tricky because of the 3 degree angle on all the seat boards until I realized the holes just needed to be perpendicular to the mating faces. Then I just slapped a shim behind the boards on the drill press and drilled away. Top right: If anything is worth glueing, it's worth over-glueing! After some shaping on the band saw and a few more hours of sanding, the seat is closer to being complete.
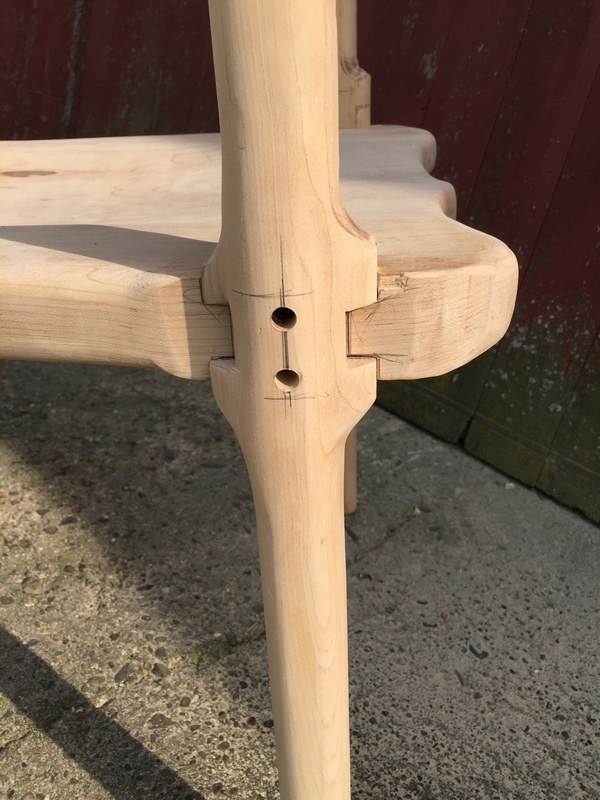
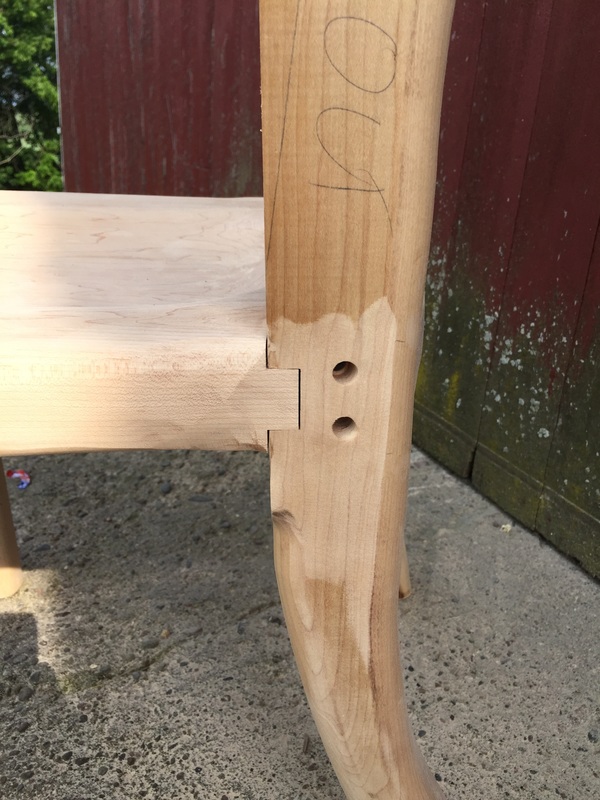
This was a fit up on the chair legs. I drilled two 3/8" holes in each leg where I will put 3" screws through later. The holes will be plugged before finishing.
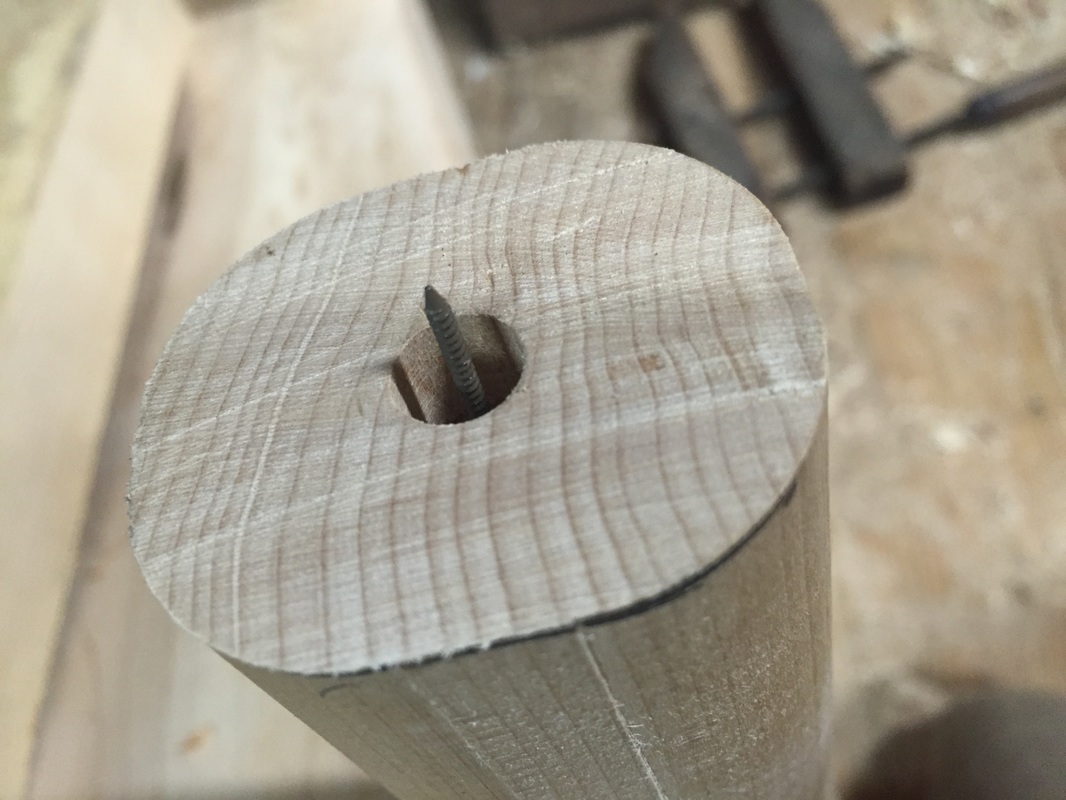
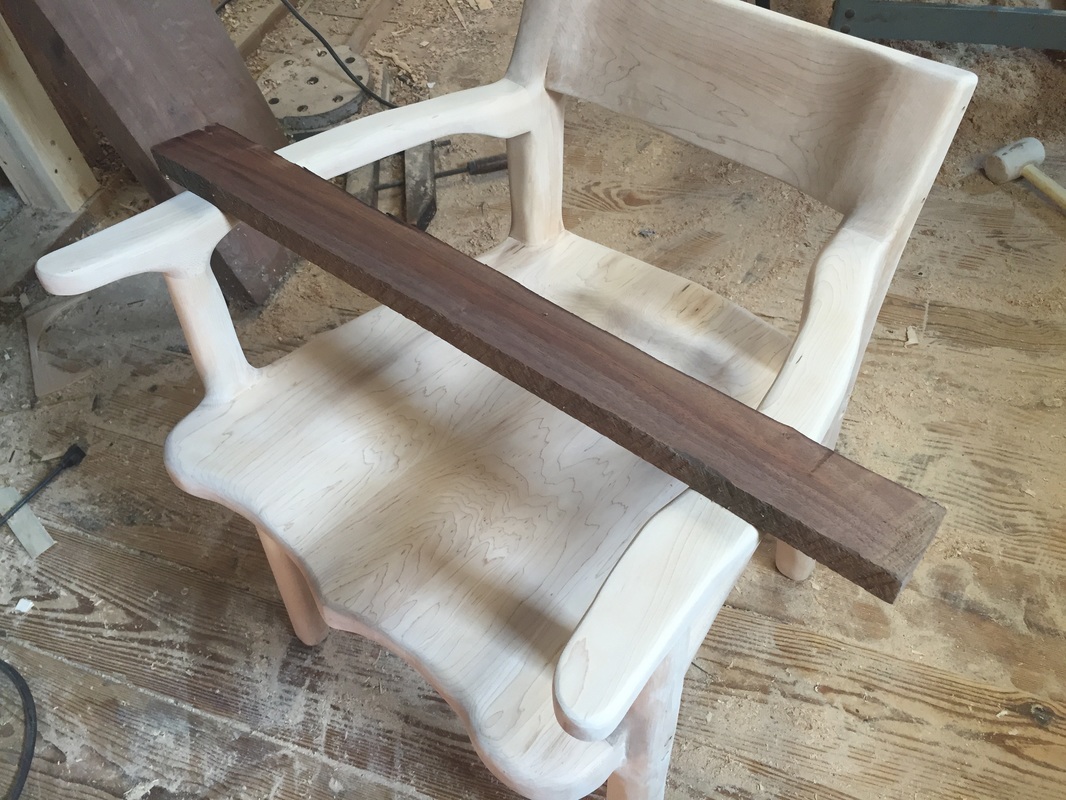
The arm rests get doweled on between the front and rear legs. I needed a way to mark the front leg holes so I came up with putting a nail into a center hole and tapping a center onto the arm rest piece. This worked out really well.
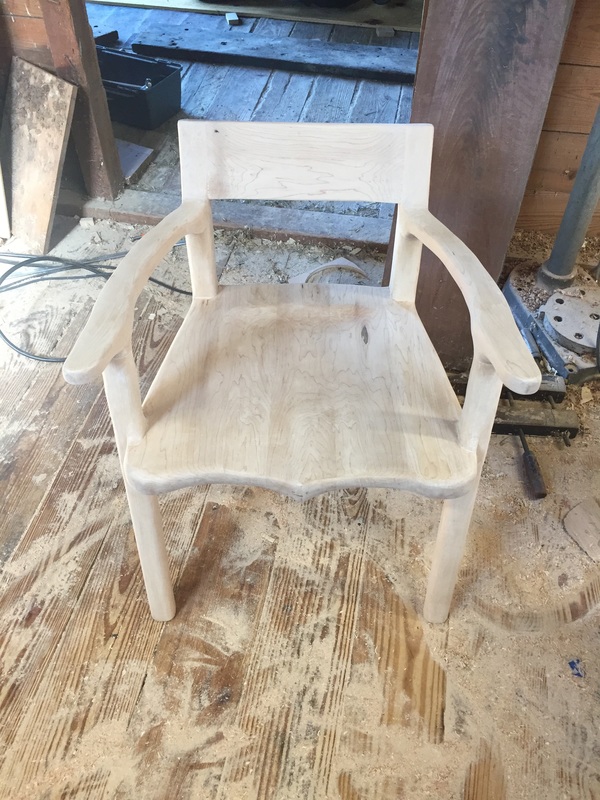
More grinding on the back rest modifying the seat a little more.
By this point I came up with a system for shaping the parts. Put some lines on the part, cut it off on the band saw, check the fit, sand till smooth, more lines, more bandsaw, sand, sand sand.
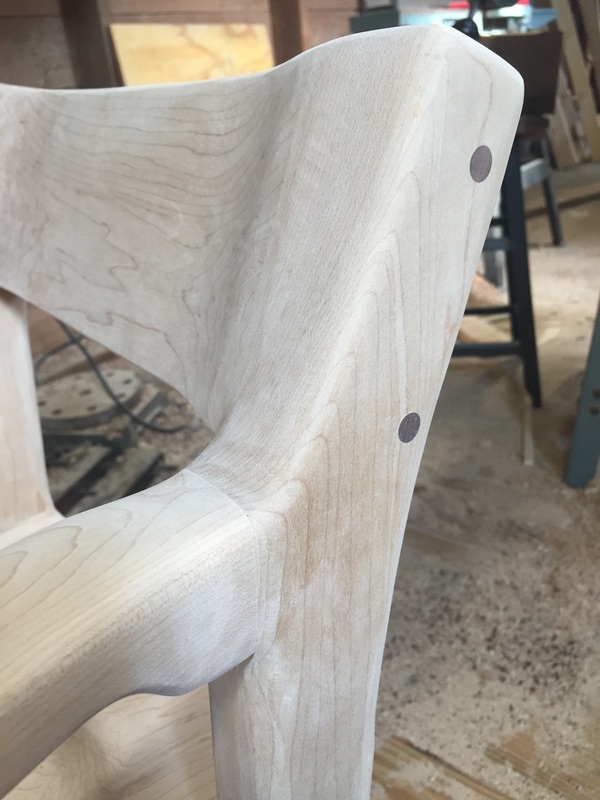
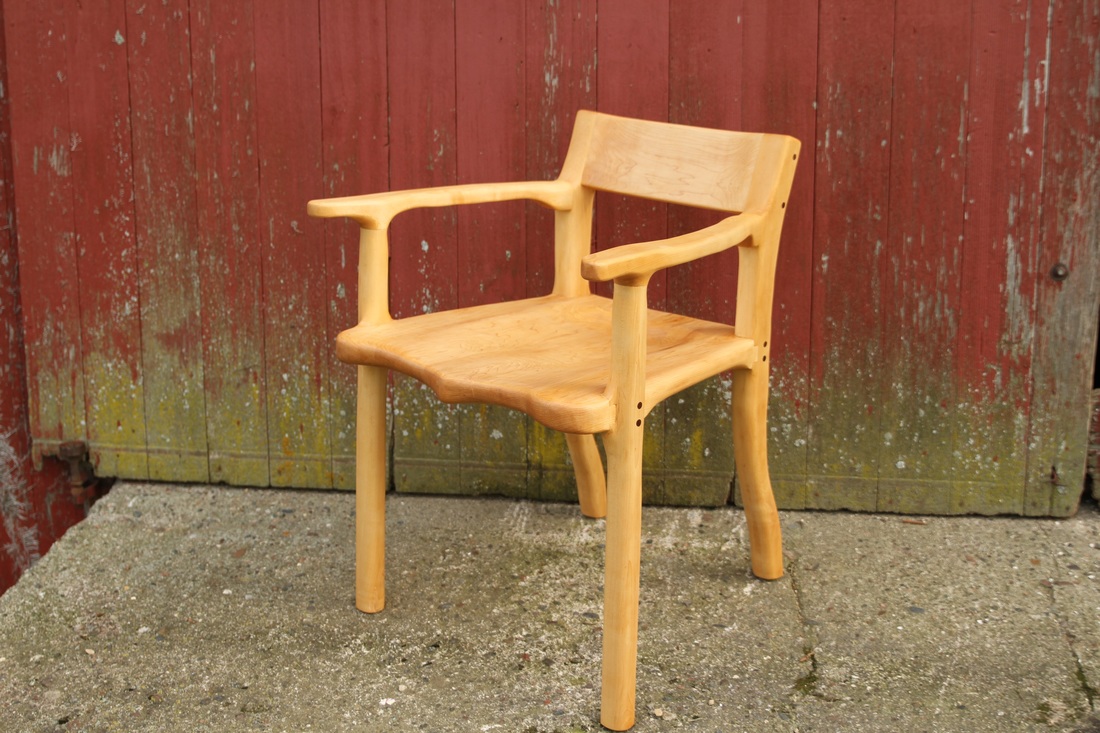
Plugs for the holes were cut from a piece of black walnut. The contrast gives an extra little pop to the design. 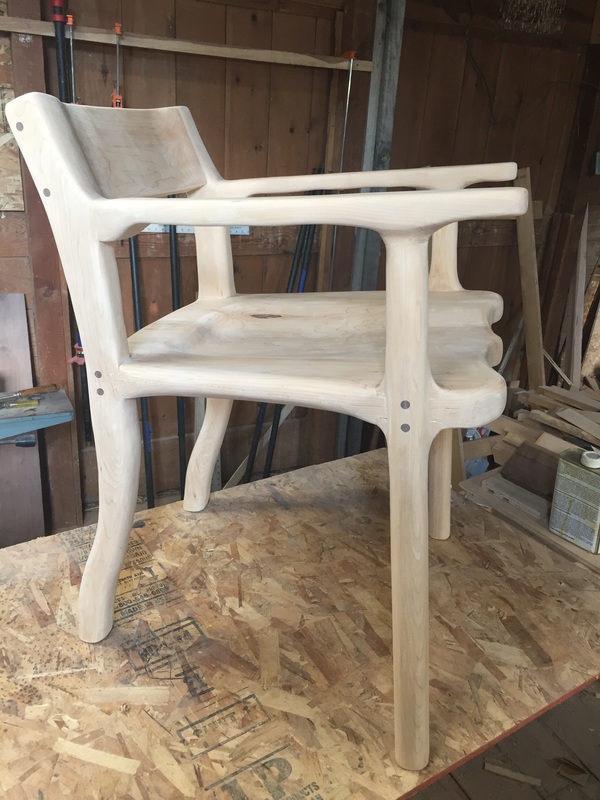 The entire chair was sanded out to 220 grit. The grinder leaves some pretty nasty marks so sanding took a very long time. 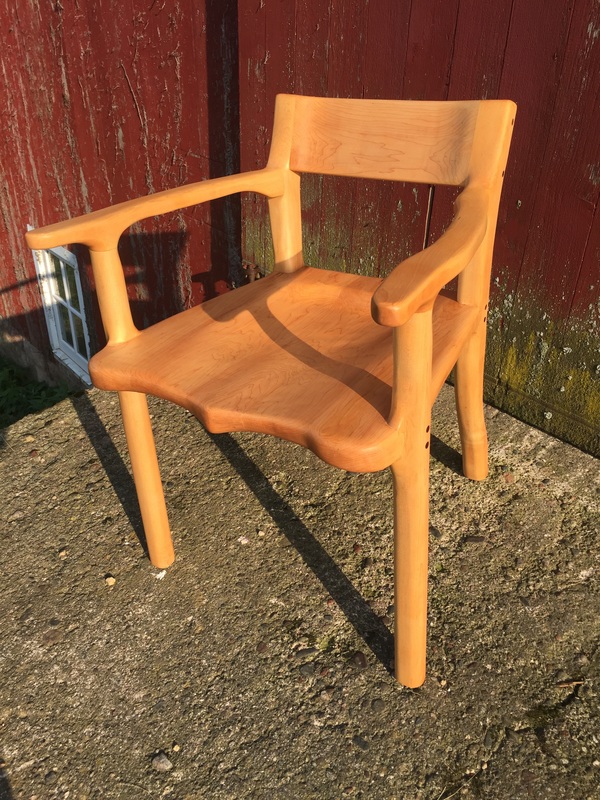 The finish is just boiled linseed oil applied thick, let sit for 5 minutes and wipe dry. It leaves it silky smooth without the plastic feel of poly. The BLO tends to really bring out the grain. I got a new camera for these pictures so I tried out some artsy shots. 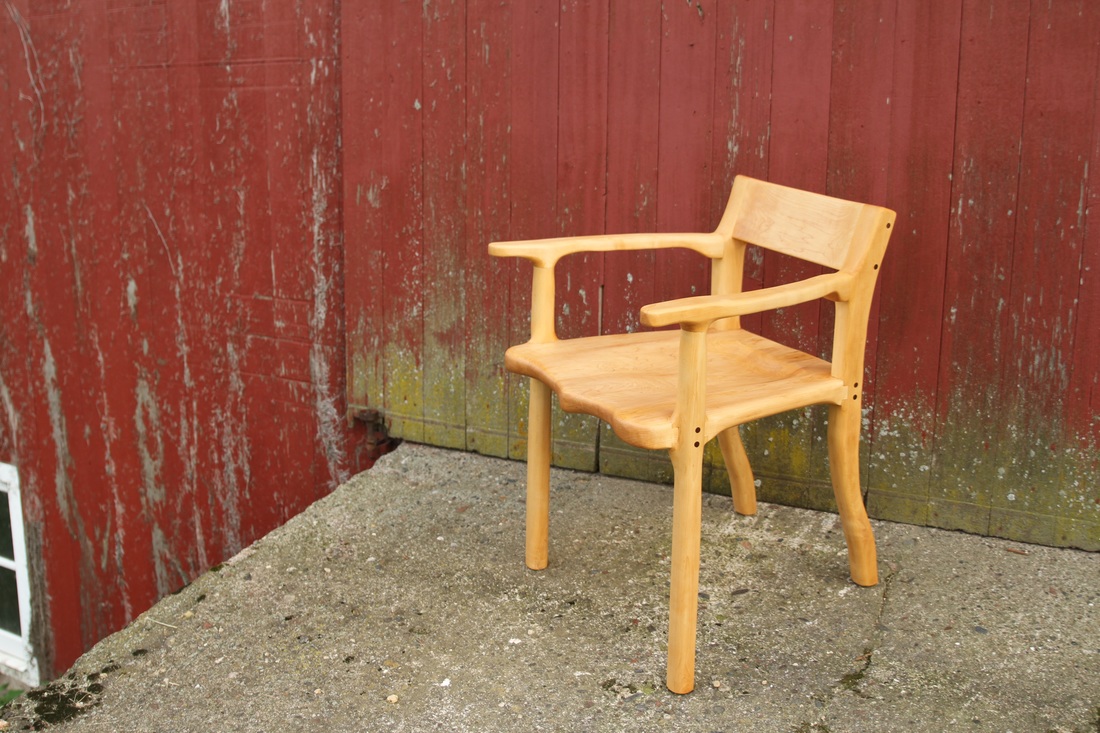 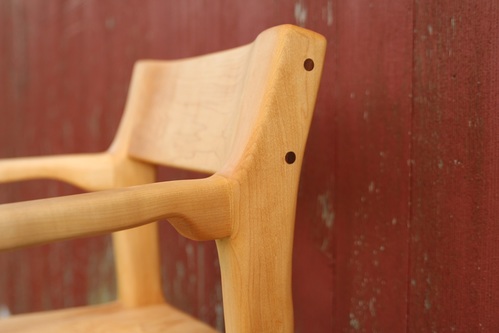 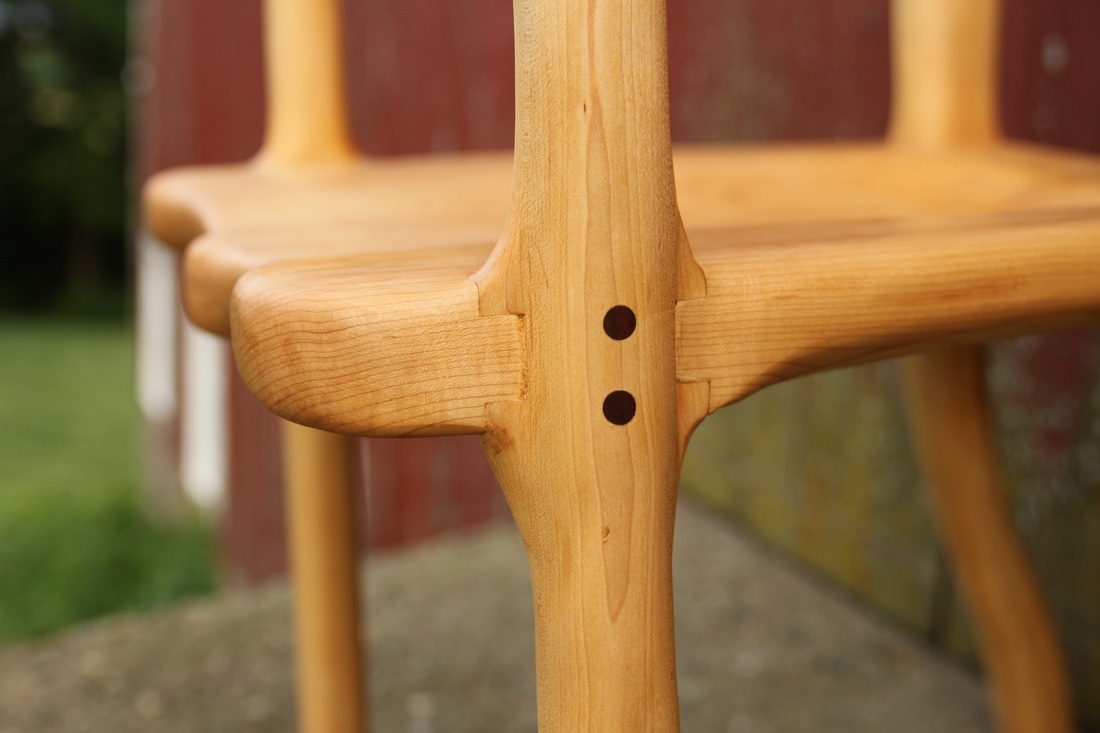 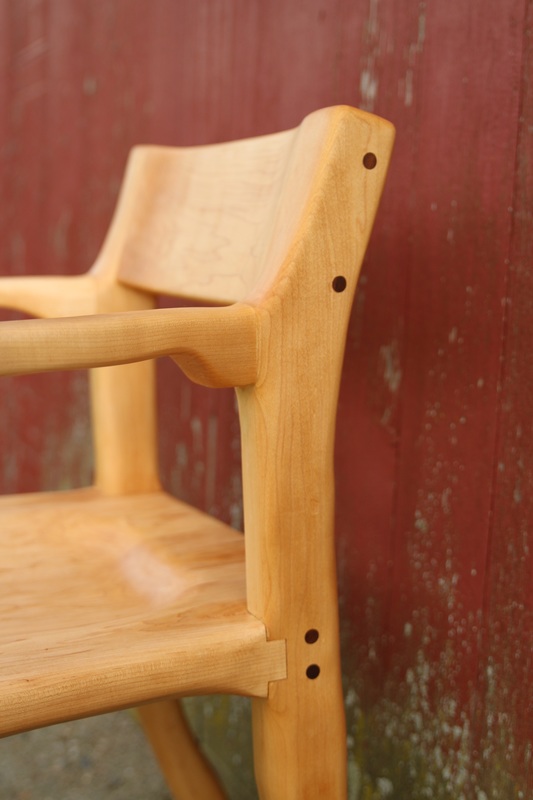 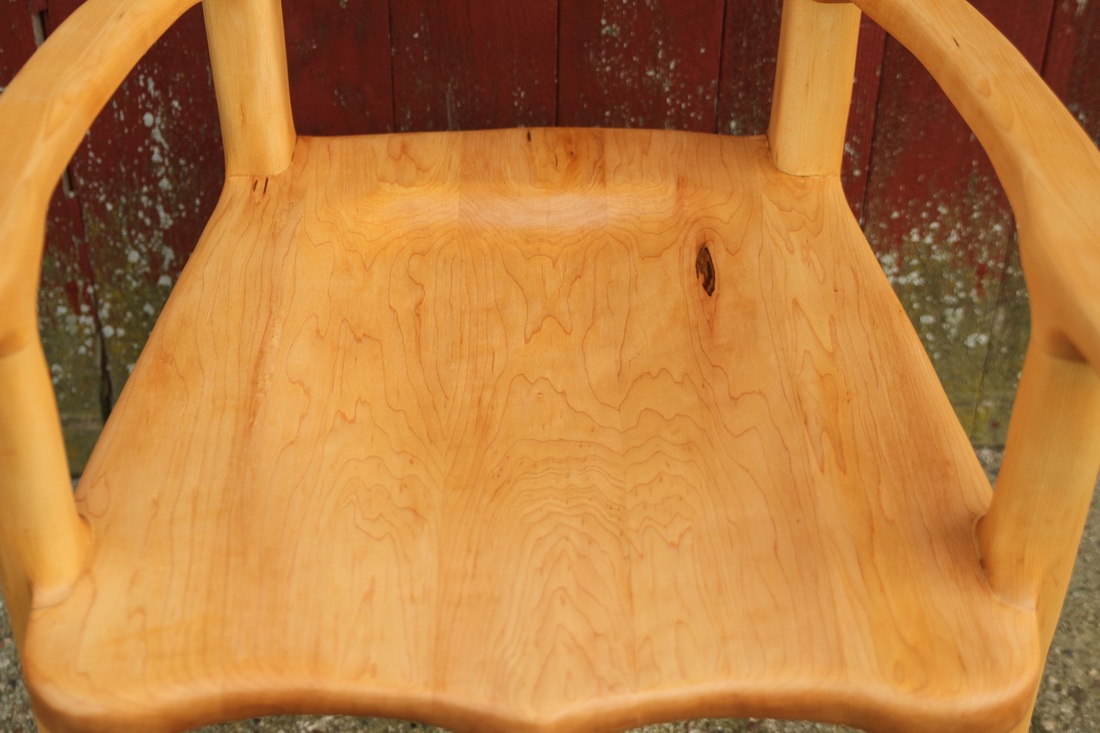 When asked what his favorite project was, Sam replied, "The one I'm working on right now". This was my experience exactly on this piece.
As always, if you have any questions or comments, or want to know more about how I did something, let me know. Thanks for viewing!
0 Comments
Some woodworkers say chairs are one of the most difficult pieces to build. There are many mortise and tenon joints and compound angles that must be assembled in a way that stands up to high loads for years. This isn't what makes them difficult. People do. Other pieces of furniture may be touched but none interact with the user like a chair. Theres the obvious interaction between the chair and the person's backside, but then there are all of the other interactions. The height of the seat from the floor, the angle of the seat back and the height of the back rest. Does it have arm rests? How are the surfaces? Soft? Sharp? Hard? No other piece of furniture experiences human interactions like chairs. I had to build one.
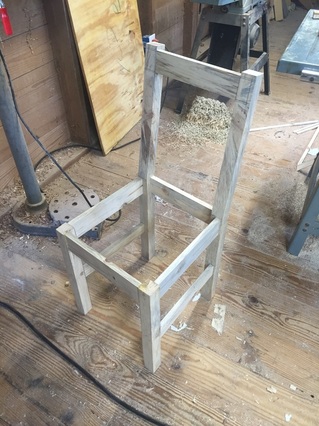
Considering this was to be my first chair, I didn't want to use anything really special. My dad had given me a few Red Pine rough sawn 2x4s and some old pine boards. They weren't pretty but I thought they would do just fine for this project. Altogether this chair would cost about $6 to make if I had to buy the material. 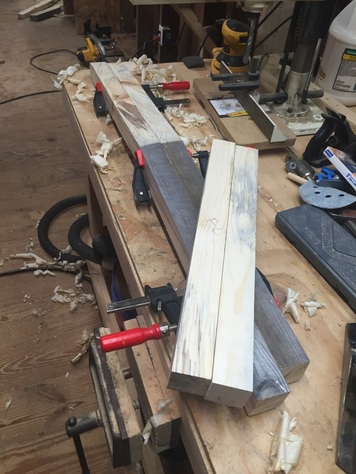 I started by cutting out some legs from the 2x4s on the band saw. I was limited on the angle of the rear legs and back rest by the width of the 2x4 material. I left them 1-3/4" square but they looked blocky. What do I know though? I've never done this before. 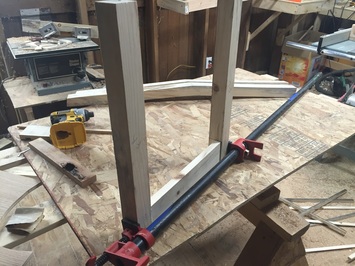 I decided to glue the front legs to the front apron. This was a mistake because I hadn't cut any of the other mortises or apron tenons. Live and learn I guess. This one is about learning!
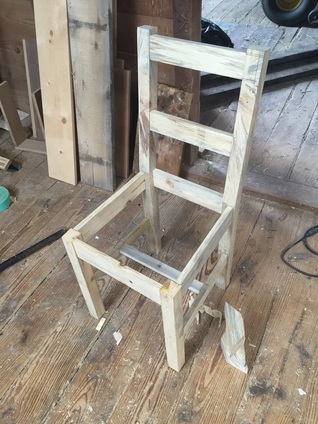
If it is not obvious yet, I had no plan for how I was going to make any of this. I basically put together the parts I had done, held up a board and marked where I thought it should go. One by one I made all of the pieces. The rear is about an inch narrower than the front making some very shallow angles. I ended up cutting all of the tenons by hand to accommodate for these angles. It went quickly in the soft pine. 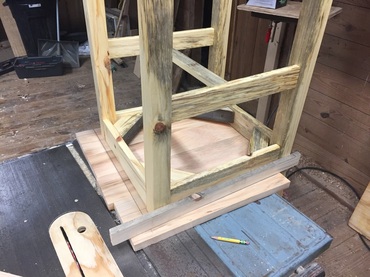 I glued up 4 pieces of 4/4 for the seat, cut out some notches for the rear legs and marked about 1/2" overhang. The seat was cut out on the band saw, cleaned up with a hand plane and screwed to the chair through the corner braces. I'm not sure what kind of pine the seat was but it was a slightly different color than the rest. I like how the contrast turned out. 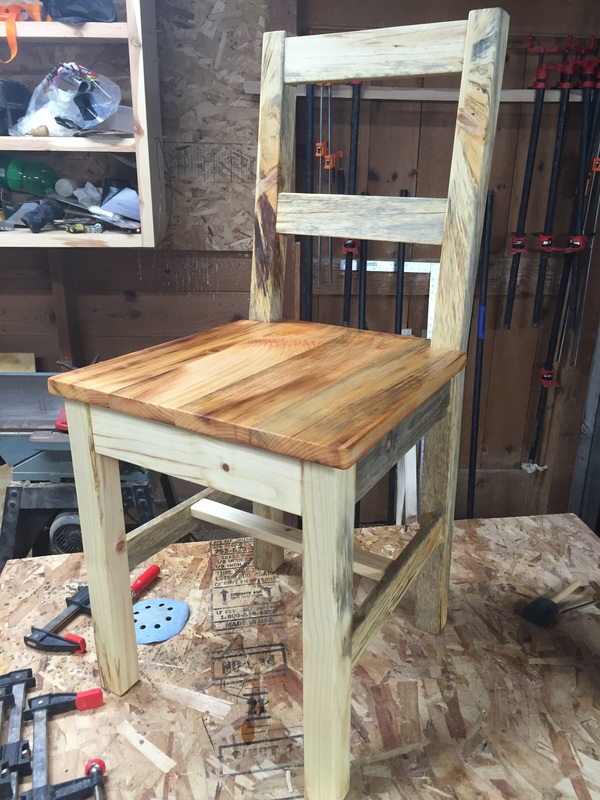 Finished chair - I put two coats of polyurethane / boiled linseed oil mix on it. Overall I am very happy with how this turned out. The chair feels great to sit in. The backrest seems a bit upright and the rear legs could be kicked backwards slightly, but it would make a great kitchen table chair. I learned so much from this project.
This will not be my last chair. Thanks for checking it out. Questions, comments and suggestions are greatly appreciated. |
Aaron Whalen:A blog about woodworking in Southwest Wisconsin Previous Projects
Archives
February 2024
|