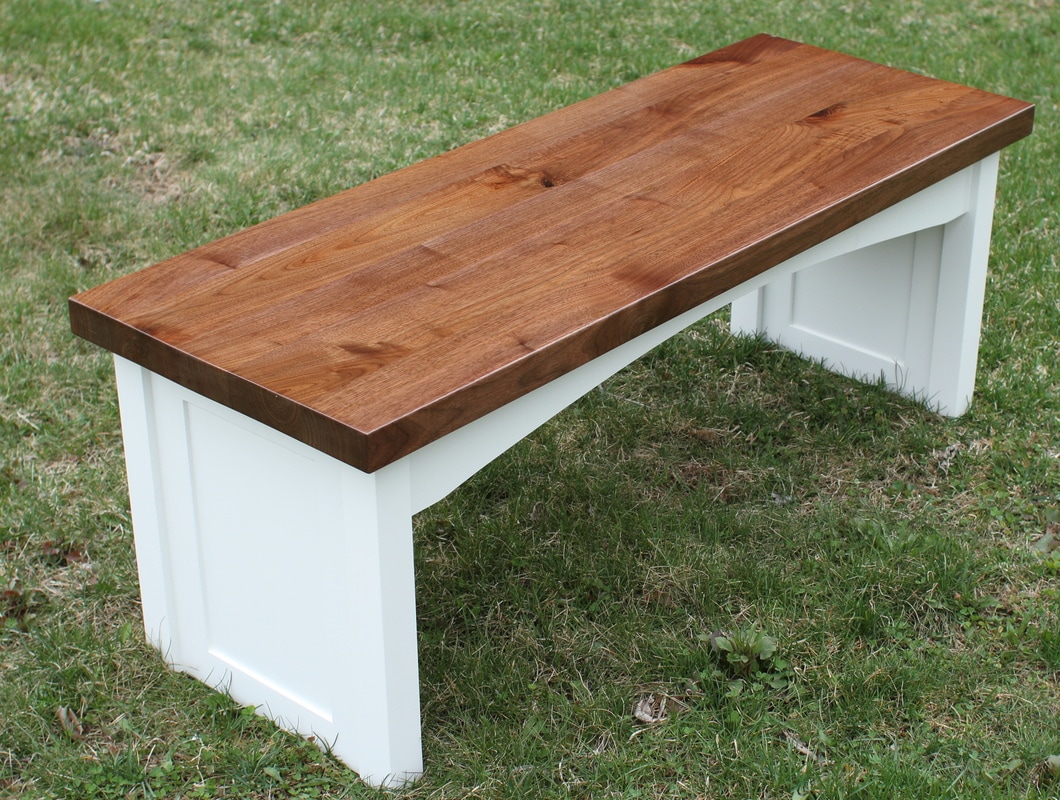
 One of my college friends (we'll call him Bob) sent me a text a couple months ago about a little project. He was getting ready to move into a new house he designed and wanted a custom bench for the foyer that matched the style of the some of the other pieces in the new house. Bob is the perfect customer, he understands construction, the design process, timelines and works with people very well. He sent me a Sketchup file of what he wanted but went along with almost all the suggestions I had for him. His requirements were few, but specific - a perfect mix of design direction and creative freedom.
Normally, I would start by glueing up the bench seat or table top first. This time I had an exact plan on what I was building and didn't have the top material so I actually started on the legs and skirt first. The top is normally built first so small adjustments can be made if the dimensions don't come out exactly how you planned.
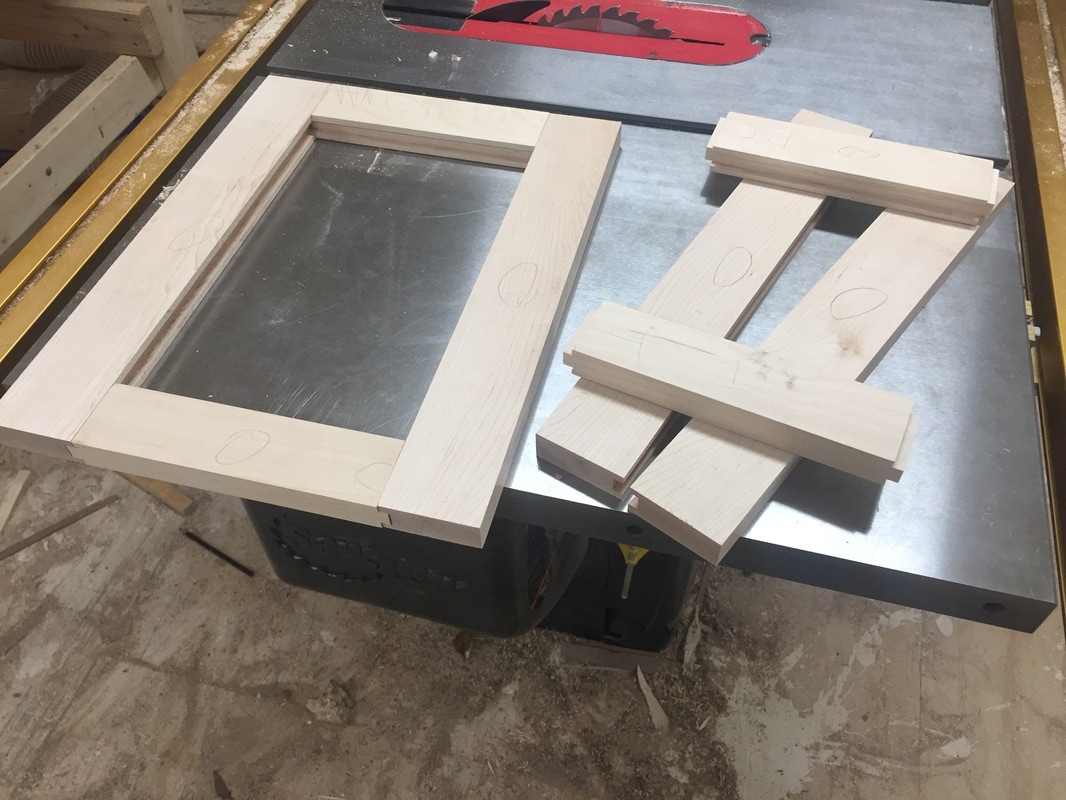
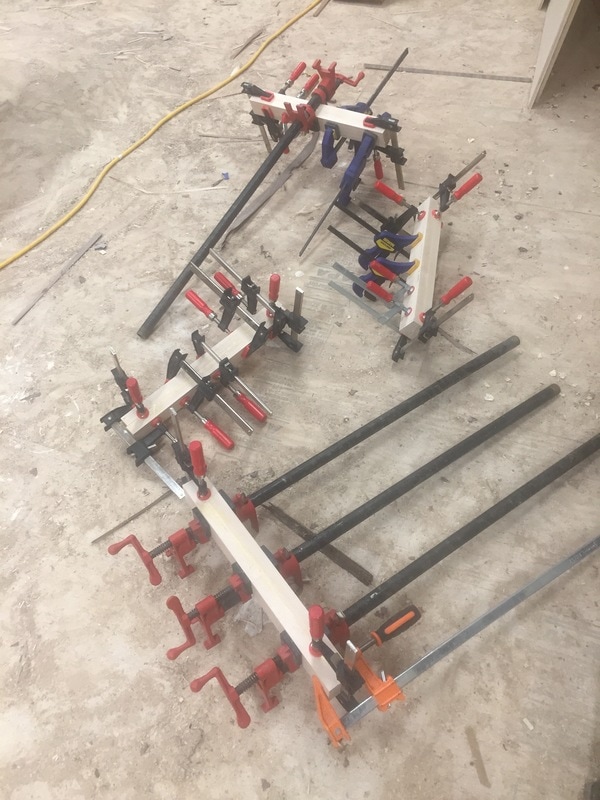
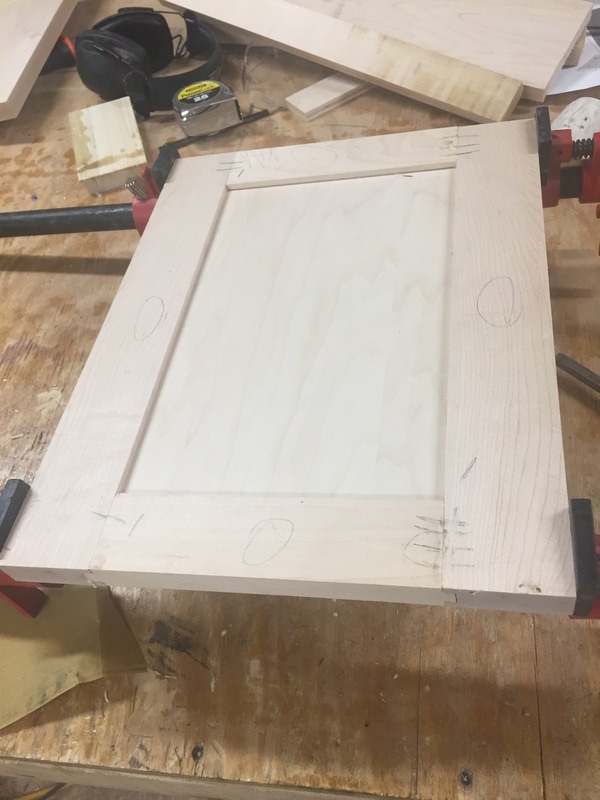
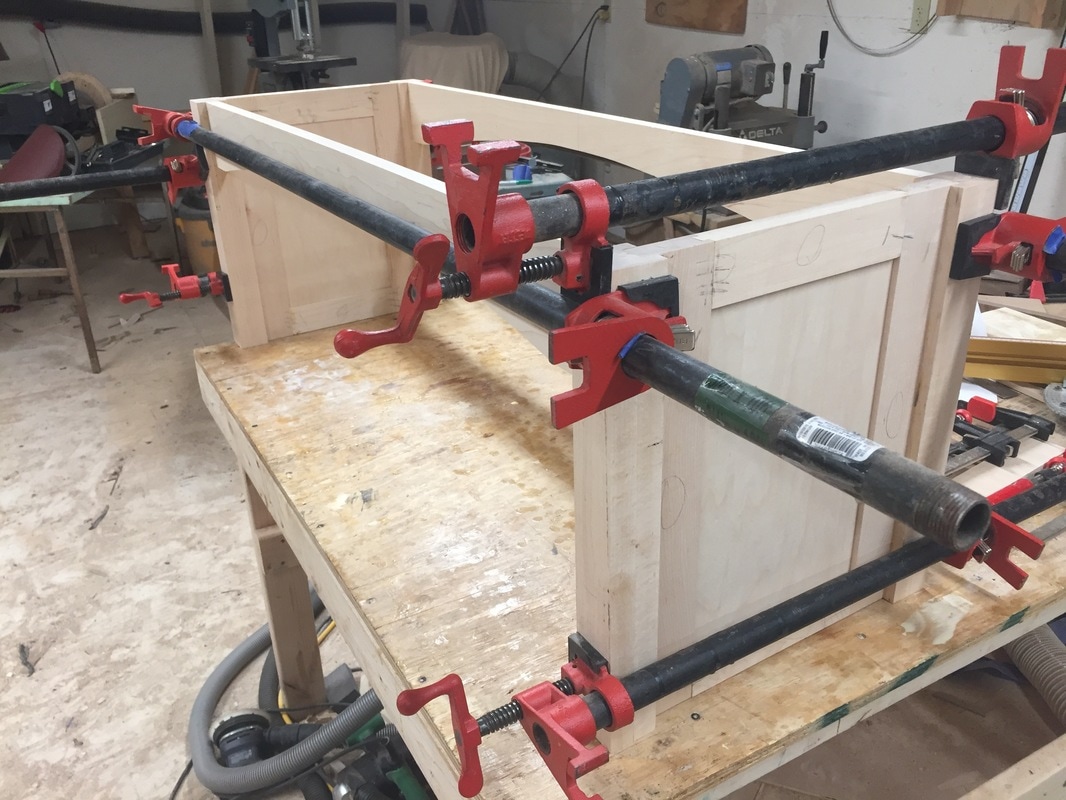
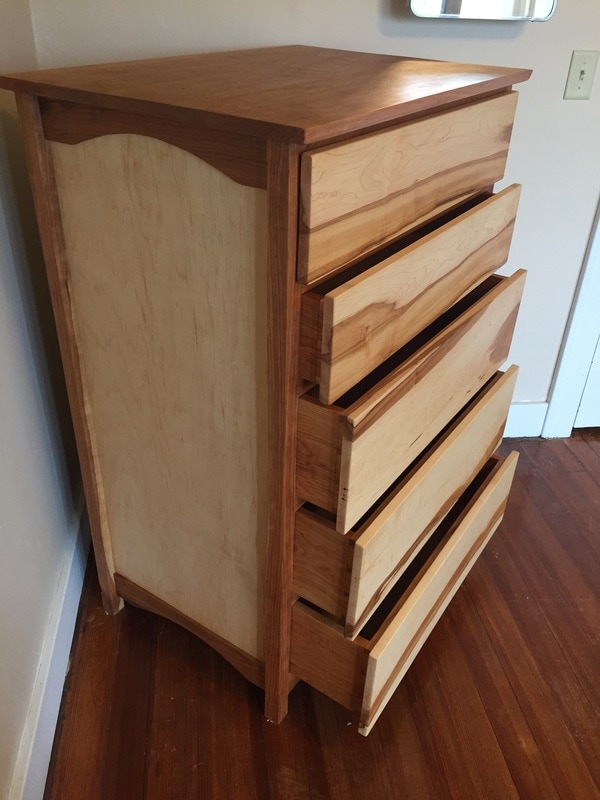
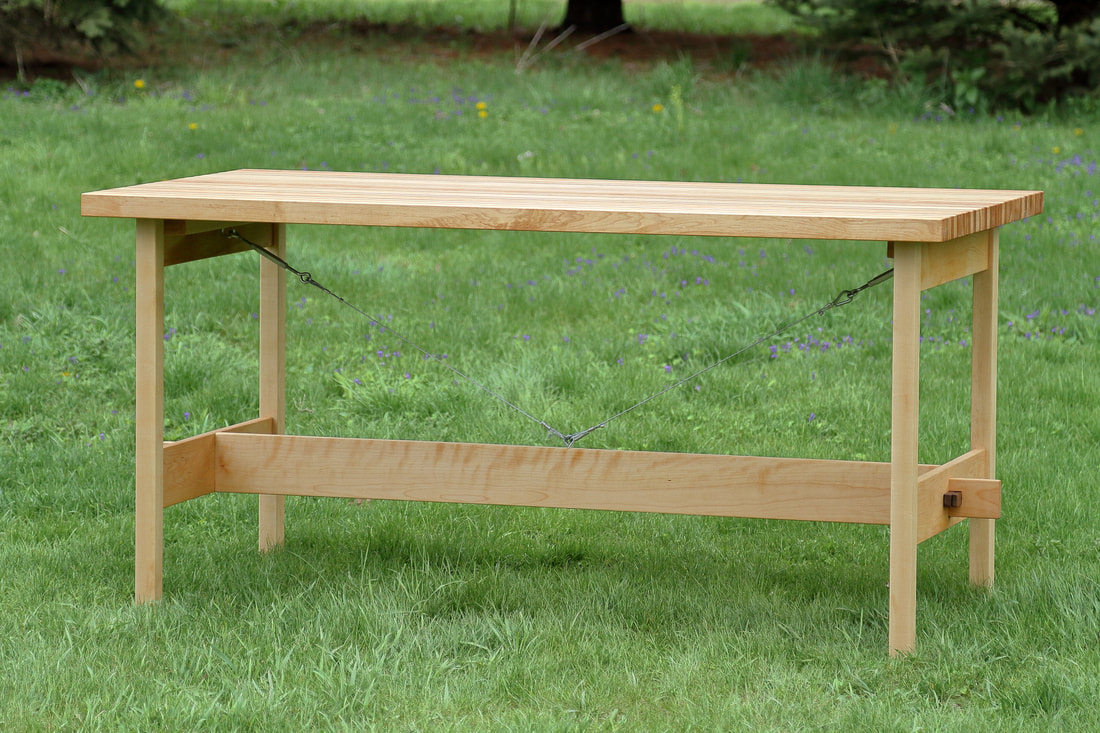
Every project has a requirement of using all of the clamps at least once. Glueing up the legs is a sure way of doing this. The side panels are constructed with traditional rails and stiles. The center panel is 1/2" plywood. All the base material is maple. I love the workability of maple. It's very hard, but each the cuts are predictable and it's always well behaved.
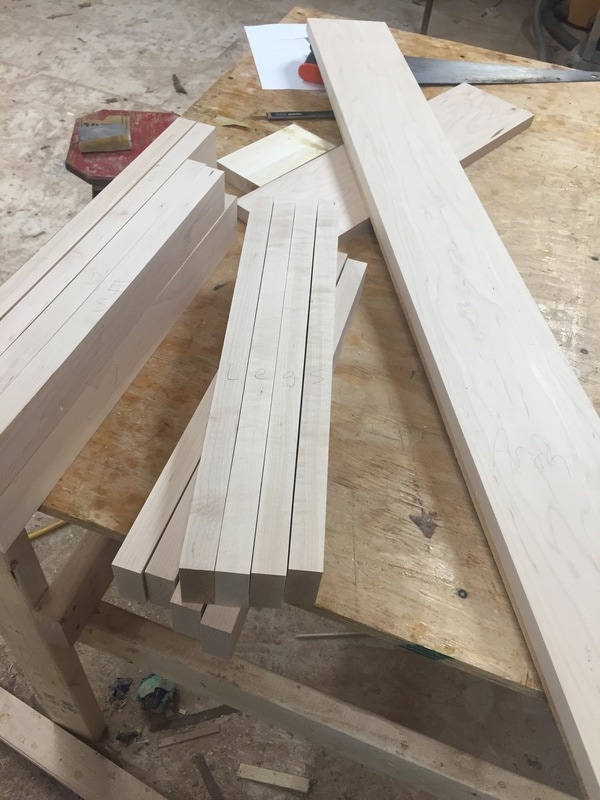
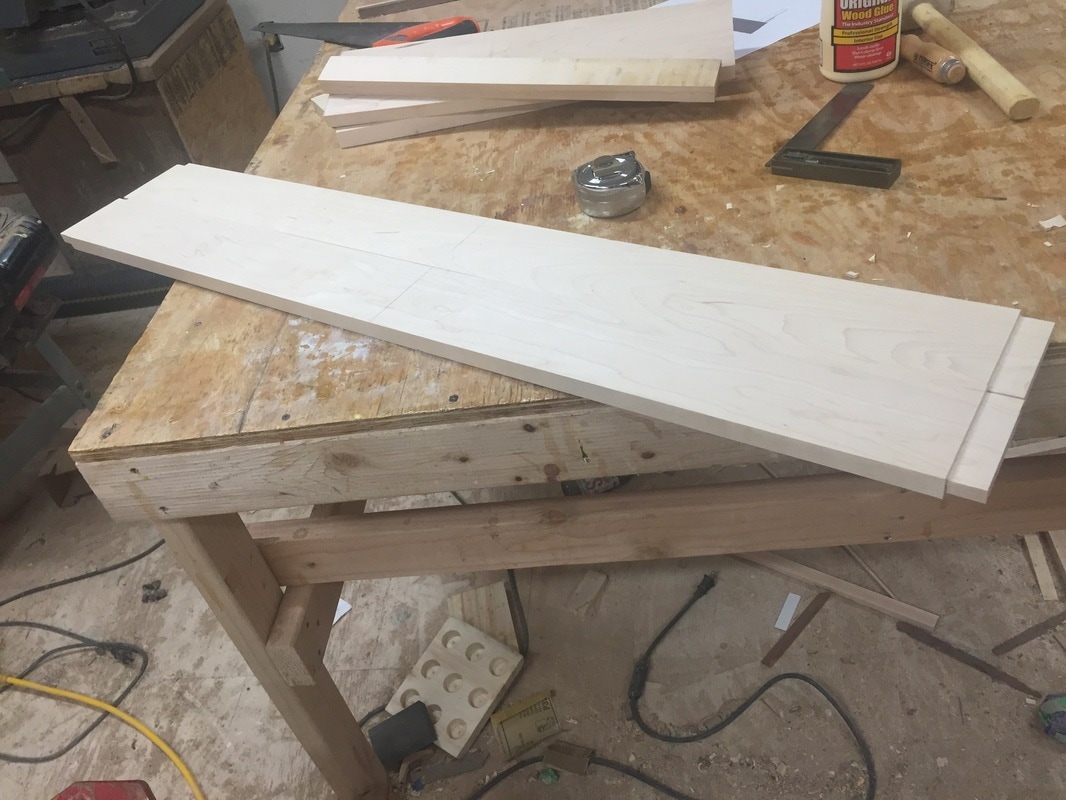
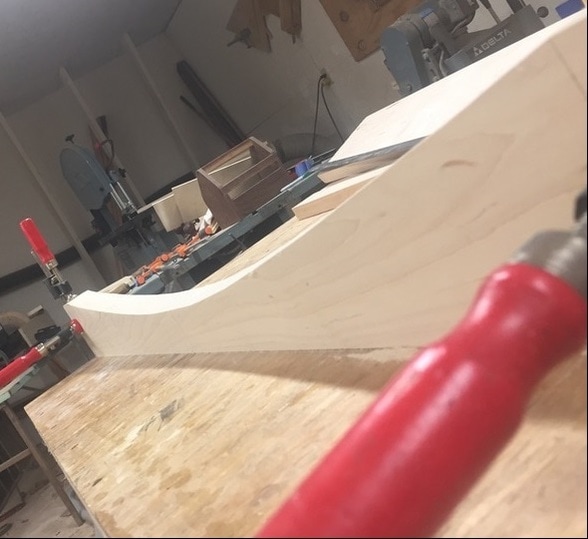
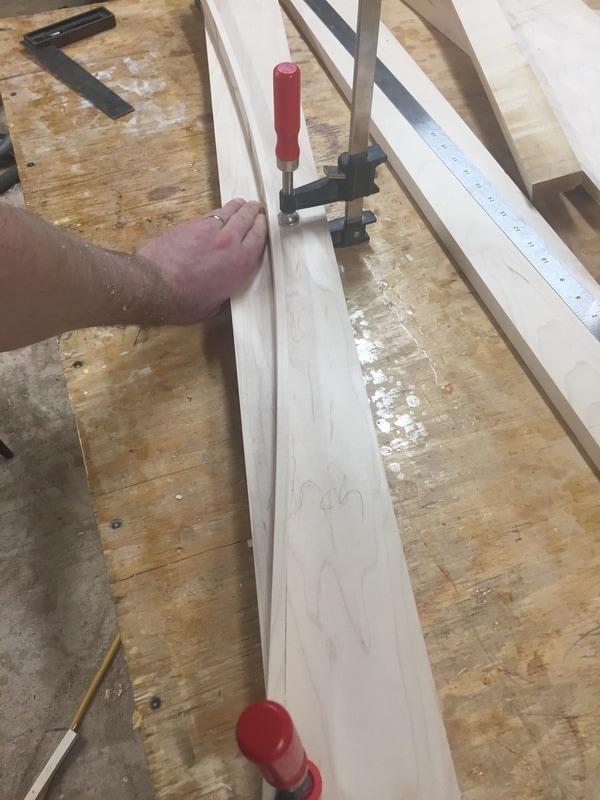
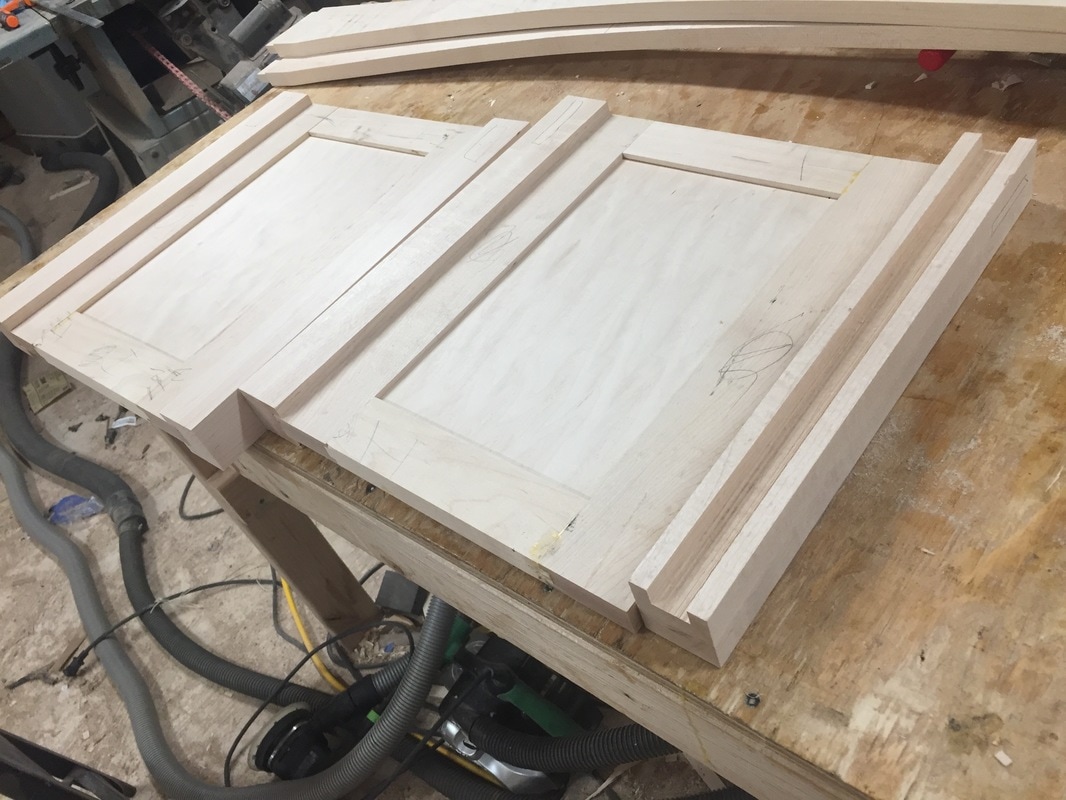
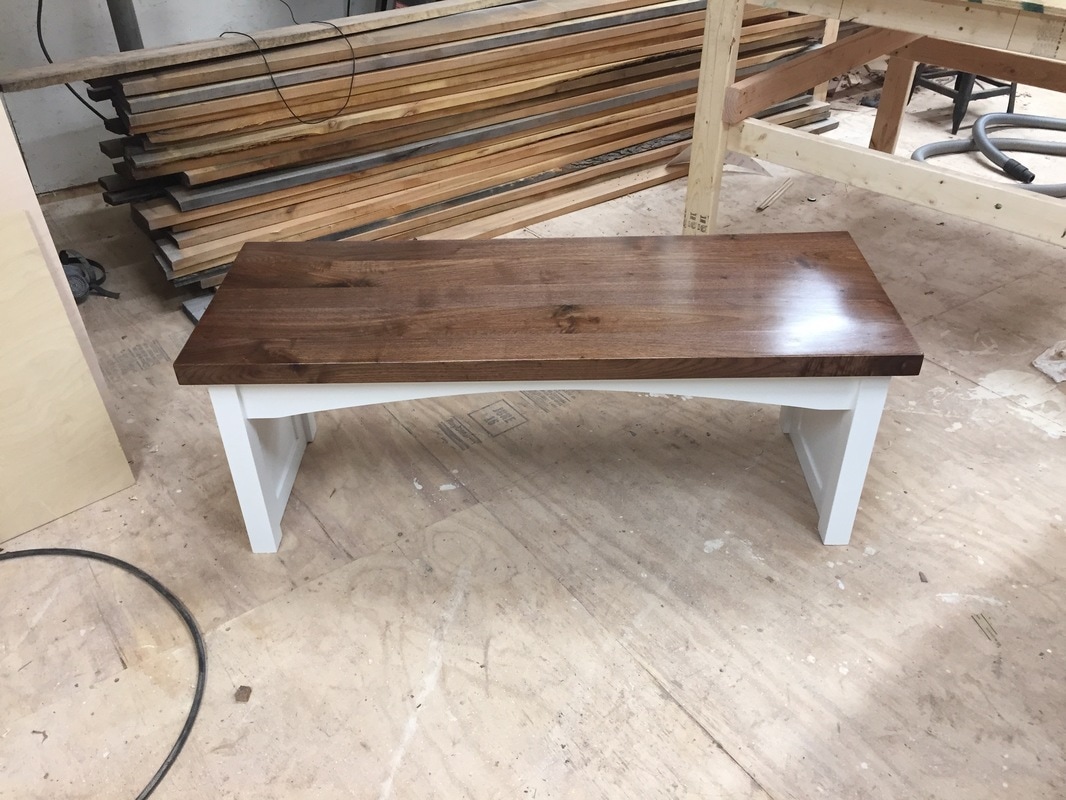
Details make woodworking projects fun and interesting. These are the two skirt pieces. A simple arch on these take the bench from chunky and boxy to slim and interesting.
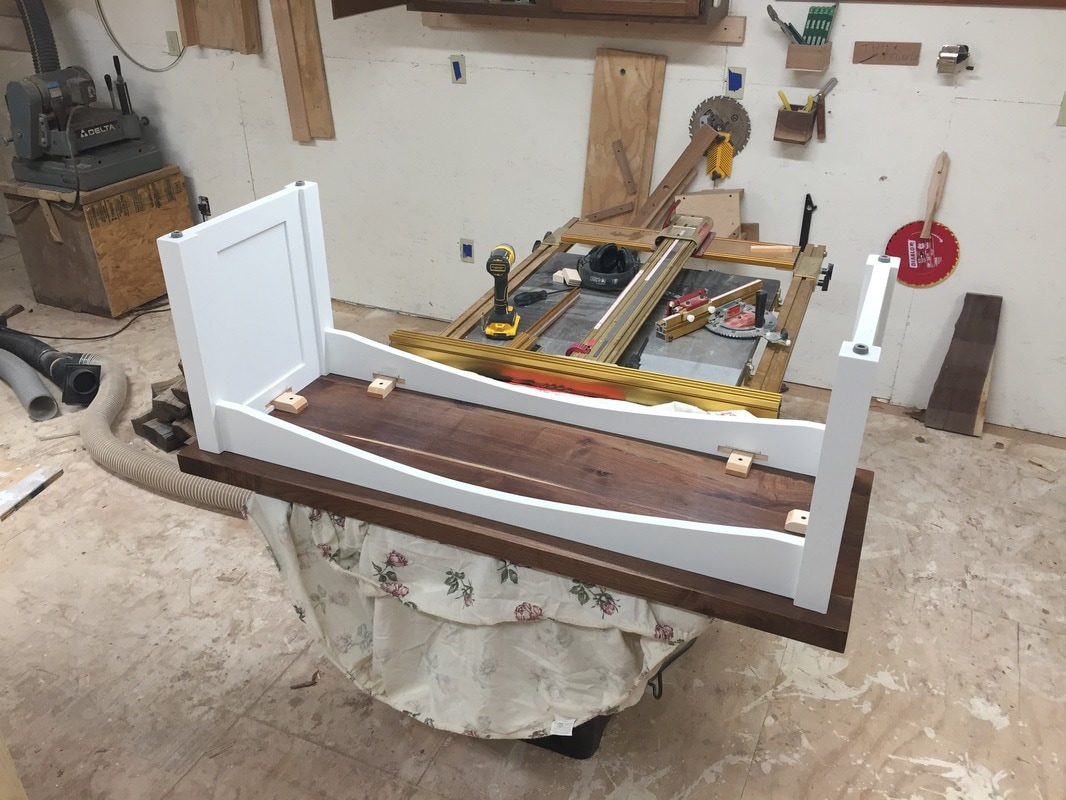
The side panels slide into dados cut in the legs and the skirts are joined with mortise and tenon joints. The base is mostly compete at this stage.
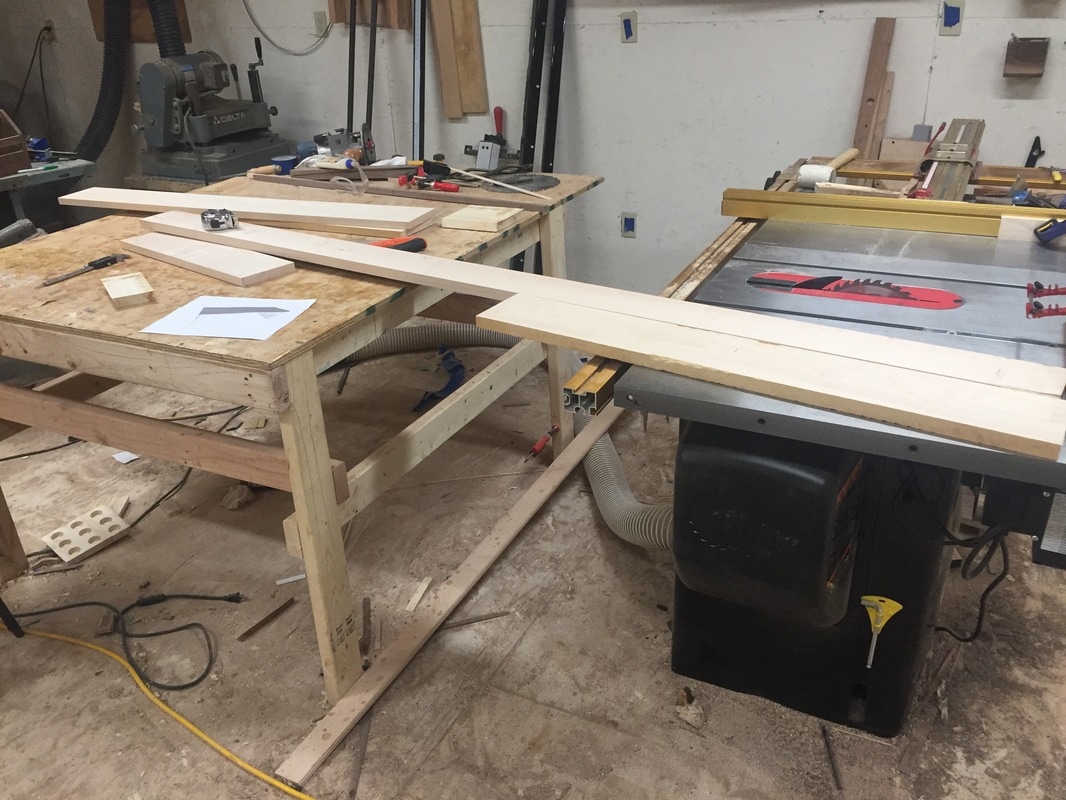
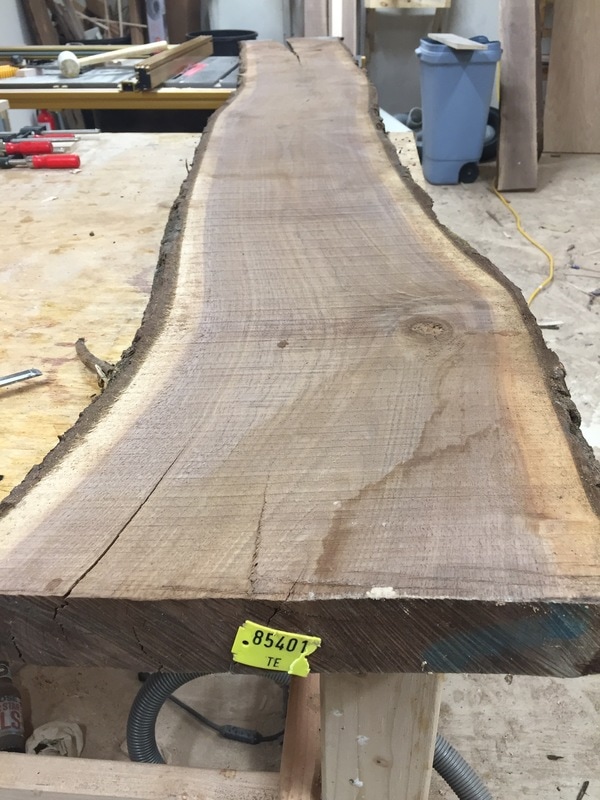
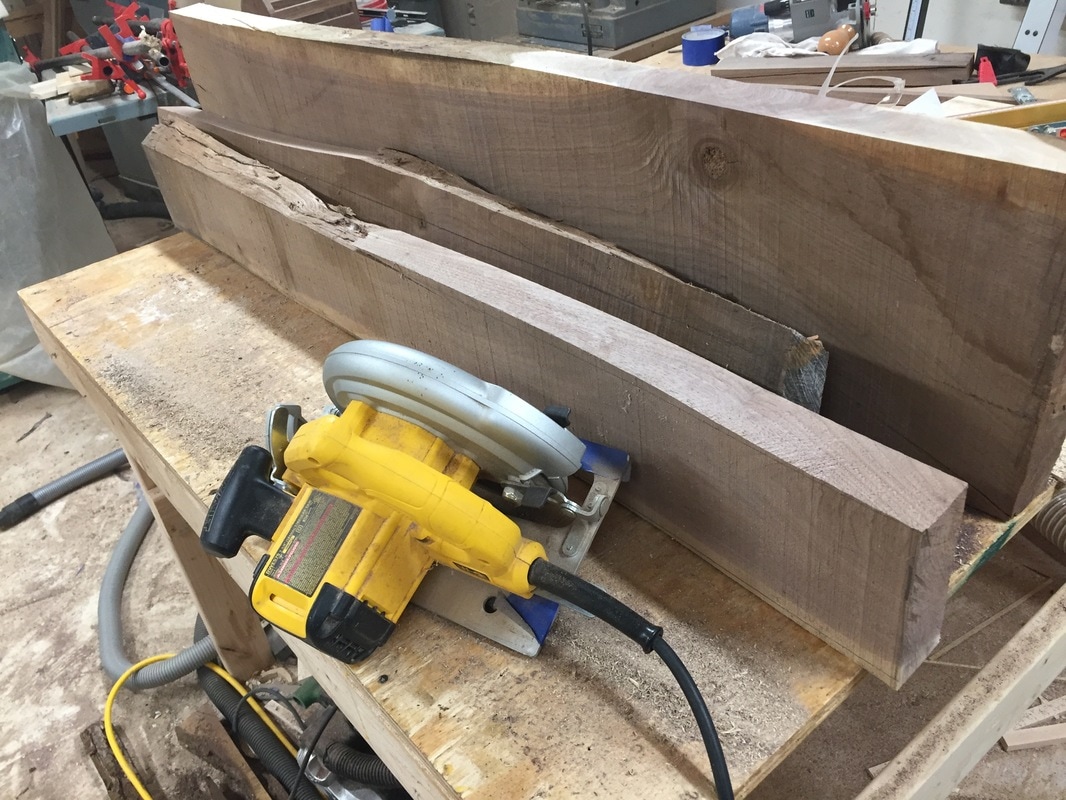
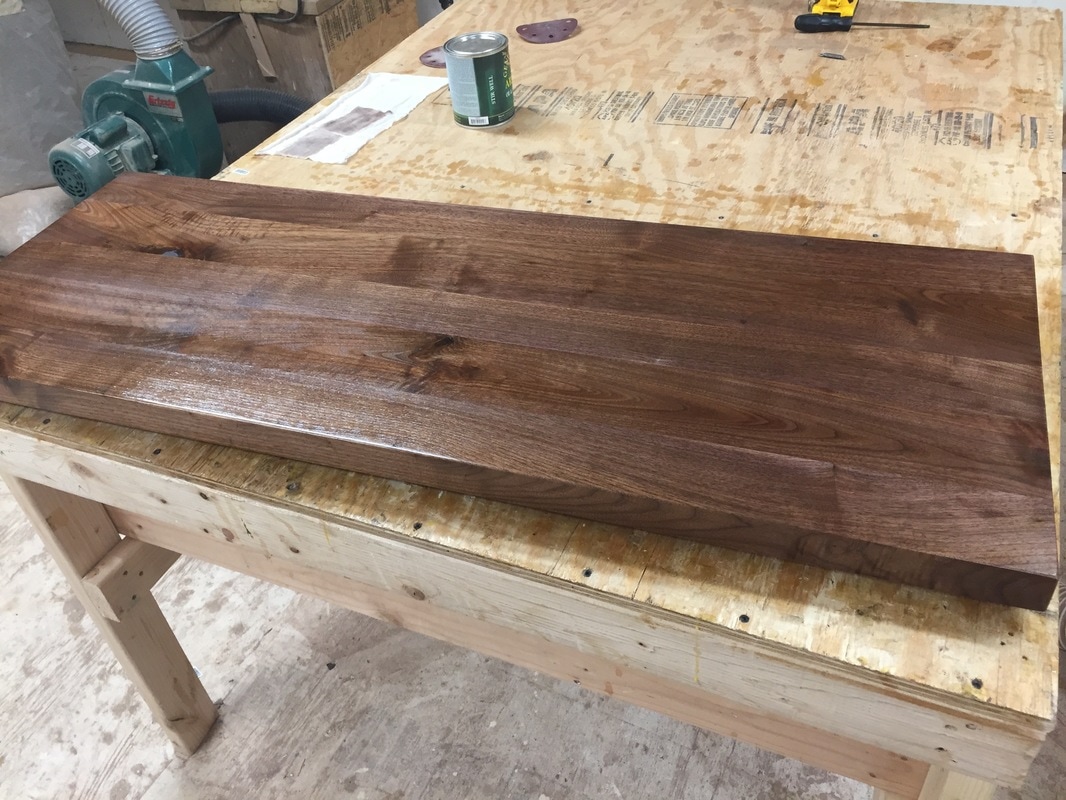
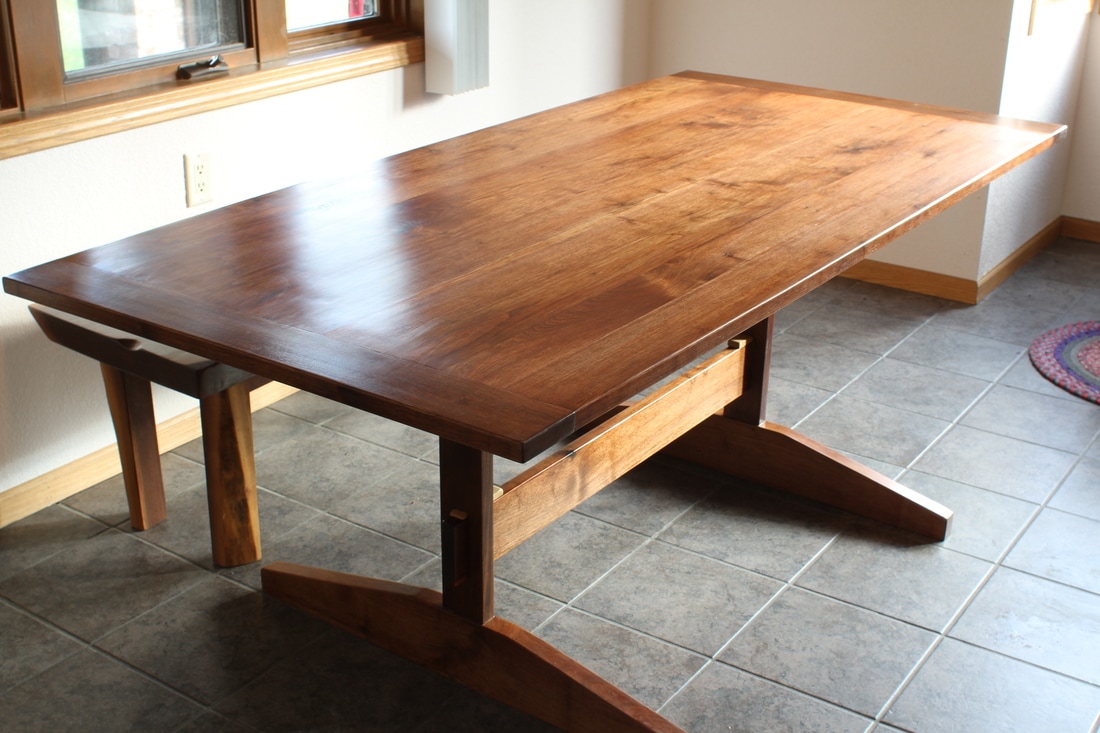
Breaking down big slabs can be challenging. This one was 2" thick, 11-13" wide and almost 9' long. It came from a local sawer down by me.
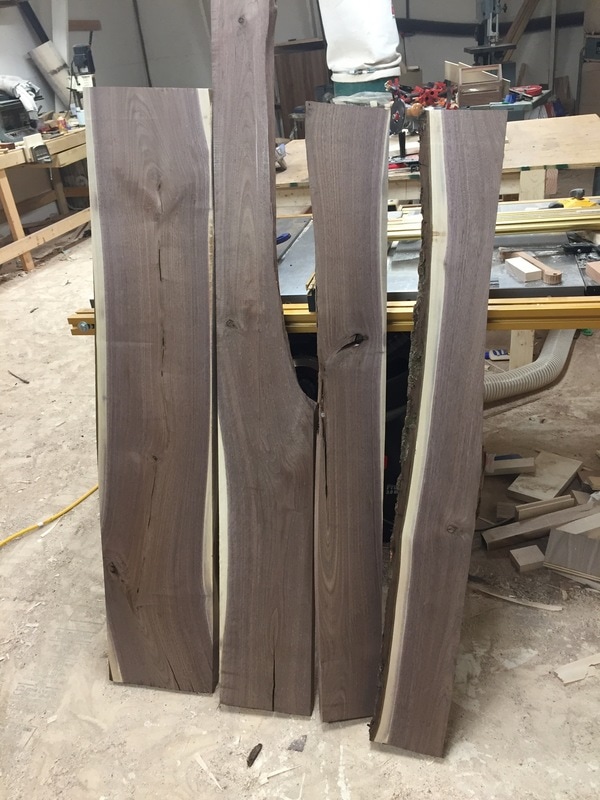
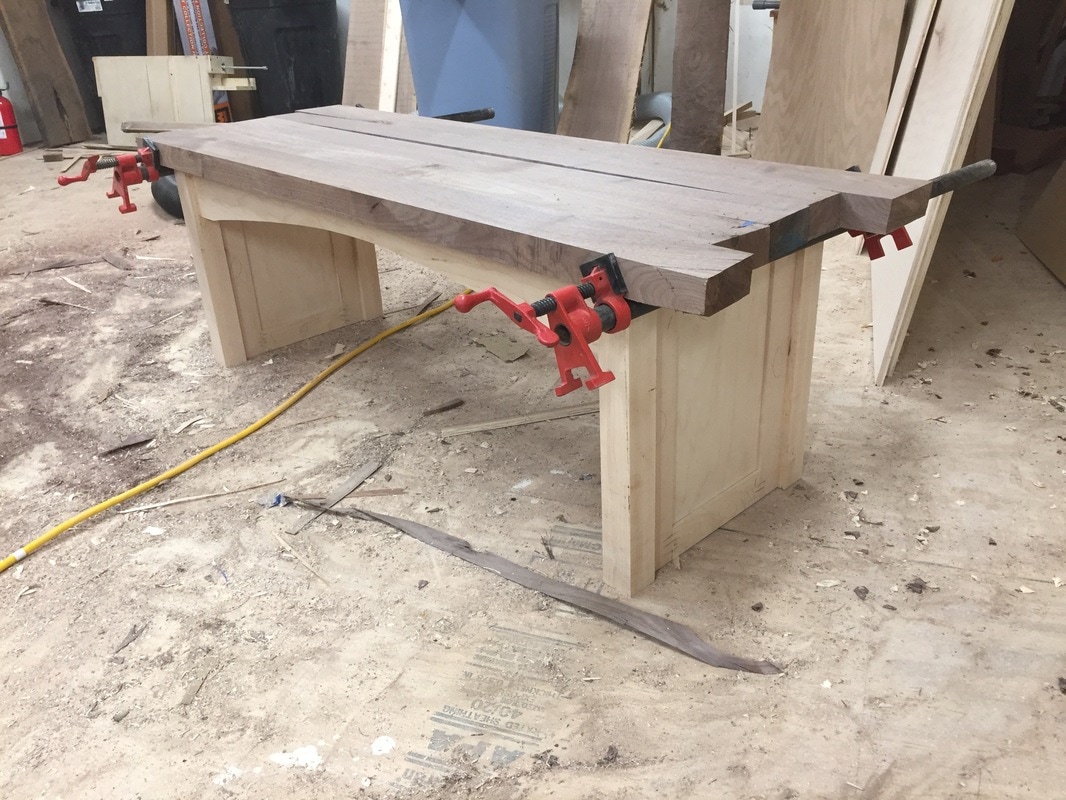
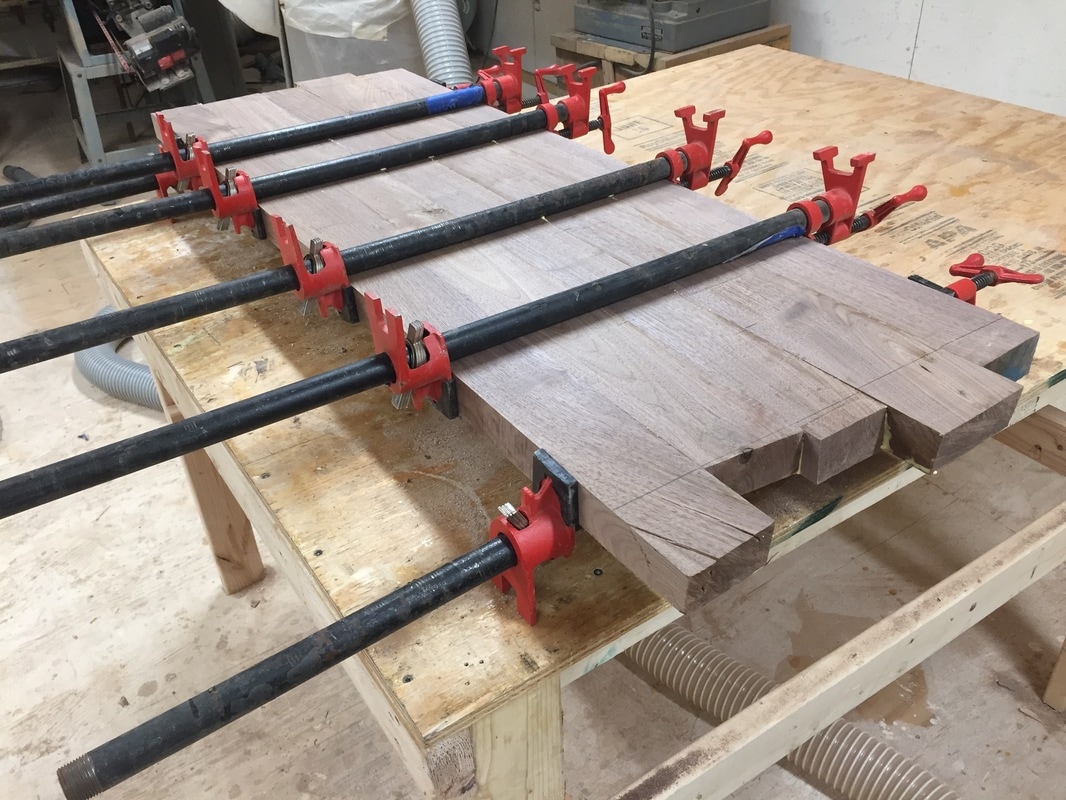
I used biscuits to line up the boards for the glue-up. Normally I would just do one board at a time, but this certainly made it go much faster.
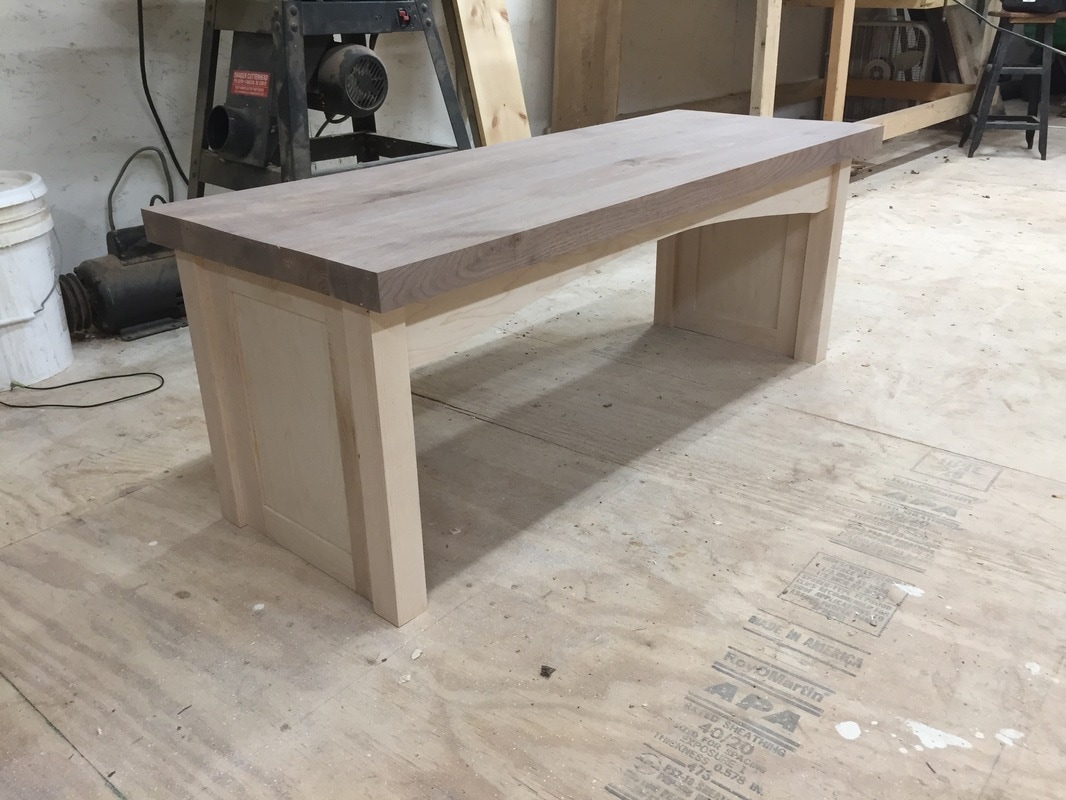
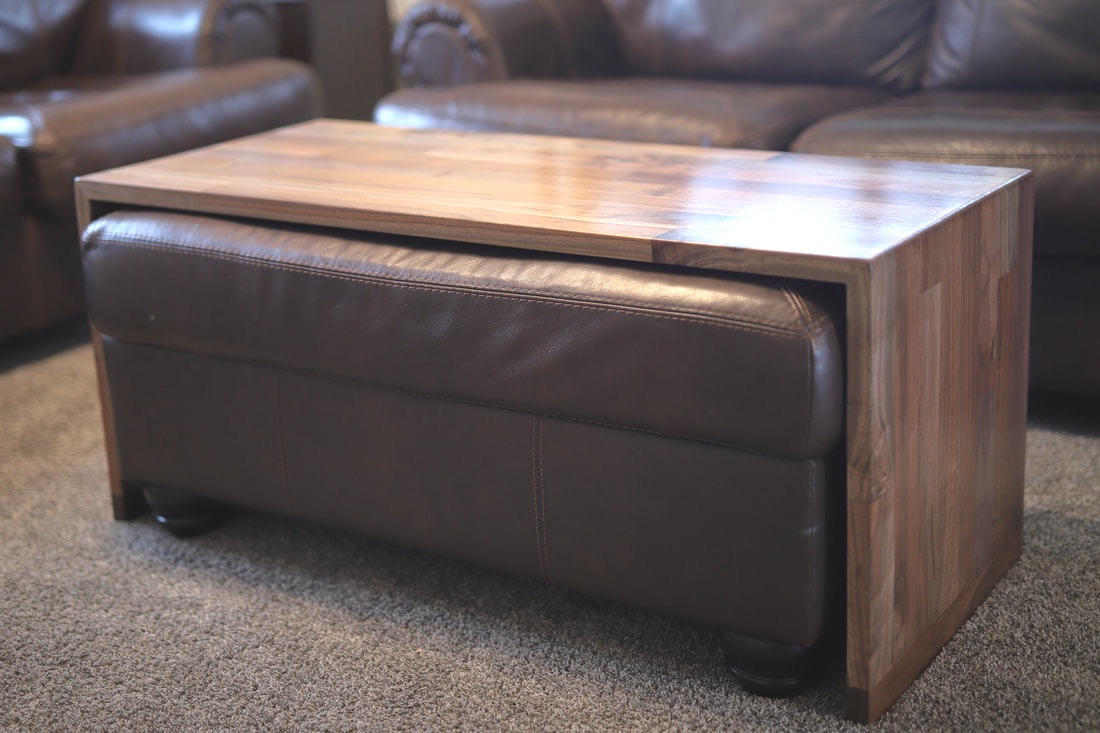
The top got five coats of Arm-R-Seal semigloss poly and the base got two coats of primer and two coats of Sherwin Williams Pure White Satin. Tabletop buttons hold the the two together and allow for wood movement. 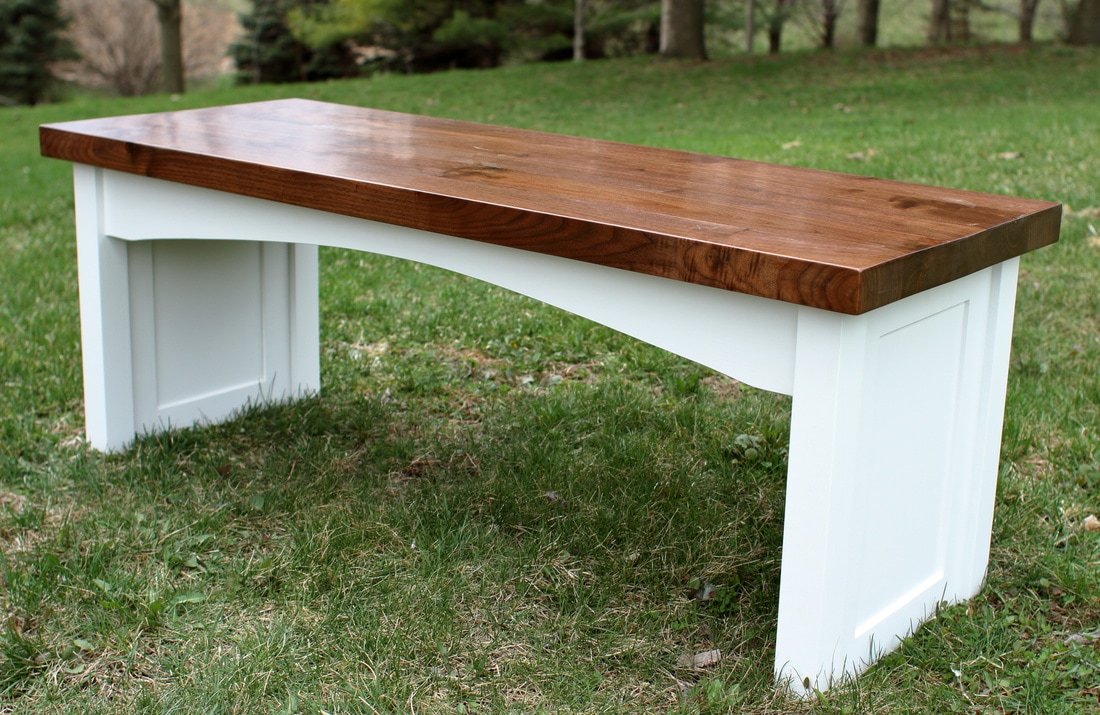   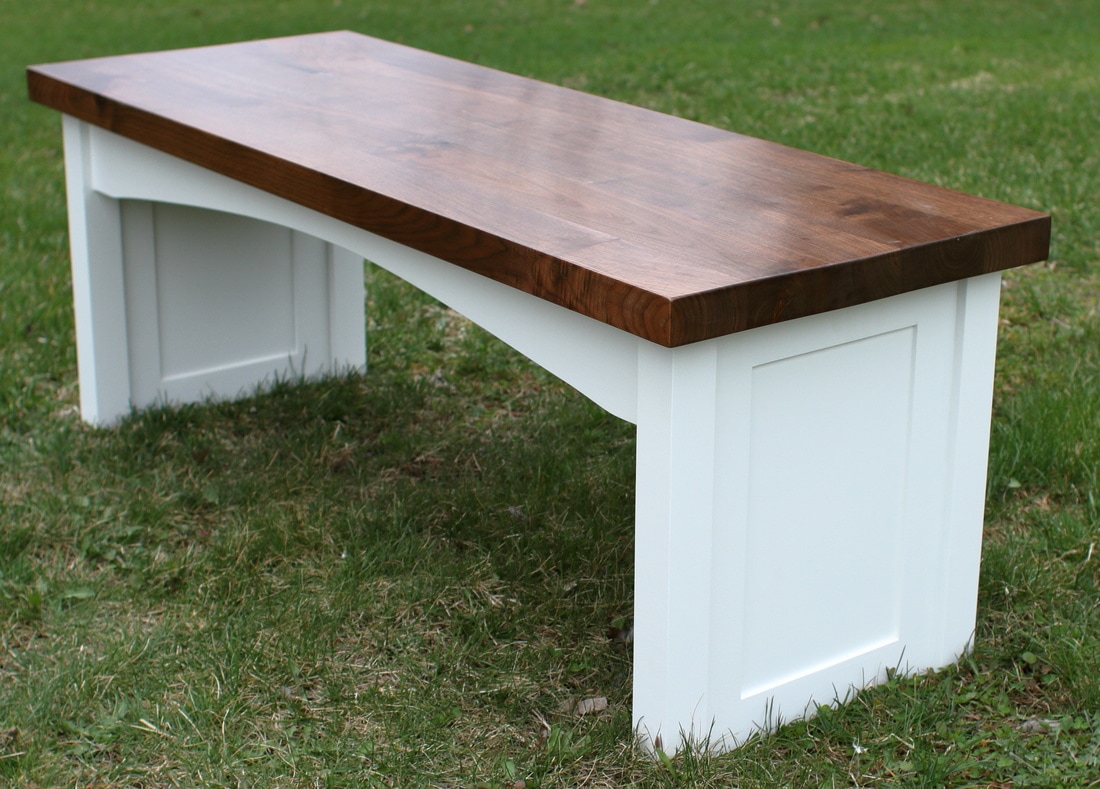 It's always fun working on new projects. This one took me out of my element a little bit with the painted finish but I'm really pleased with how it turned out and I hope Bob is too.
1 Comment
9/18/2018 08:37:39 am
Hey There. I found your blog on Google. That is a very smartly written article. I’ll be sure to bookmark it and come back to learn extra of your helpful information. Thank you for the post. I’ll definitely come back. Leave a Reply. |
Aaron Whalen:A blog about woodworking in Southwest Wisconsin Previous Projects
Archives
February 2024
|