|
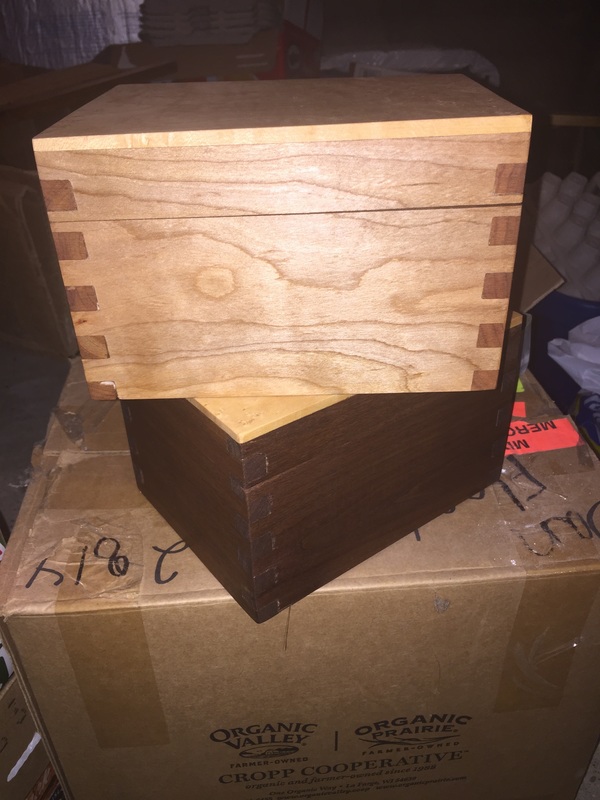
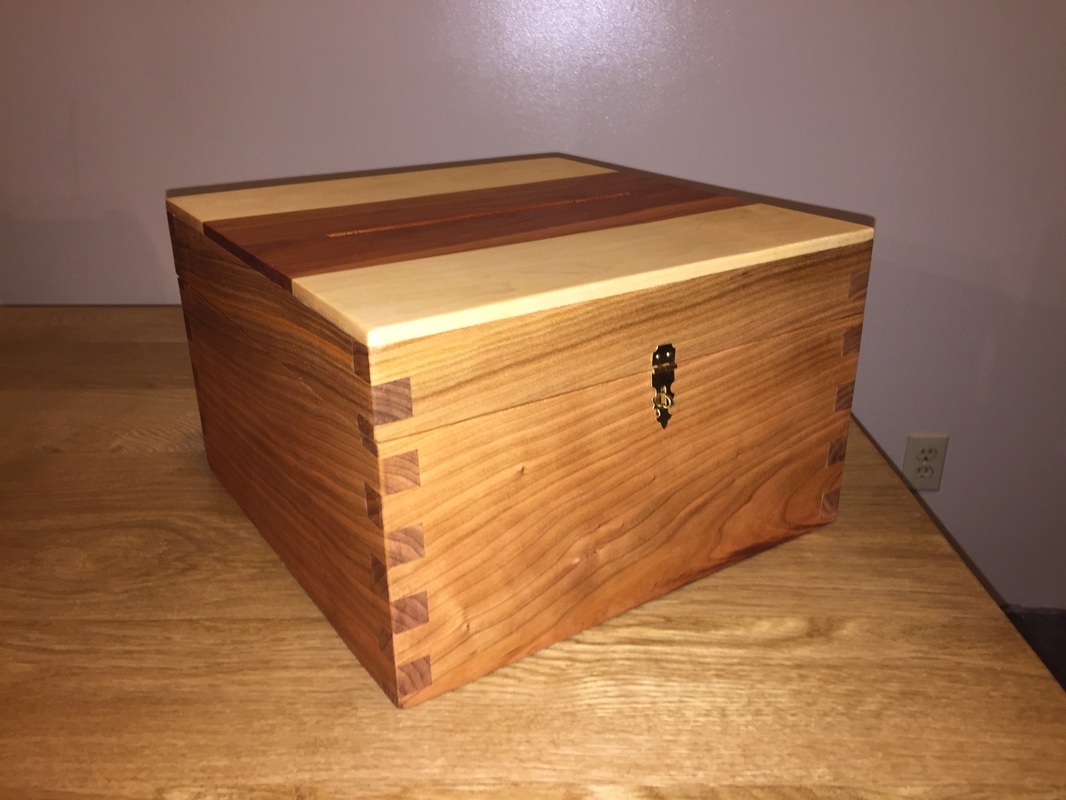
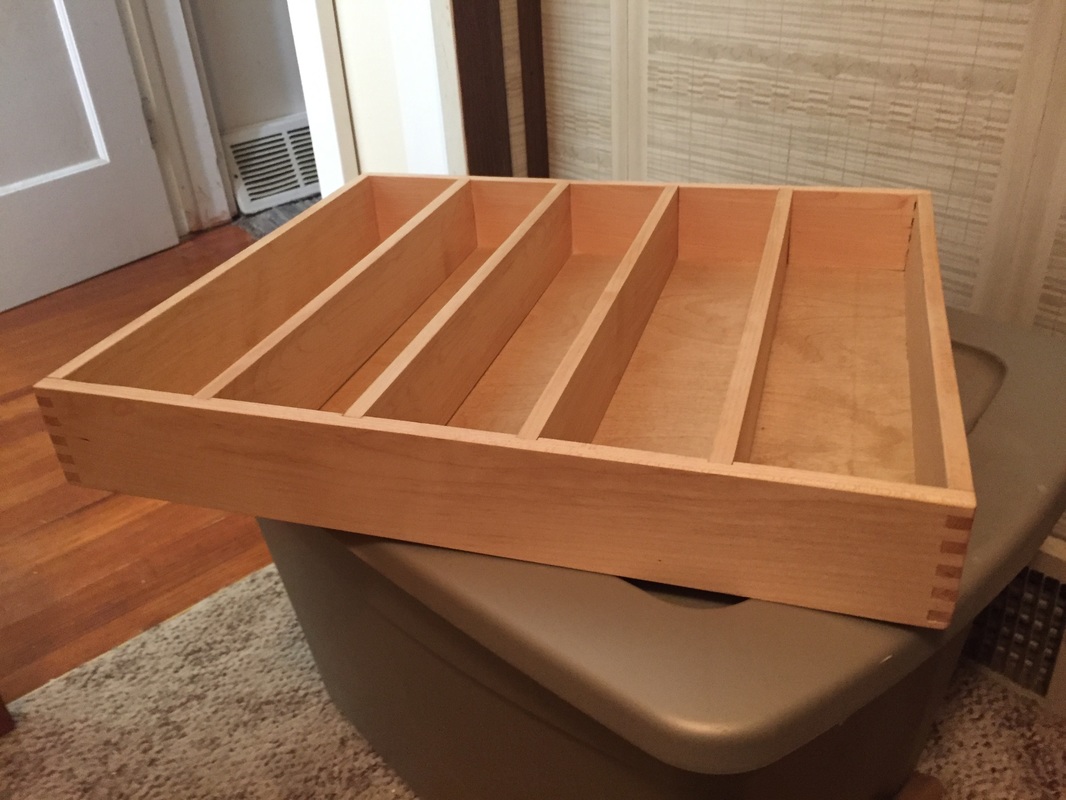
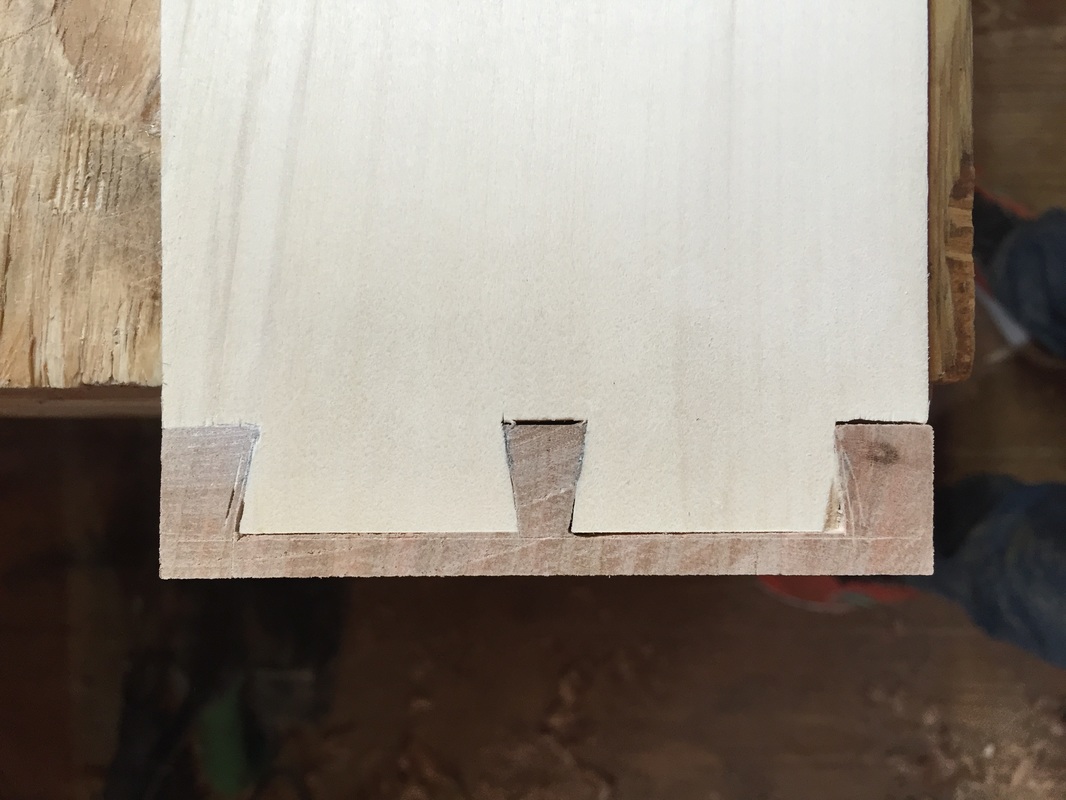
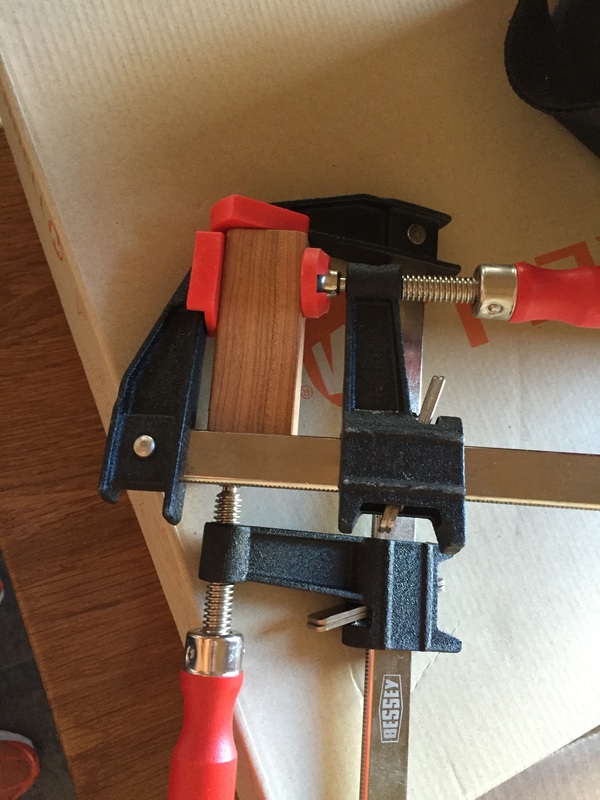
This was a request from a guy at work. He has a tiny kitchen drawer that he wanted a silverware organizer for. The box was to be 7" wide and 9" long with 3 slots. I wanted to finish this in one night so there aren't many build pics. I started by re-sawing some birch down to about 3/8" and planing it smooth. Next, mitered the corners so the outside dimensions were 7"x9" and cut a rabbet in bottom for the 1/4" birch plywood. Here is the handy strap clamp I used for the glue-up. I tried standard clamps but that was almost impossible. I confirmed that his knives would fit better than this. 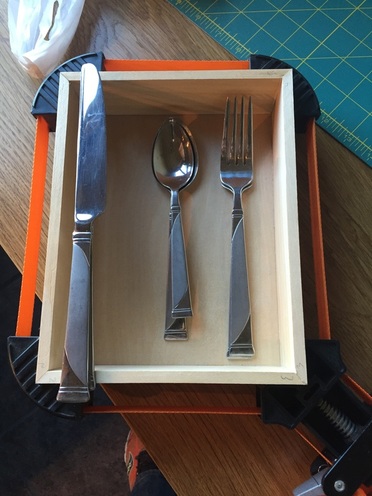 I wanted to add some strength and flare to the simple box so I went with some splines for the miters. I had never used this in a build before so I had to build a attachment for my table saw sled first. Here it is in action: 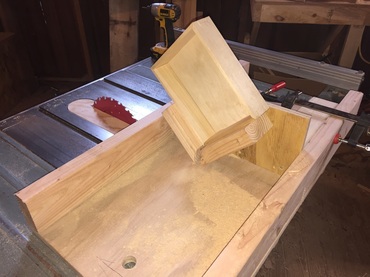 Next I trimmed some black walnut scraps down to the correct thickness and glued them in place. 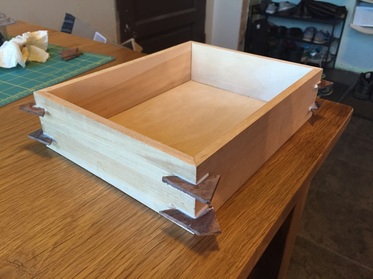 After trimming the splines and sanding the outside, it was time for the dividers. I cut some more scraps for spacers during the glue-up and set them into place. 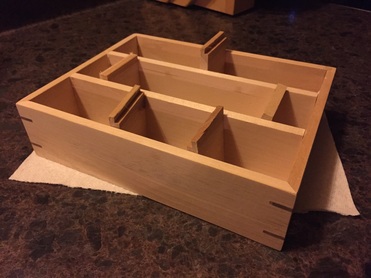 Two coats of butcher block oil for a non-toxic durable finish and it's ready to go! Thanks for viewing and as always if you have any questions or comments please let me know. 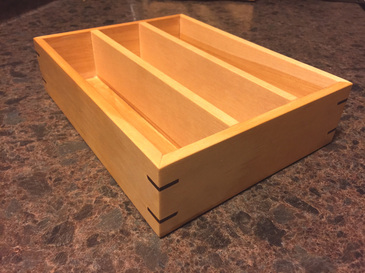
0 Comments
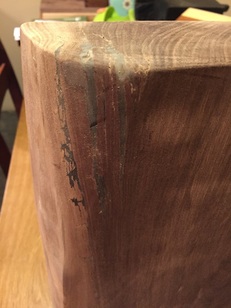
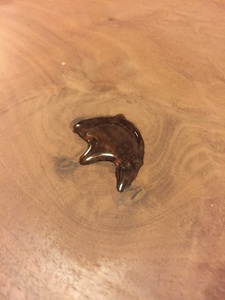
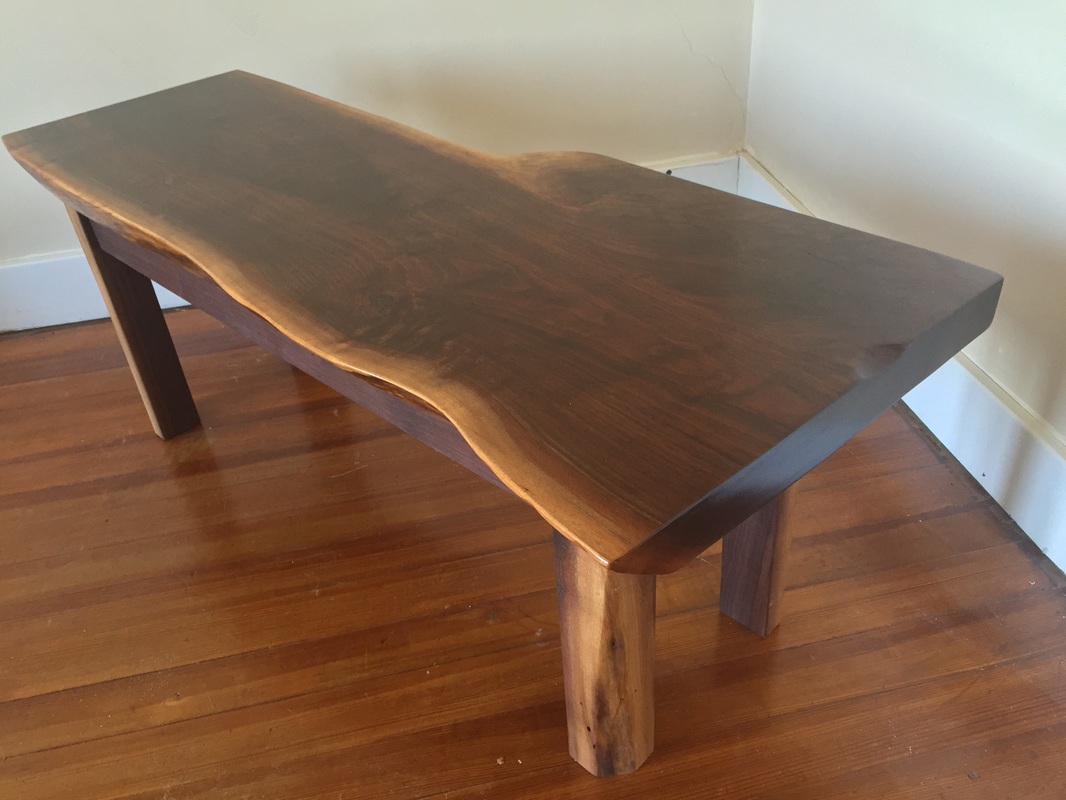
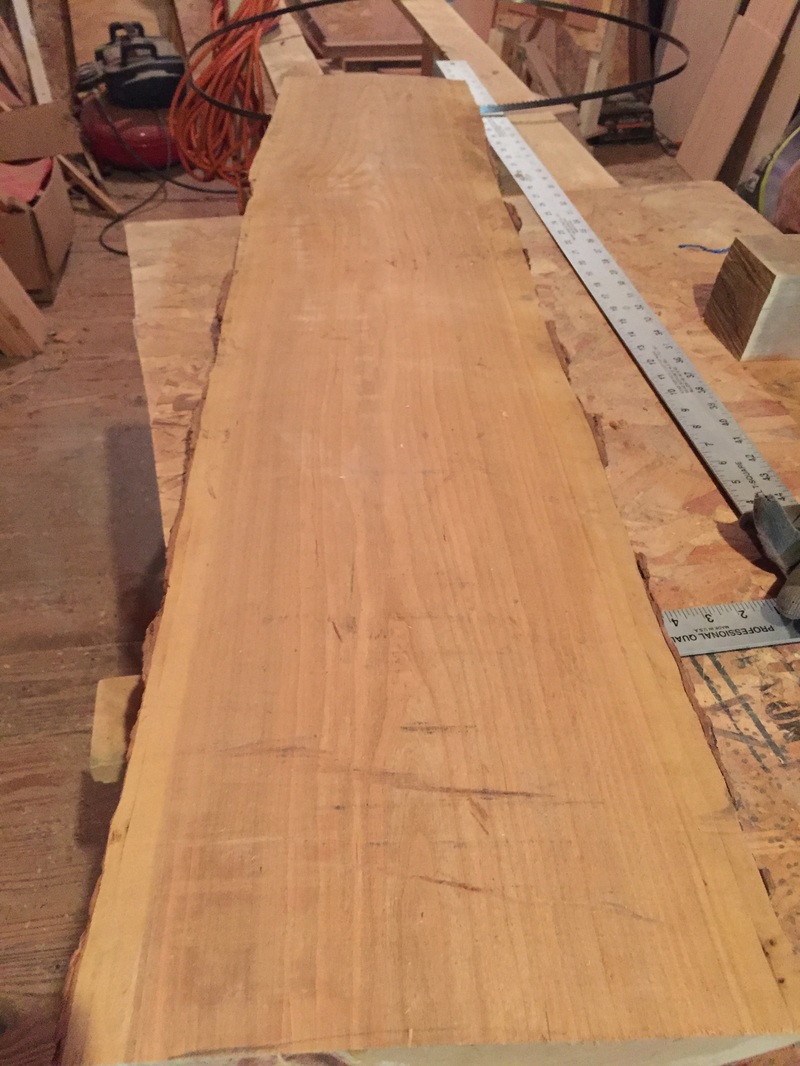
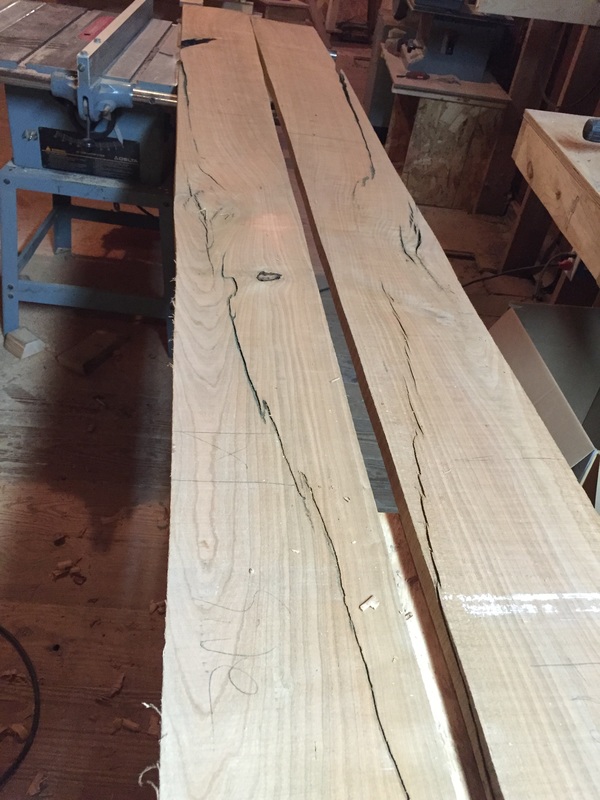
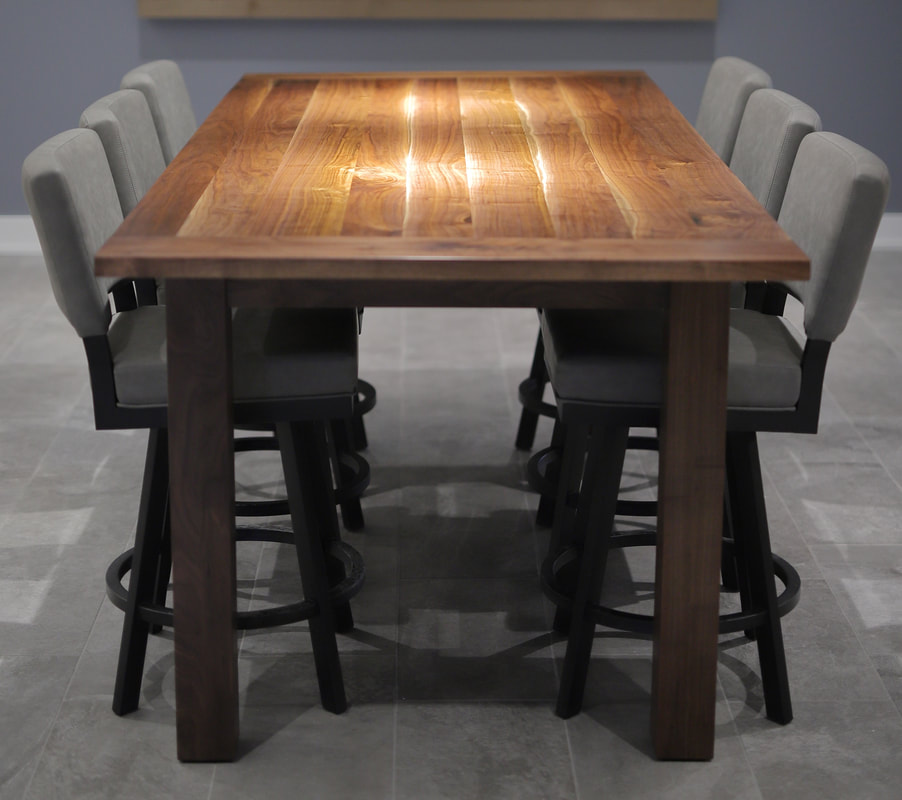
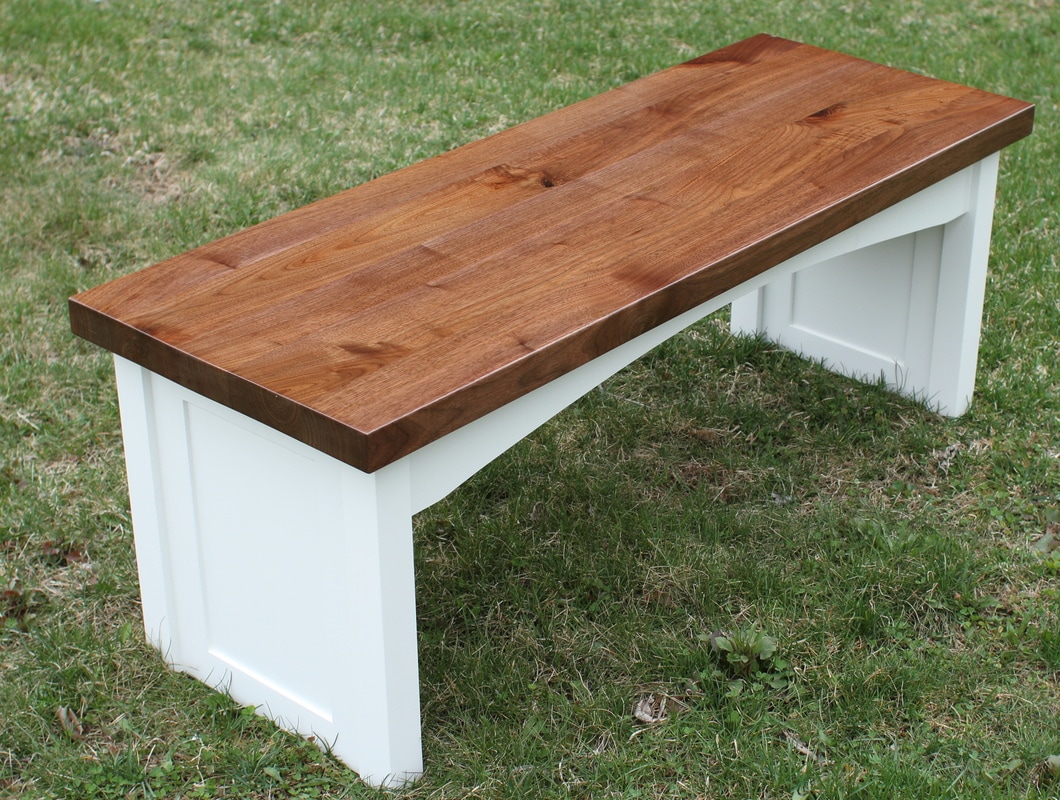
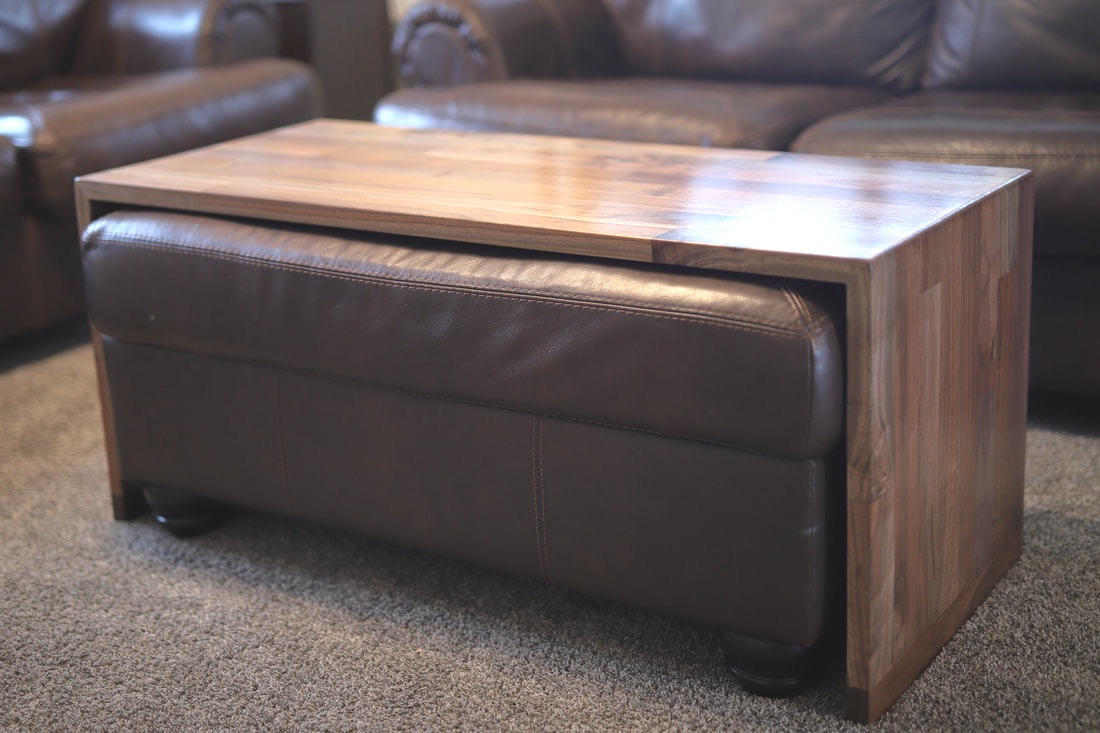
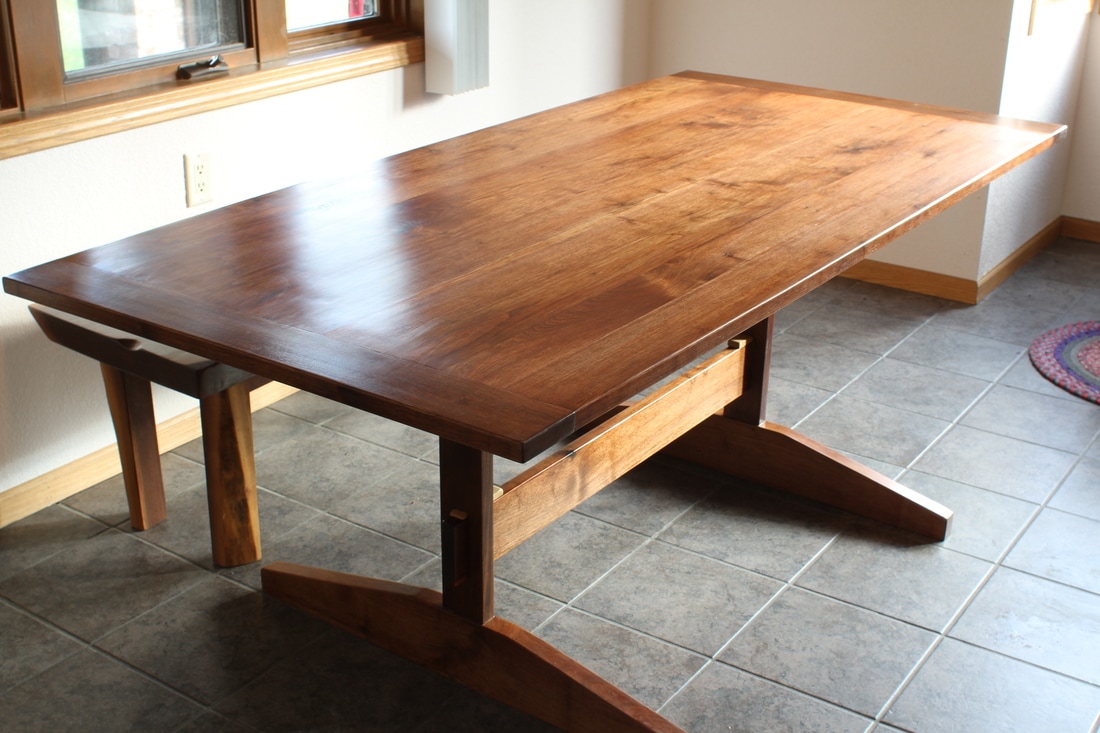
I purchased this slab last fall. At the time of purchase, I didn't really know what I wanted to build out of it but I couldn't pass it up. It was so dusty from years in storage and had a pretty significant twist in. I couldn't really tell what was hiding in it. 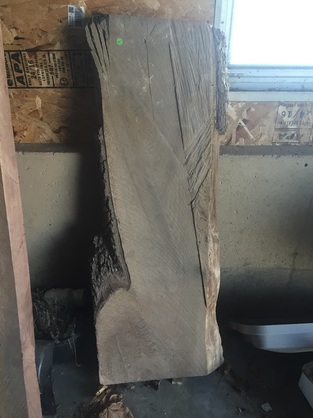 I tried hand planing the slab for 3 nights.. The twist ended up being much worse than I had thought it was, but the piece had a beautiful grain pattern. 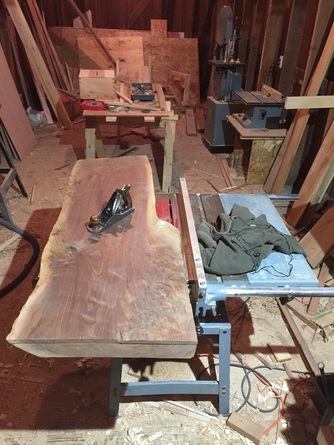 Finally I gave up on hand planing and built this router sled. In 20 minutes I did more work than the previous 3 days. This made a huge mess in the shop. 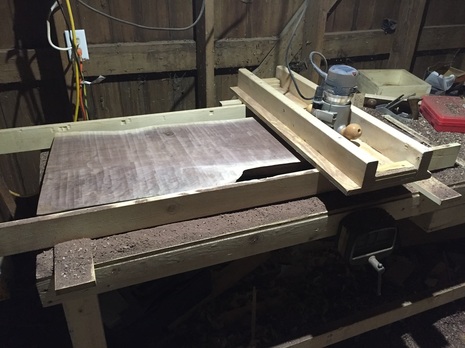 There were a few minor cosmetic repairs to do. A little bit of epoxy filled them right in.
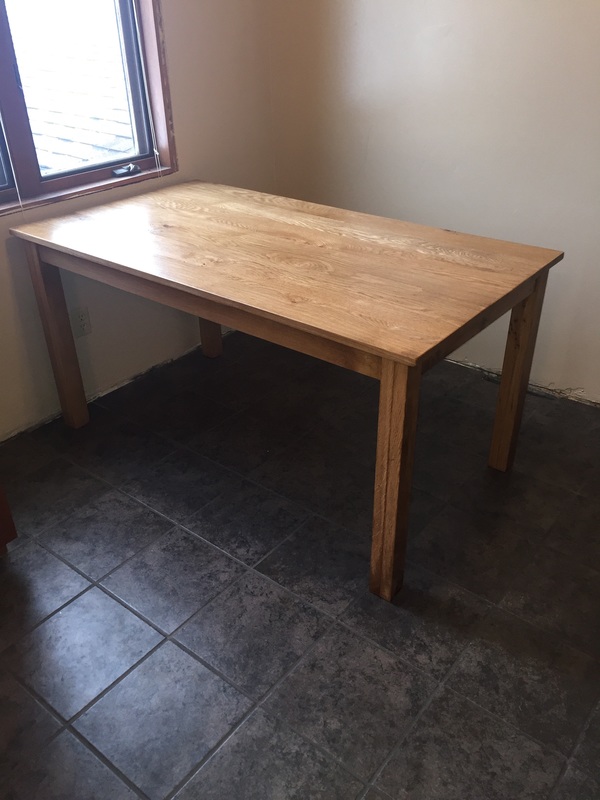
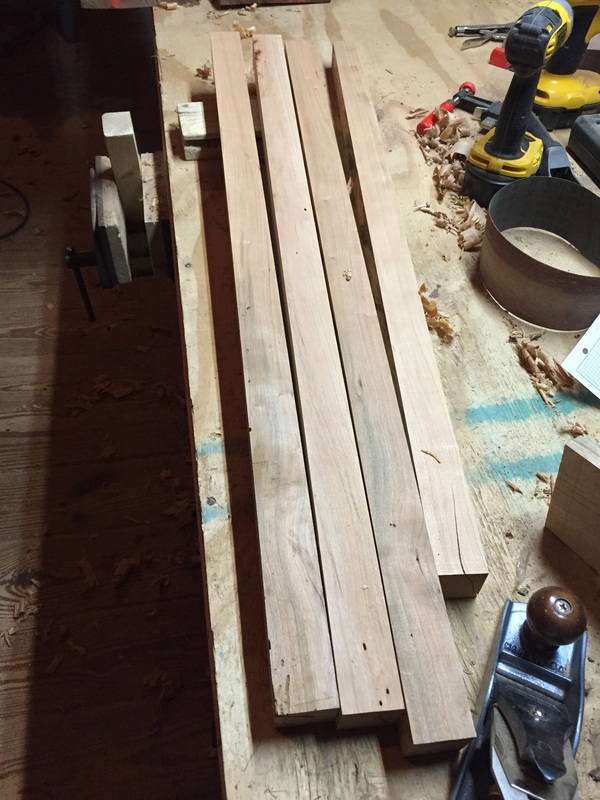
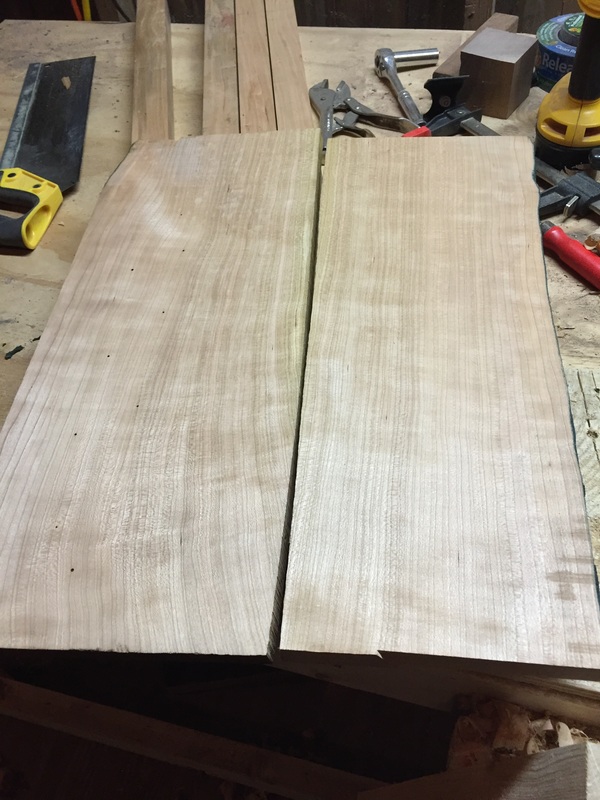
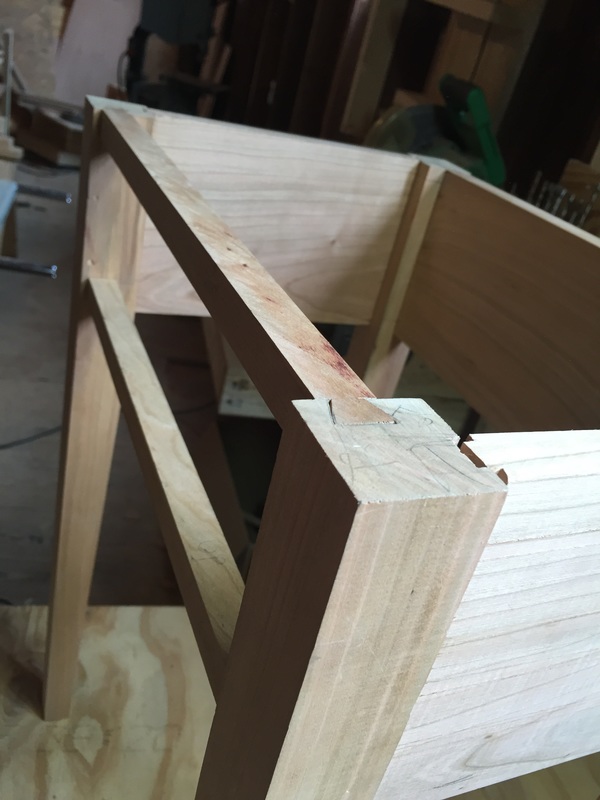
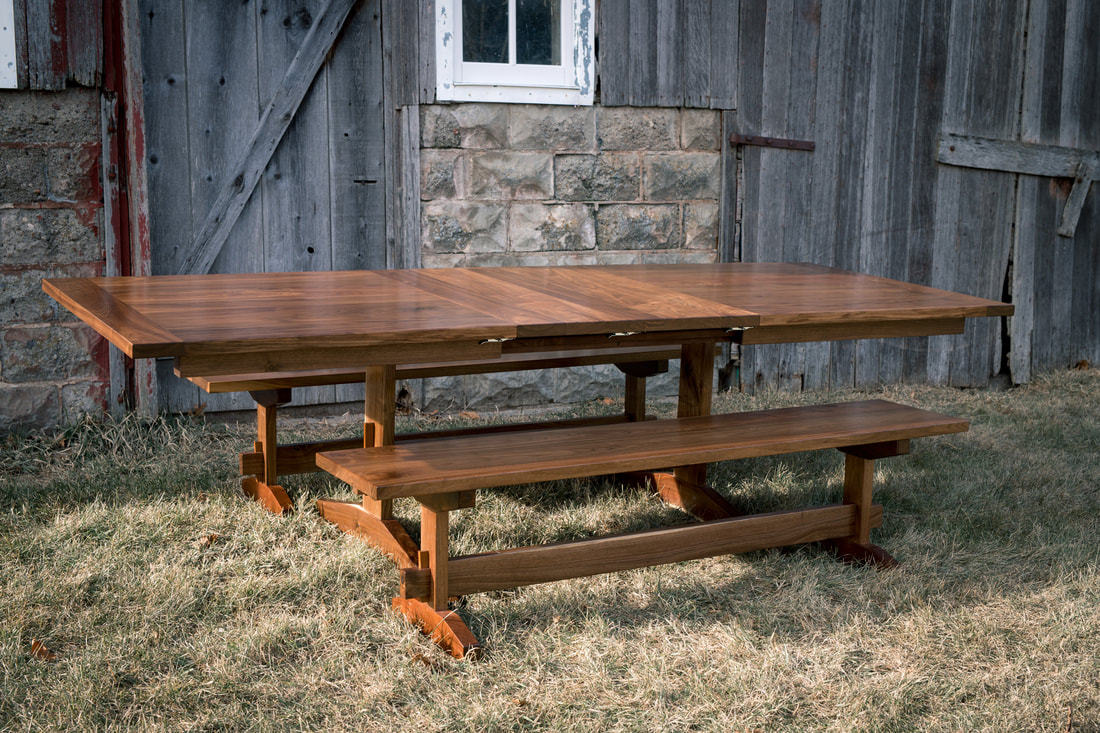
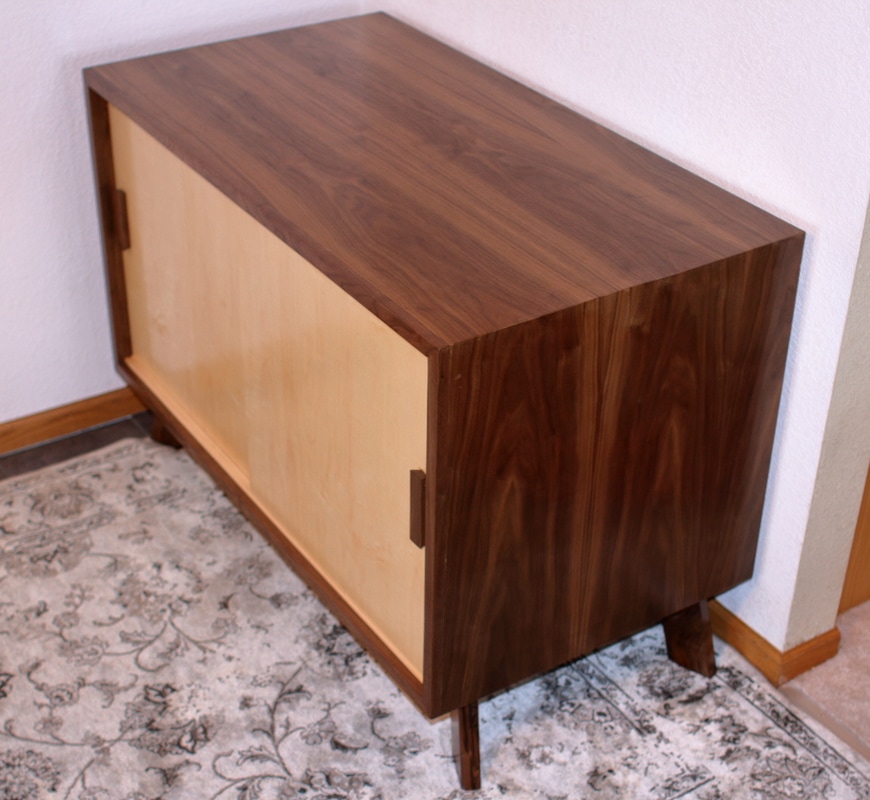
I don't have any build pics from the base except glueing it up. I used the sapwood cutoff for legs and made mortise and tenon joints for the table skirt. I didn't clean the live edge up very much to keep it as natural as possible. 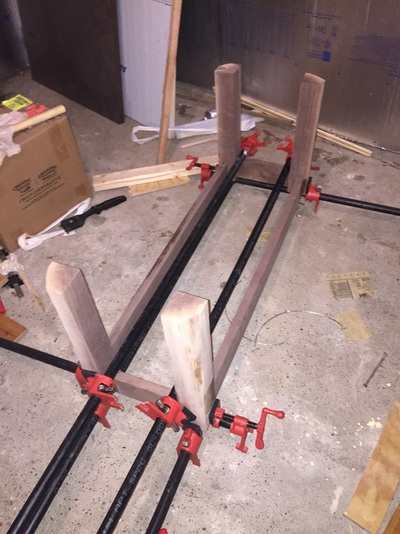 Here is the completed base, ready for the finish. 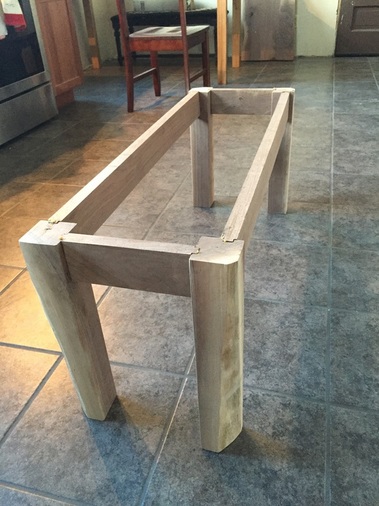 After several hours of sanding, the top was ready as well. 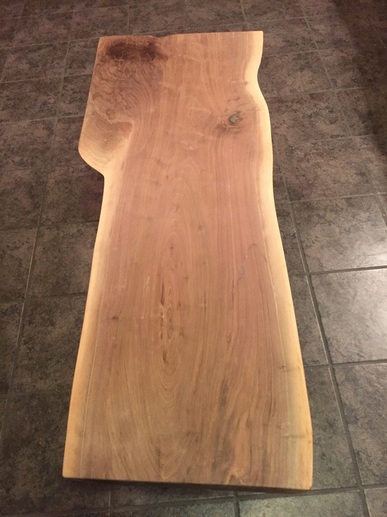 After one coat of boiled linseed oil, the grain just pops out. This was from the base of a tree a crotch creating some beautiful grain pattern. 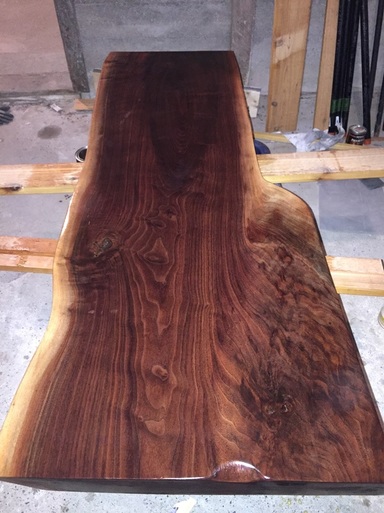 Tabletop buttons hold the base to the top. This will allow for wood movement and prevent the top from destroying the base as it expands and contracts with the seasons. 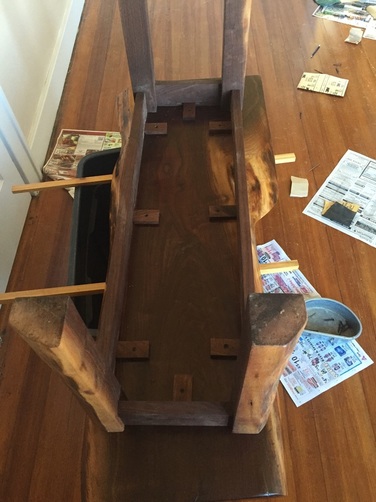 Finished coffee table. Two coats of boiled linseed oil on the whole thing. Six or seven coats of General Finishes semi gloss poly on the table top for long lasting durability.  Thanks for reading! If you have any questions or suggestions for my next project please let me know in the comments or email me at [email protected].
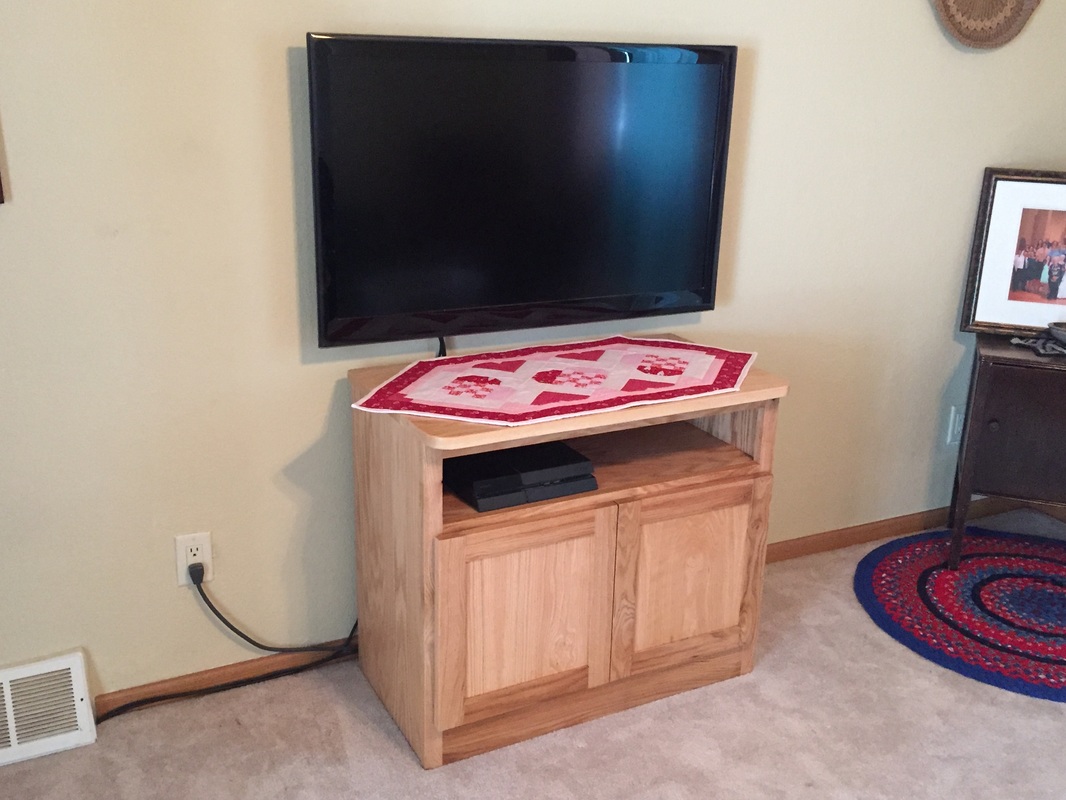
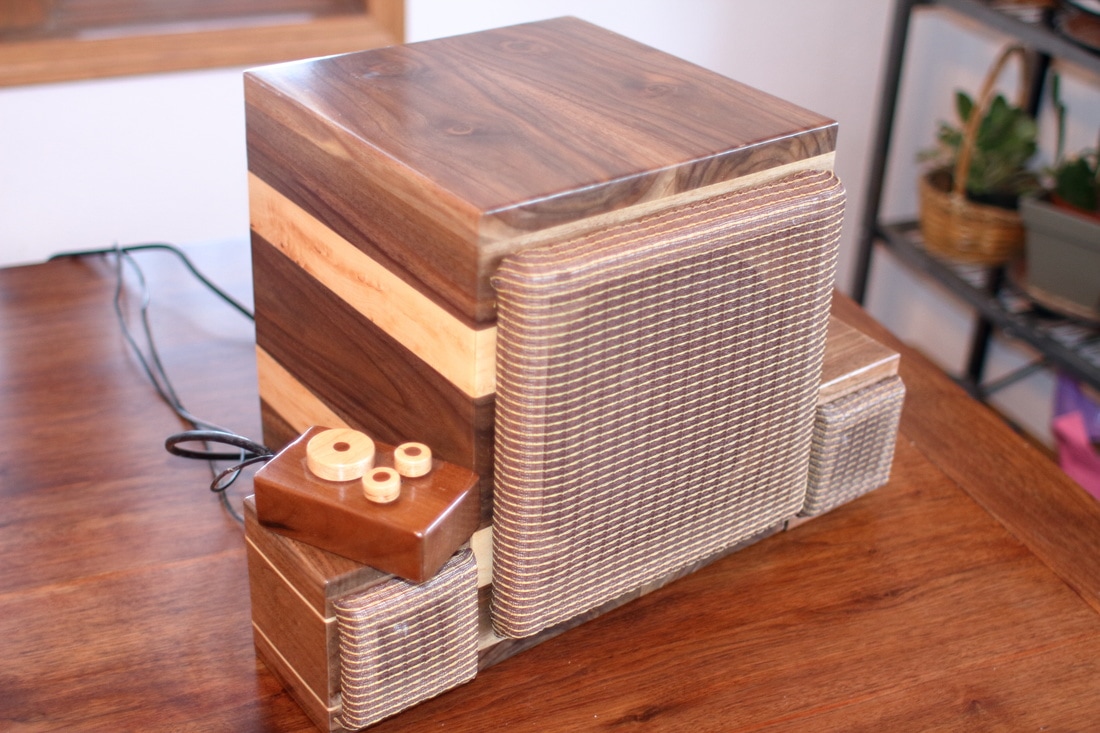
These are just some of the projects I have done in the last year. Most of the small projects are gifts for people. All of the furniture is for our home. Spring is here and with it comes outdoor activities and the return of grilling season. Inevitably this results in dusting off the bags, lawn darts and golf-balls on a string ladder game. This spring and summer you can bring the fun to the part with GIANT STACKABLE BLOCK GAME! It has all of the fun of the standard indoor version but will make your mother happy because you'll be playing outside finally.  Finished product first 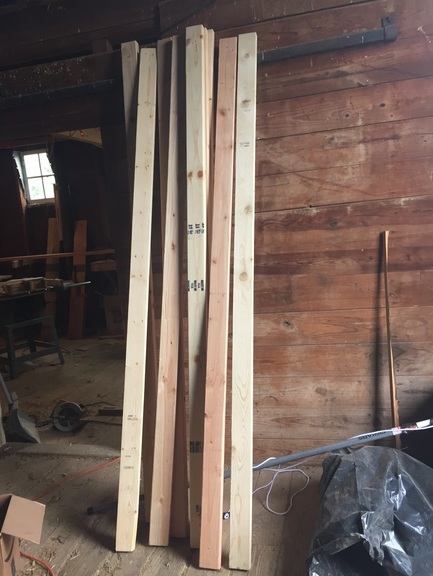 Try to pick decent material. Straight, very few knots, no chips or splits 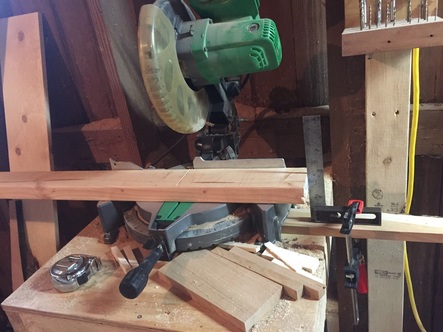 Set up a stop block at 10.5" to make cutting go quickly 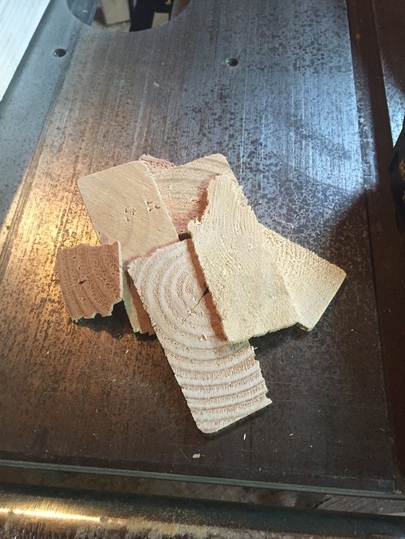 This is the waste I had left over from making 54 blocks. I like to work efficiently. 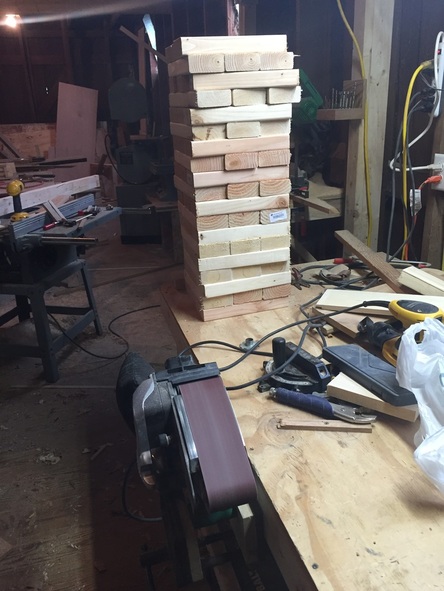 Sand each edge, repeat 53 times 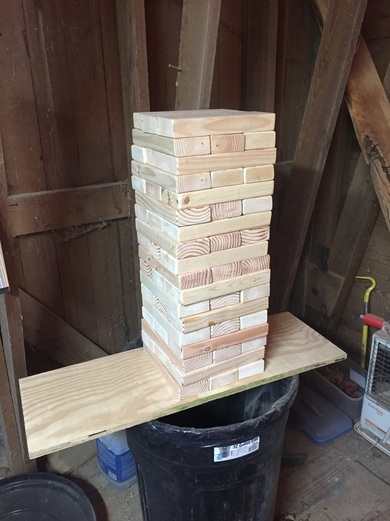 Finished product ready for the party! 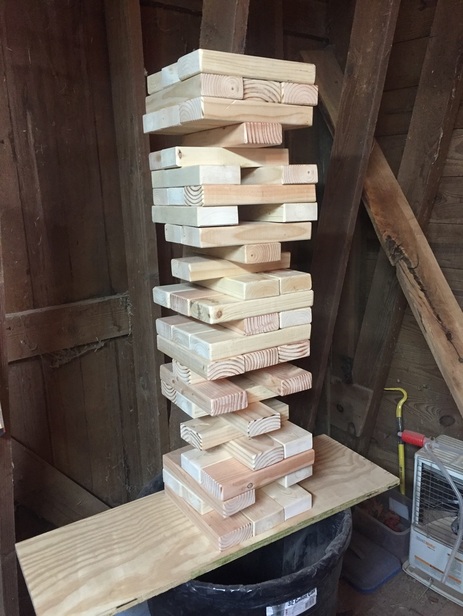 How high can you build it? Remember - only one hand can be used to remove the blocks. Happy building!
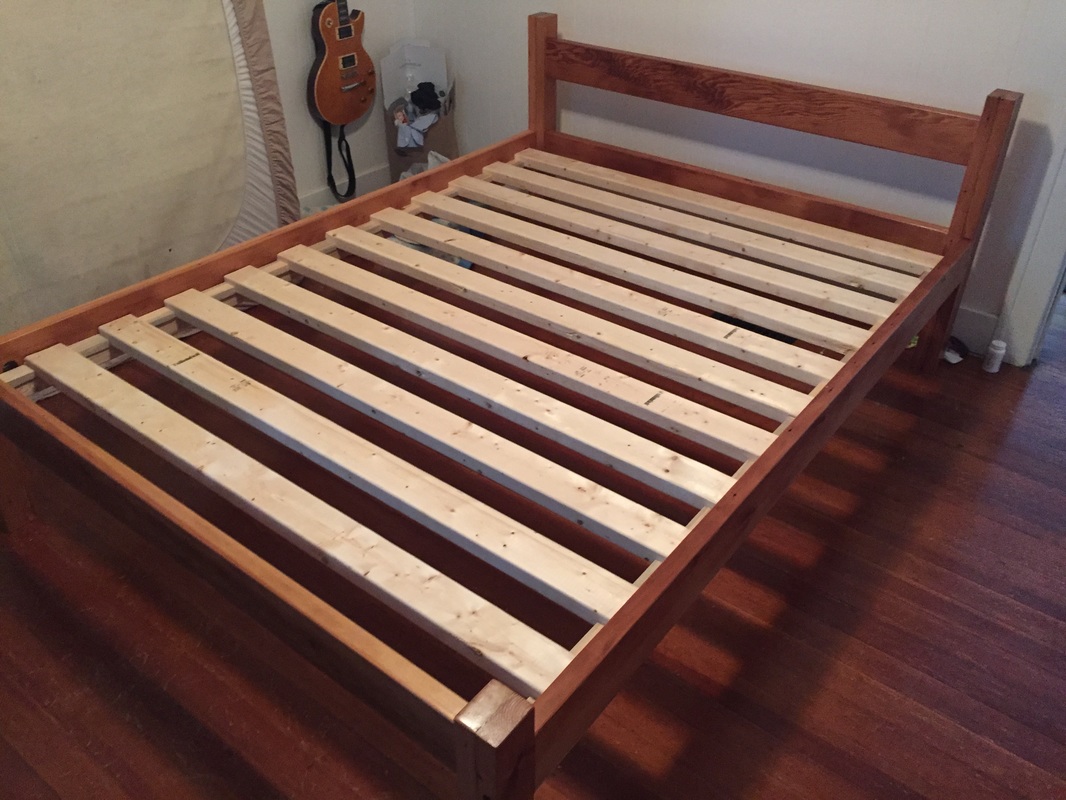
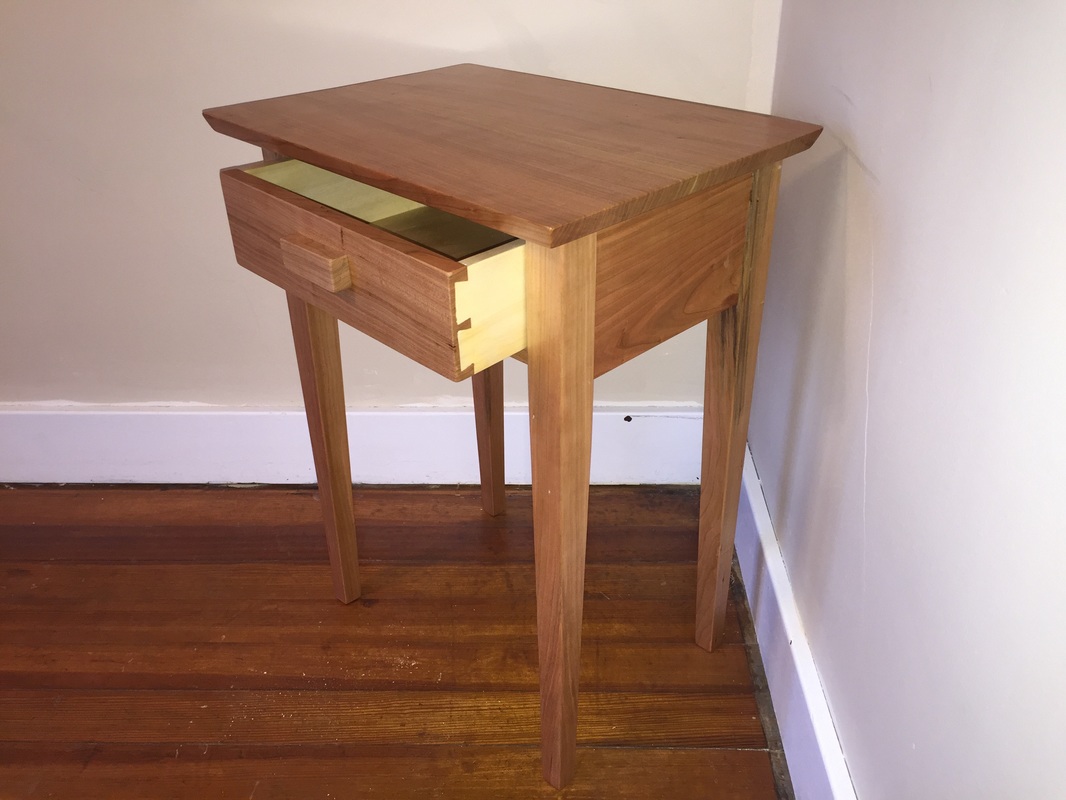
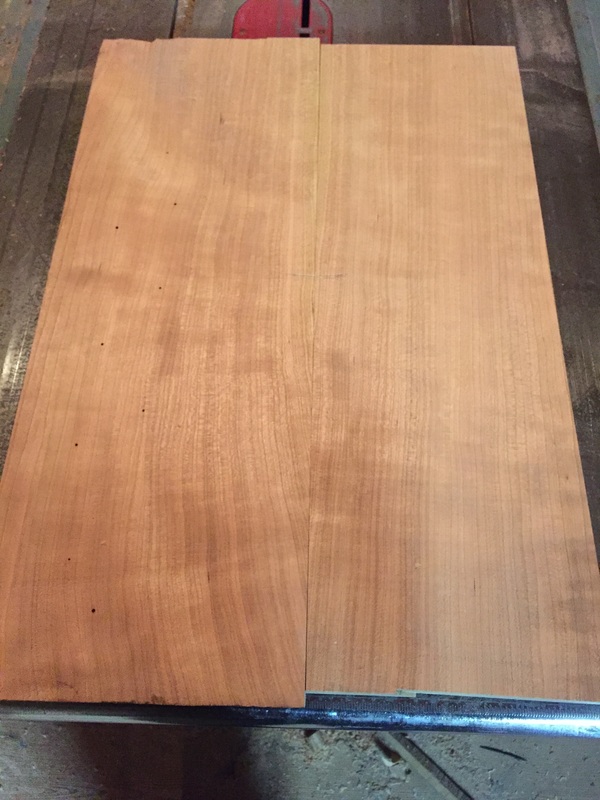
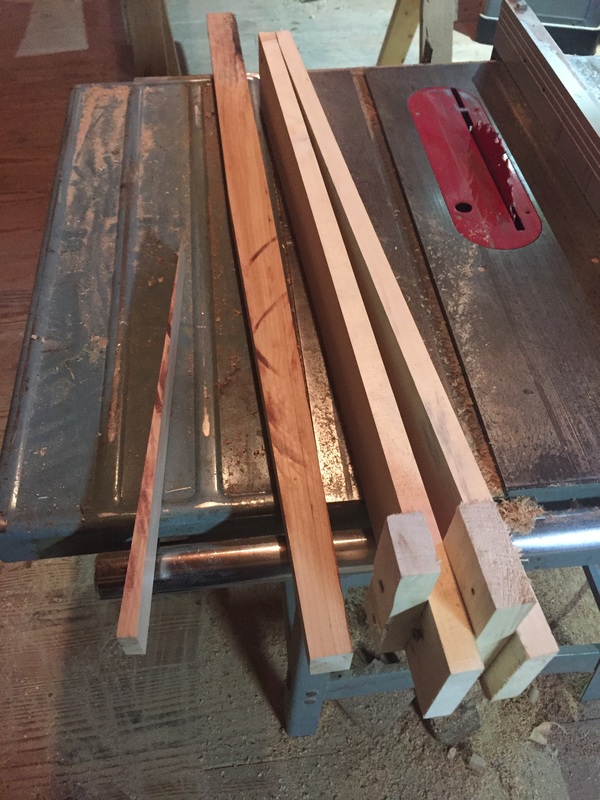
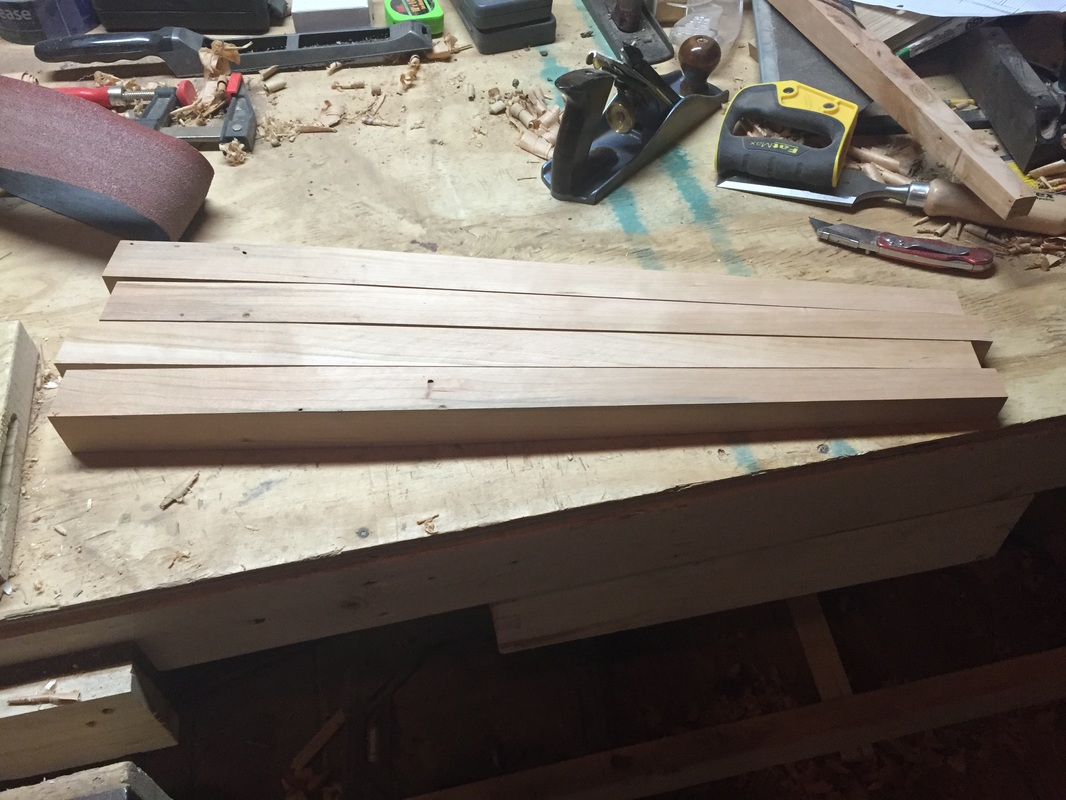
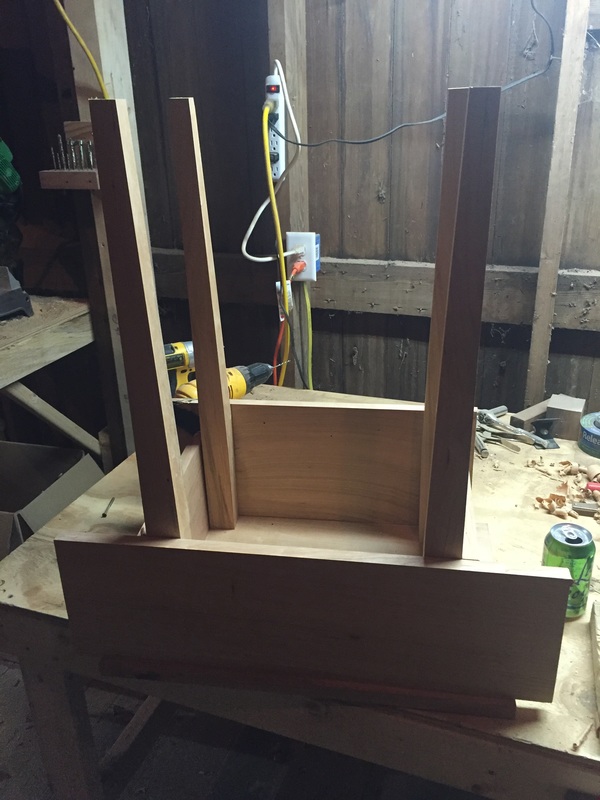
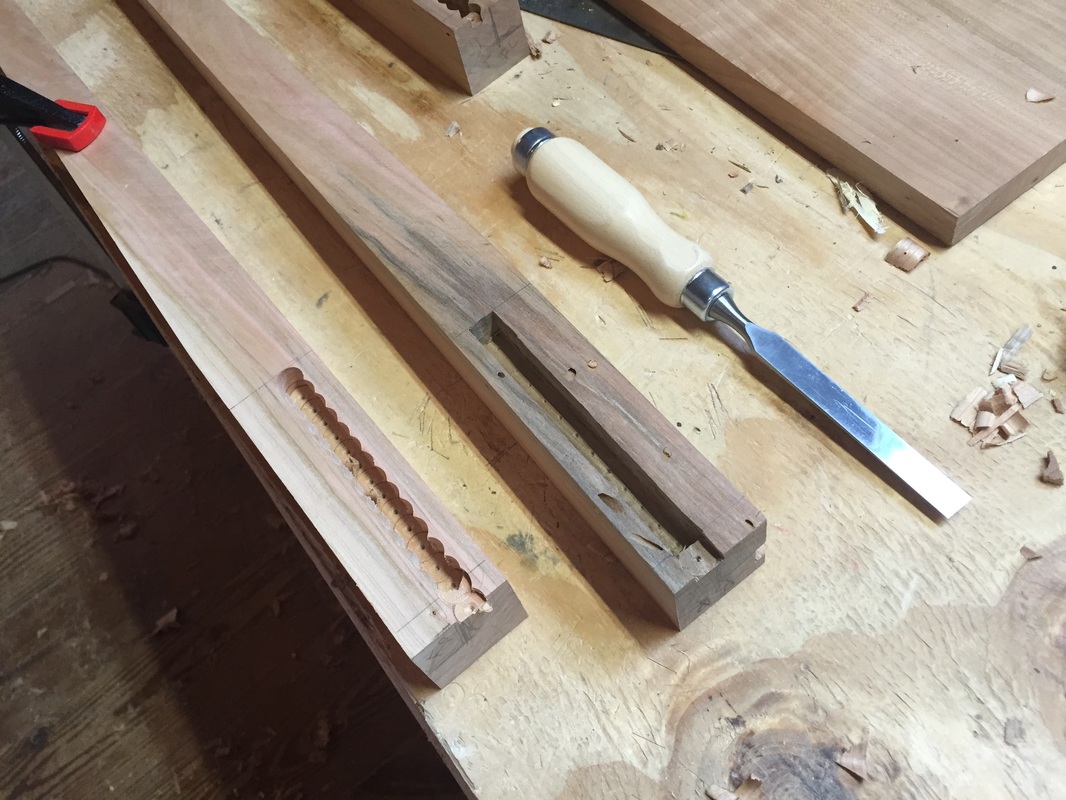
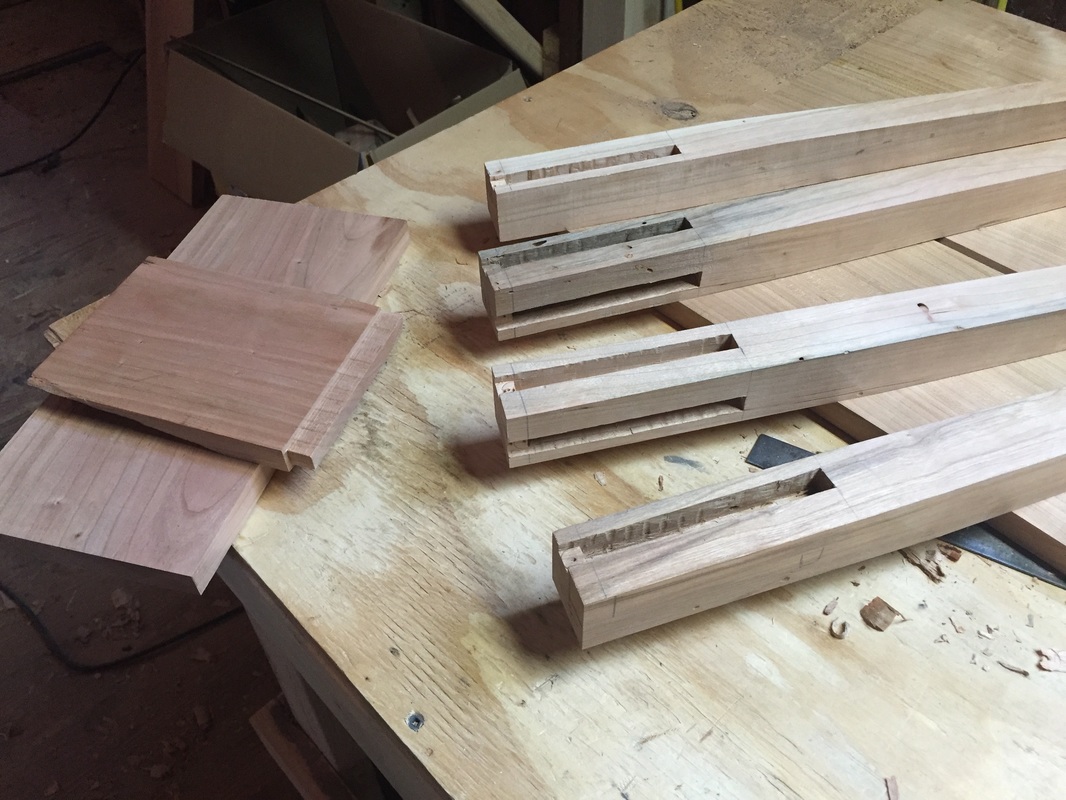
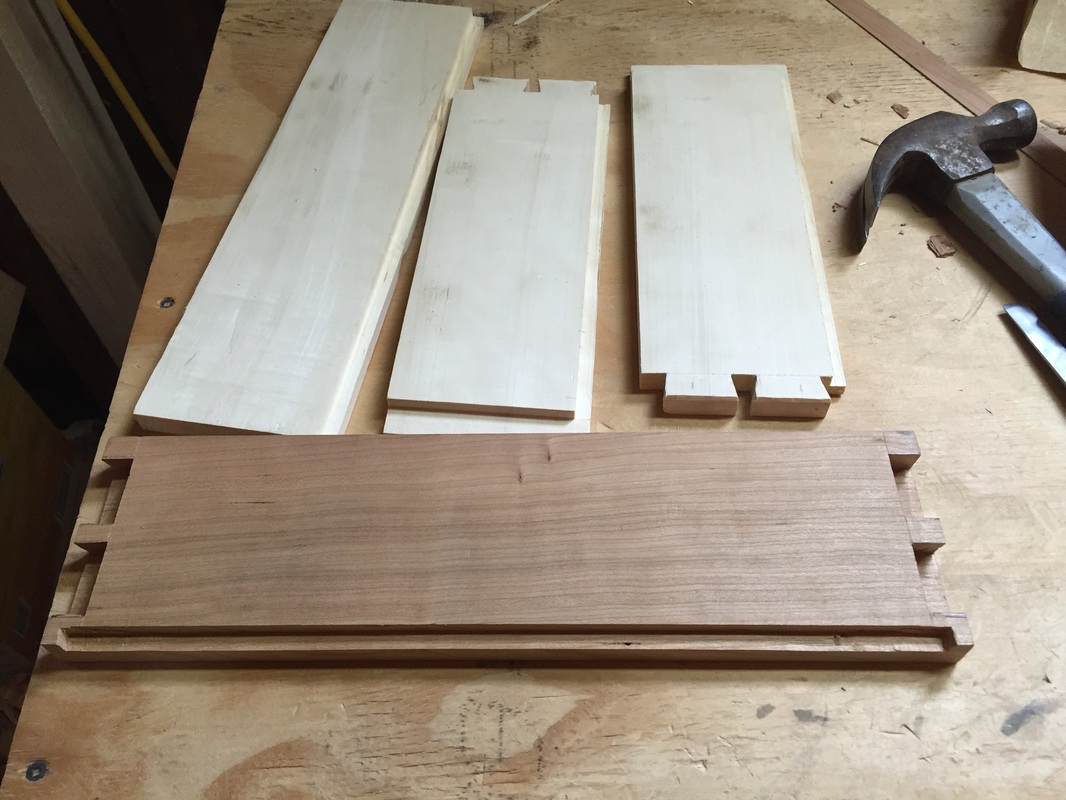
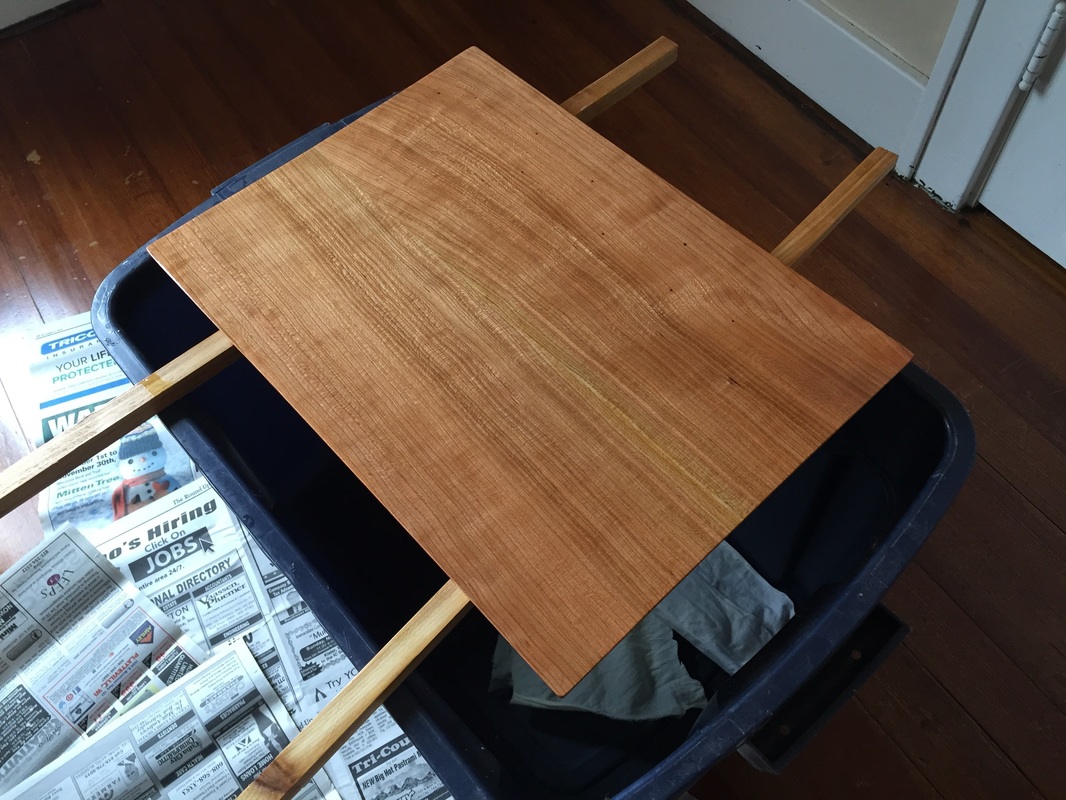
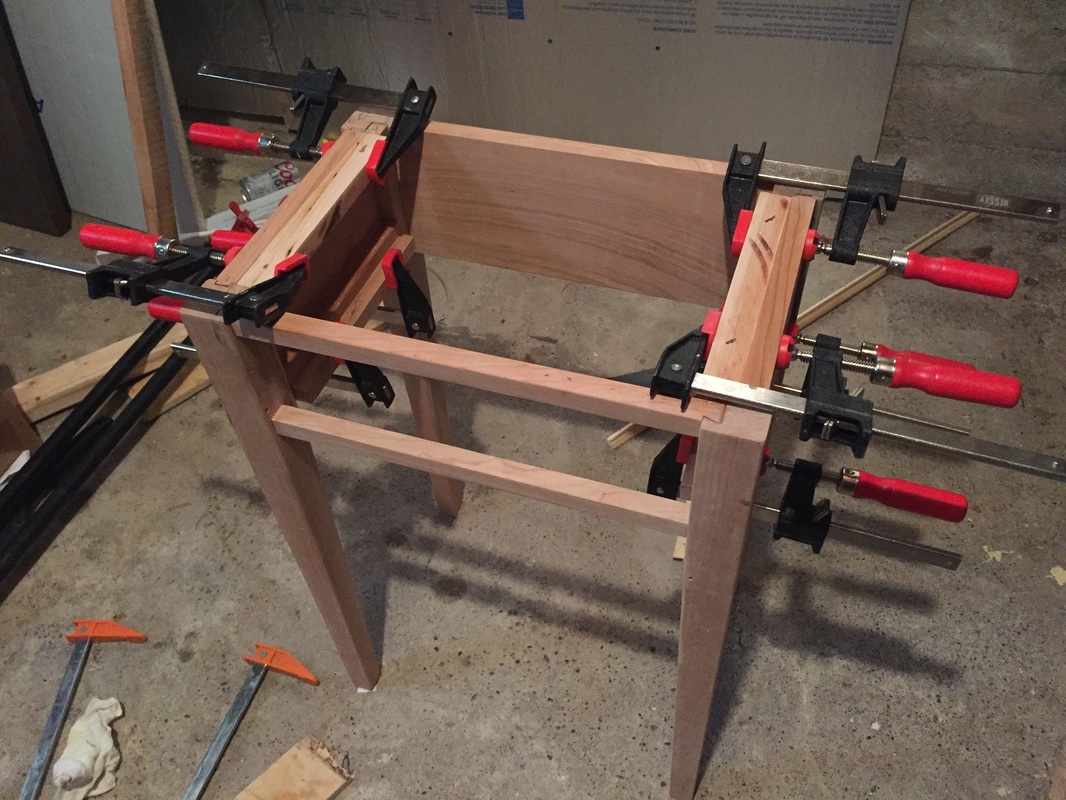
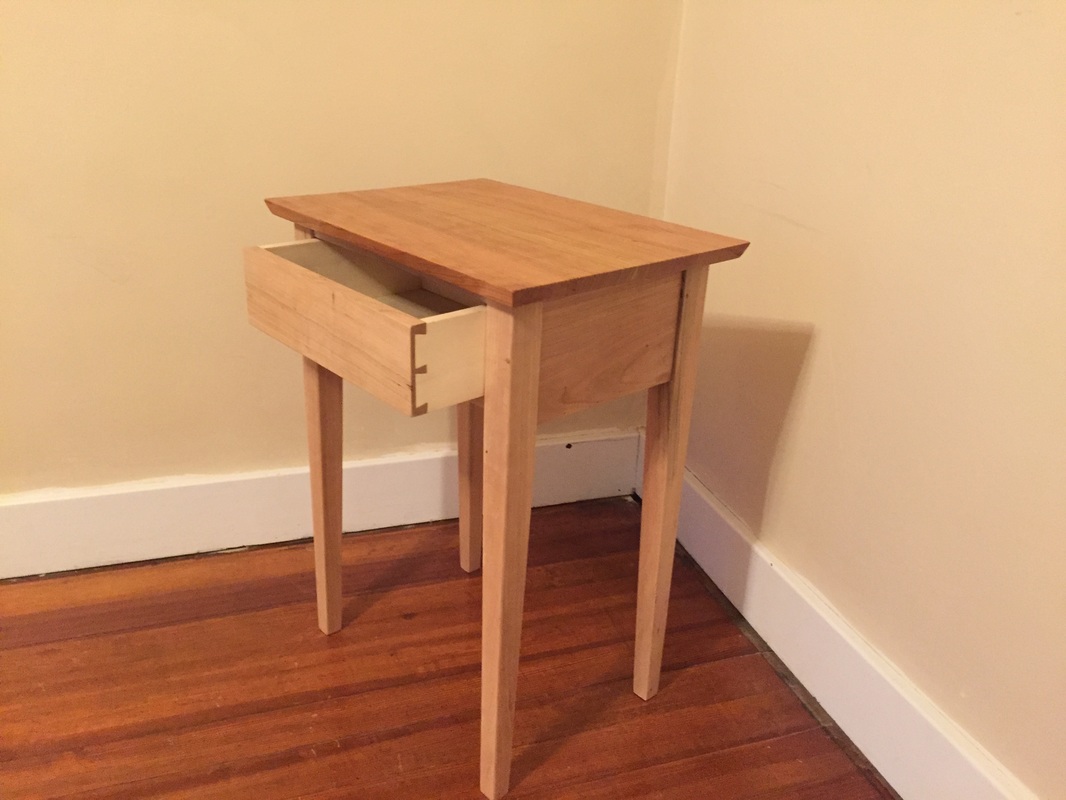
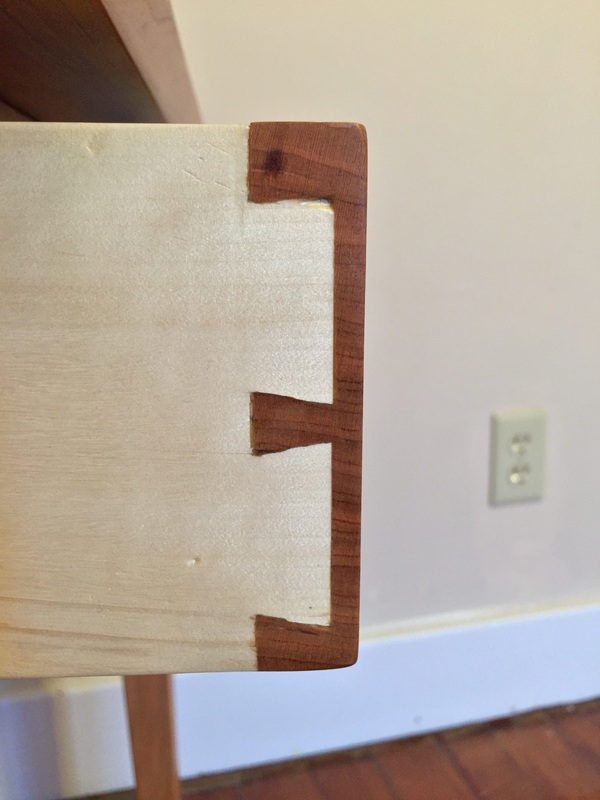
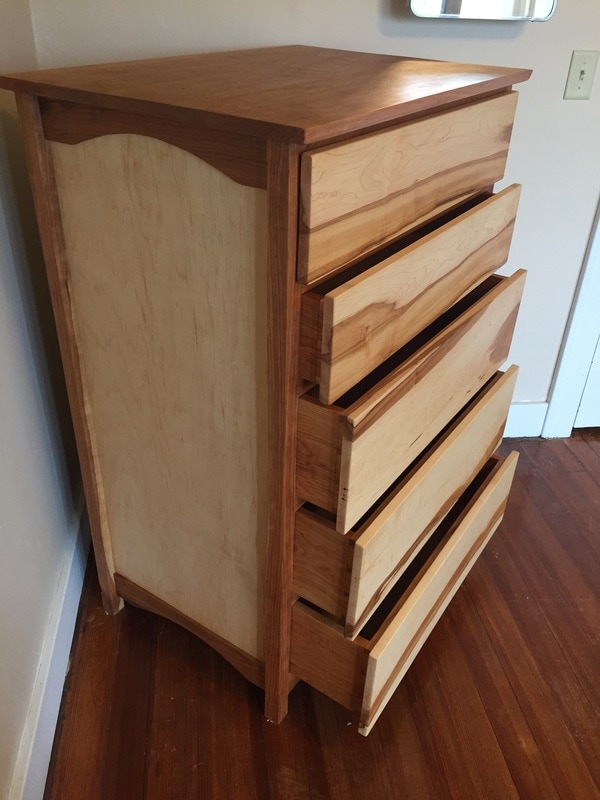
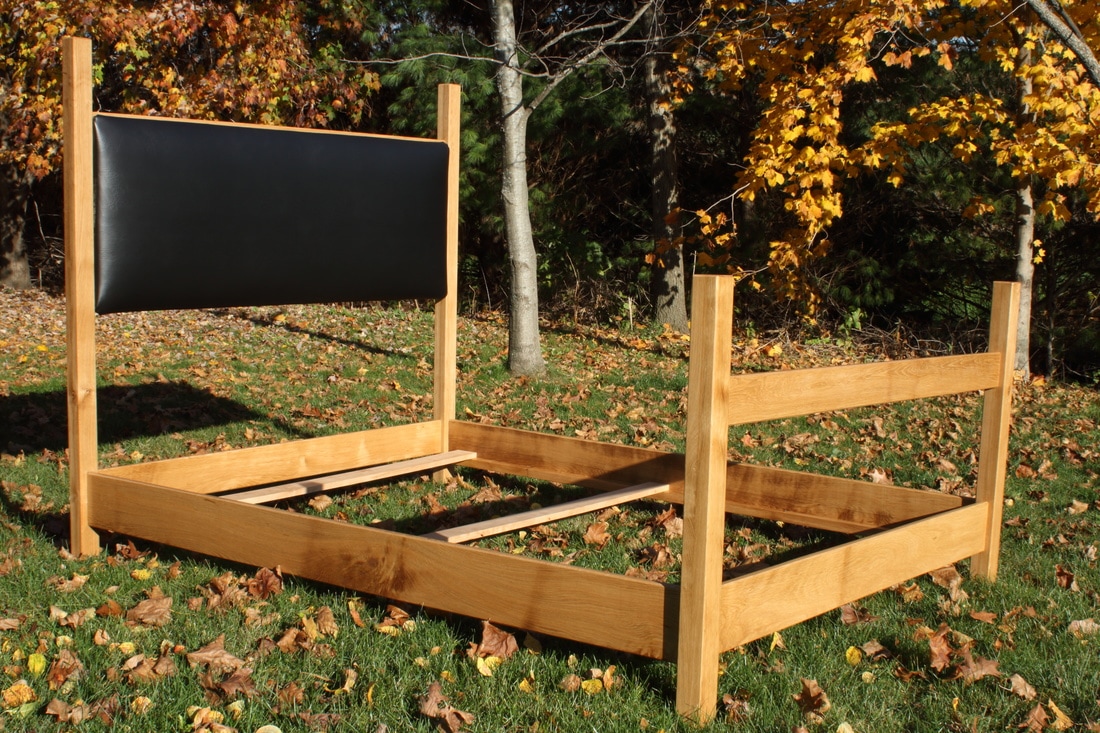
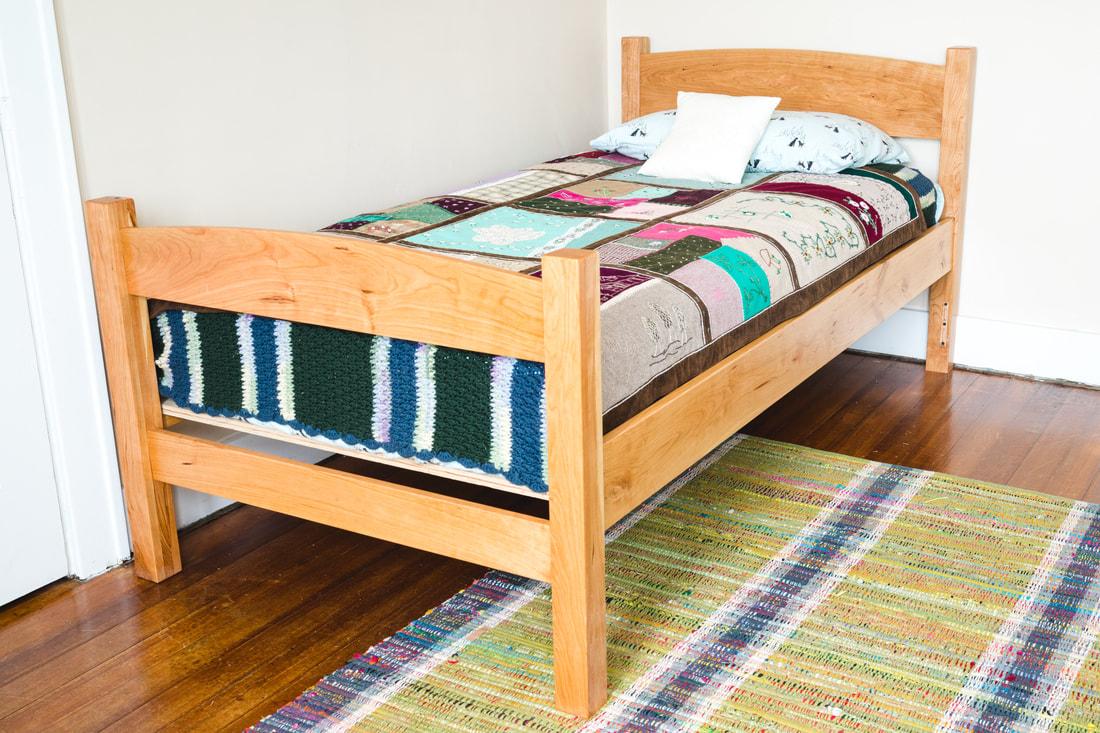
Well, it really isn't day one. I have been woodworking for a short time now, but I thought it would be good to have a place to share my passion. I will be posting projects here for people to view. Let me know what you think. I love hearing peoples thoughts on things. I'll be starting off with my latest project, a Shaker Style Cherry Nightstand. The Shakers believed in a minimalist design where every part has a purpose. They used fantastic construction techniques that produced incredibly durable furniture with elegant simplicity. This is my take on a shaker night stand. I looked at some pictures of nightstands on google to get started, but the dimensions, angles and overall look all materialized out in the shop. I don't generally like being tied down to a set of plans and I tend to change my mind on things as I go along. |
Aaron Whalen:A blog about woodworking in Southwest Wisconsin Previous Projects
Archives
February 2024
|