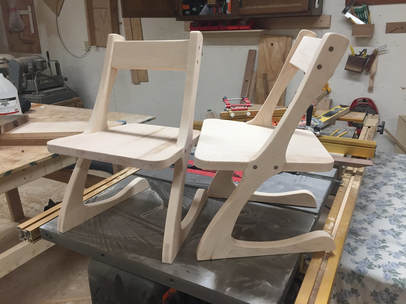
 Before I get a bunch of people asking, this isn't our way of announcing we're having another kid. Our daughter loves sitting in the different chairs in our house. She loves to sit in the maple Maloof chair I made a year ago the best. We thought it was time she had her own table and chairs. The style is sort of a mish-mash of Maloof and Modern with details taken from each and applied in my own sort of way. The table compliments the chairs but each could certainly stand on their own.
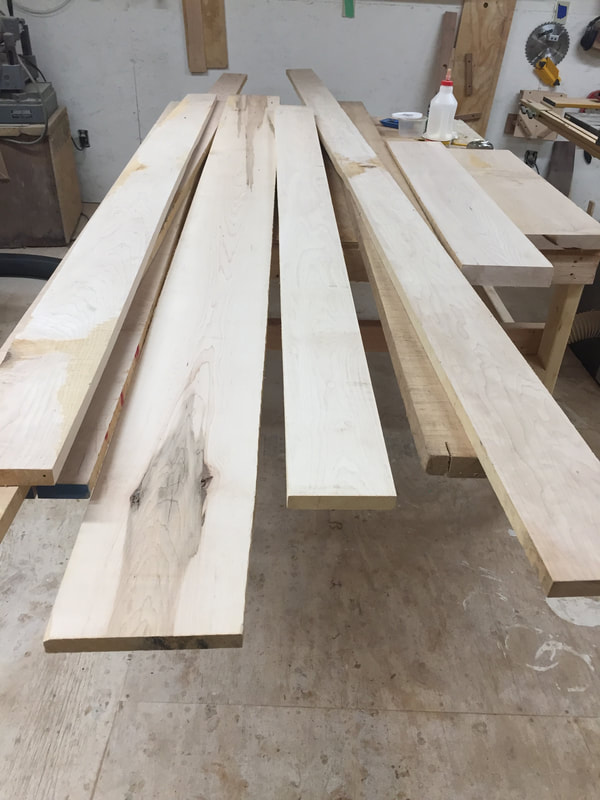
Like all projects, this started as a pile of boards. I started on the chairs first with some simple angled bridal joints. This forms the main upright and the foot of the chairs. I knew I would be removing a significant portion of the legs with shaping, but wanted to have plenty to work with.
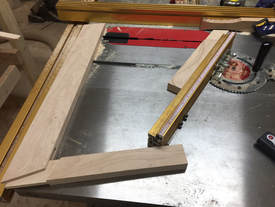
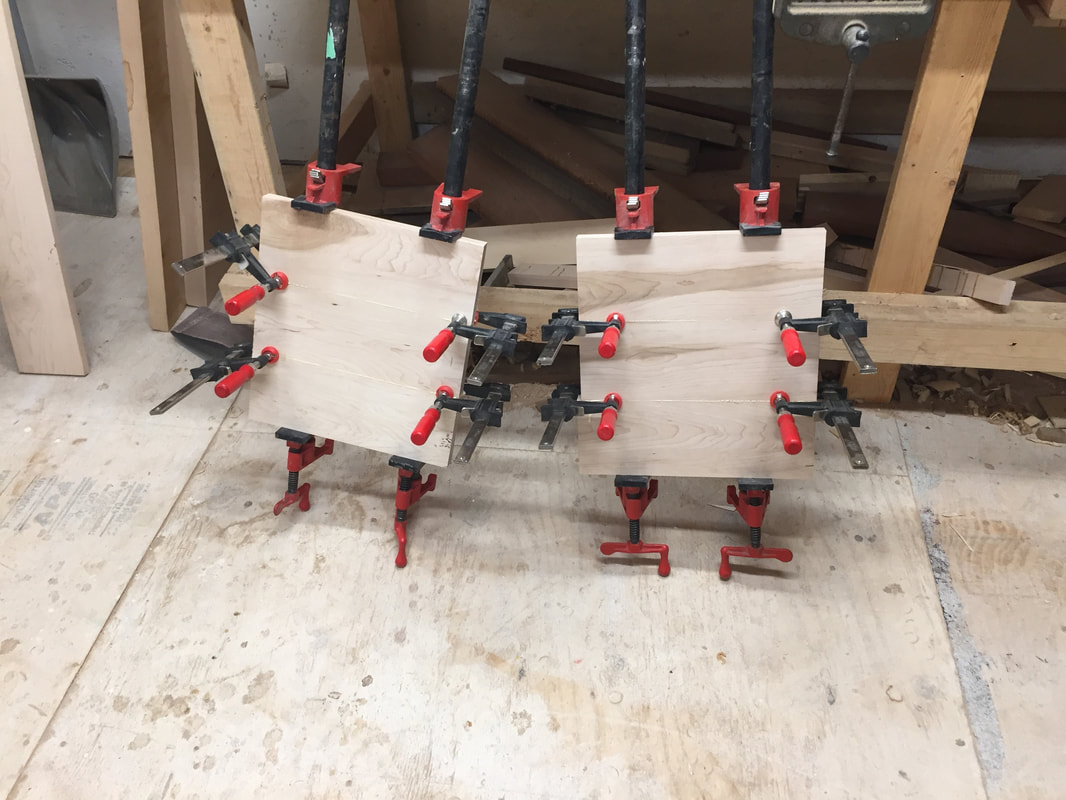
 I got started on the seats right away as well. They are just 4 boards of random width edge glued together. A 10 degree angle is cut on the sides to provide the seat shape. I left them flat rather than shaping them to the traditional Maloof style.
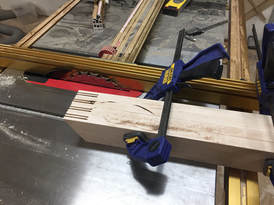
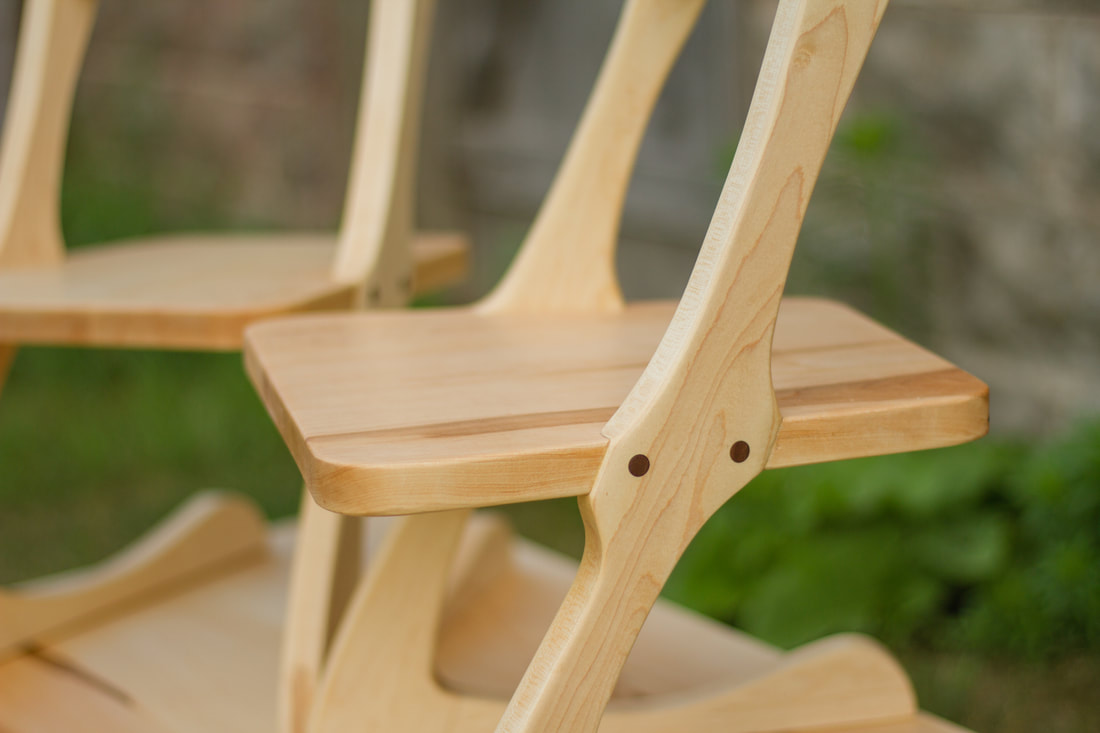
The legs get a rabbit cut at the seat level and the seat gets a matching one to accept each leg. This provides a strong joint that can easily hold an adult.
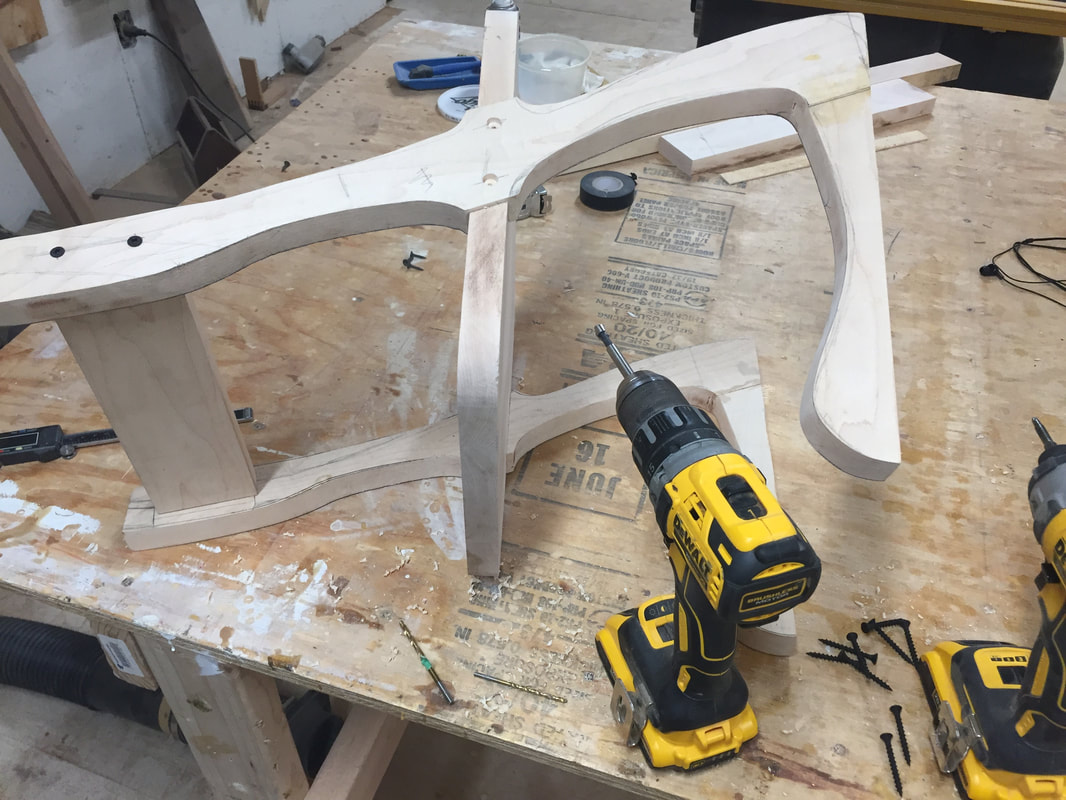
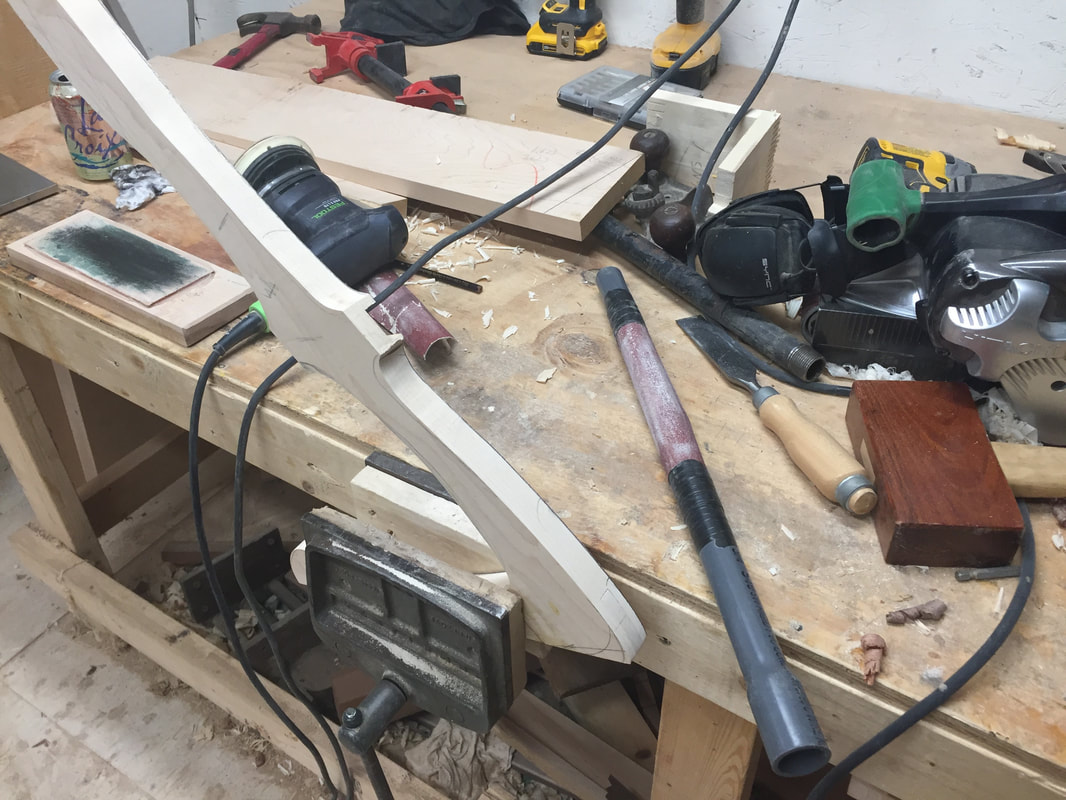
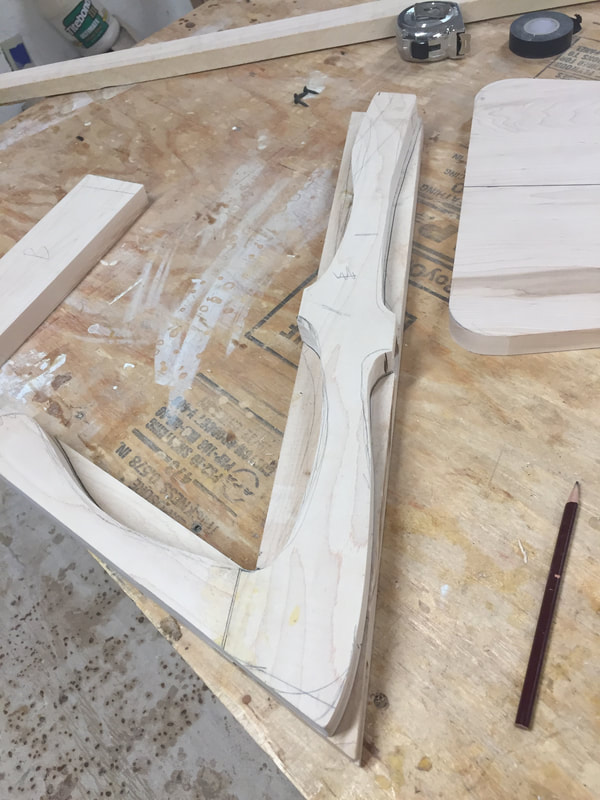
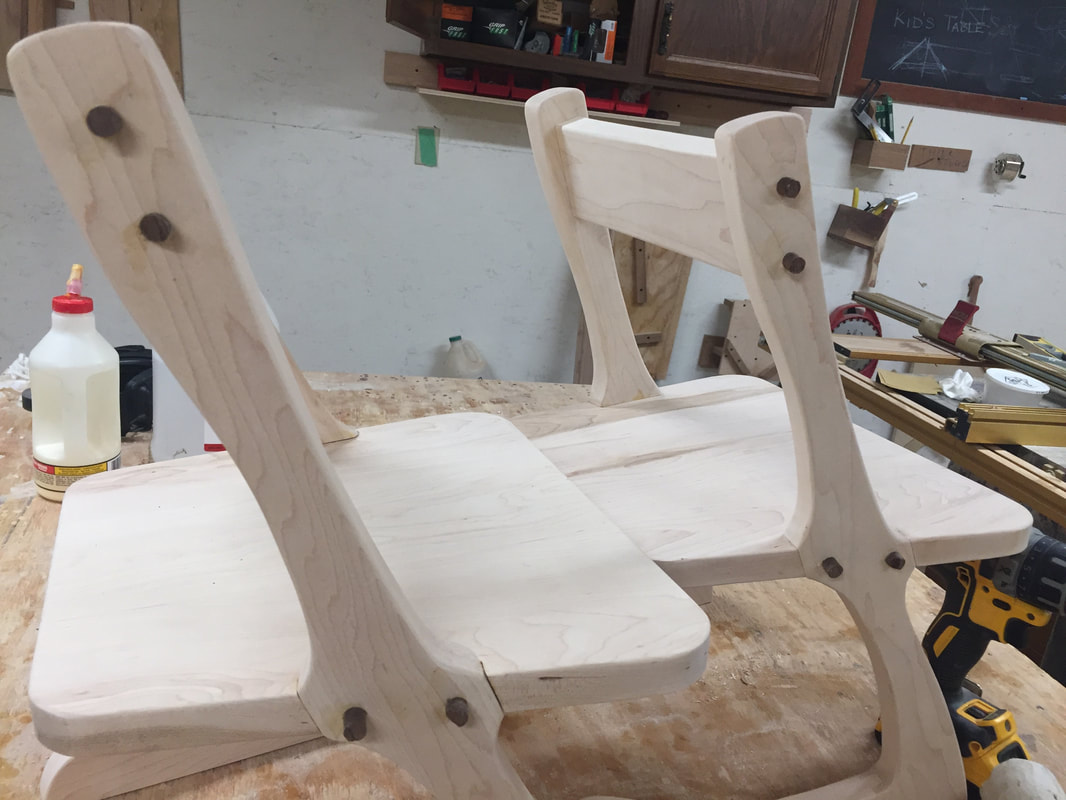
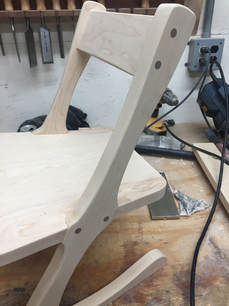
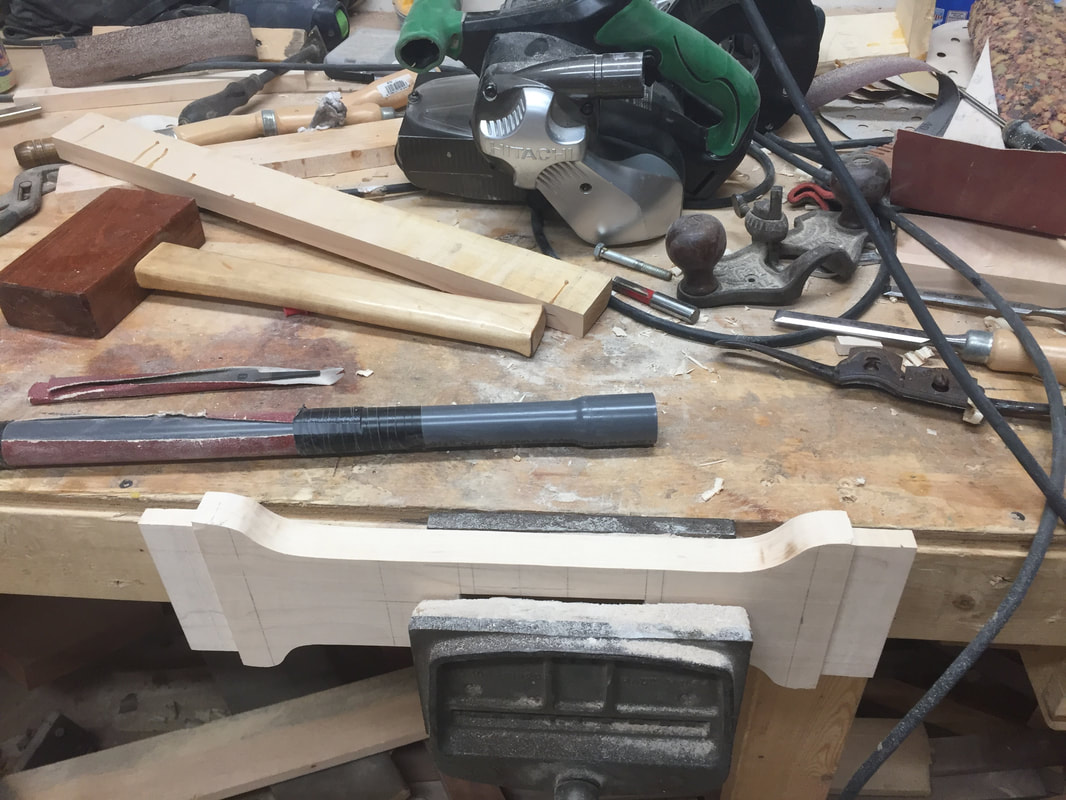
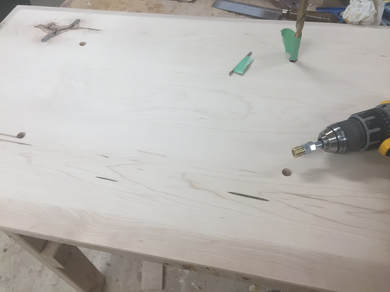
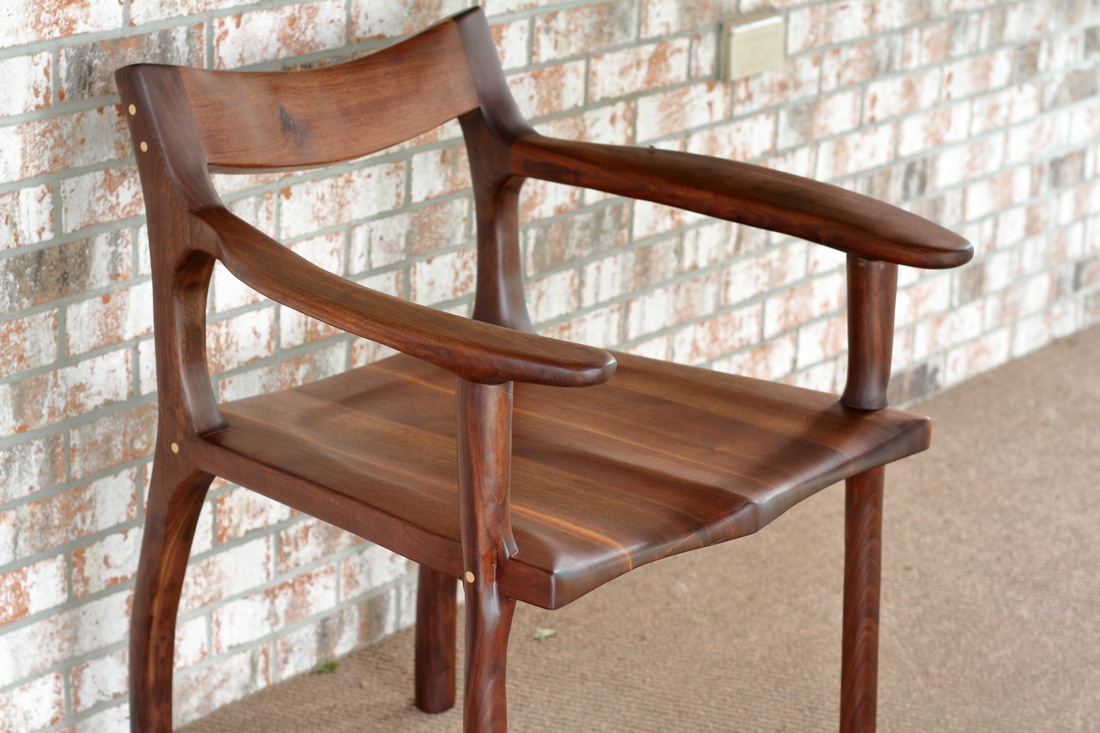
The leg shape was sketched out, rough cut on the band saw and finished with a spoke shave and sanders. I made a custom sanding stick to get into the tight radius corners (sandpaper taped to a piece of pipe). Once the first was done, I could copy the shape to the other legs and do the same to those. Once all the legs were shaped and sanded out I could do a test fit and drill the holes for the screws. Not shown is the 10-15 attempts to get the angles right for the back rest. The compound angles the legs formed made this quite challenging.
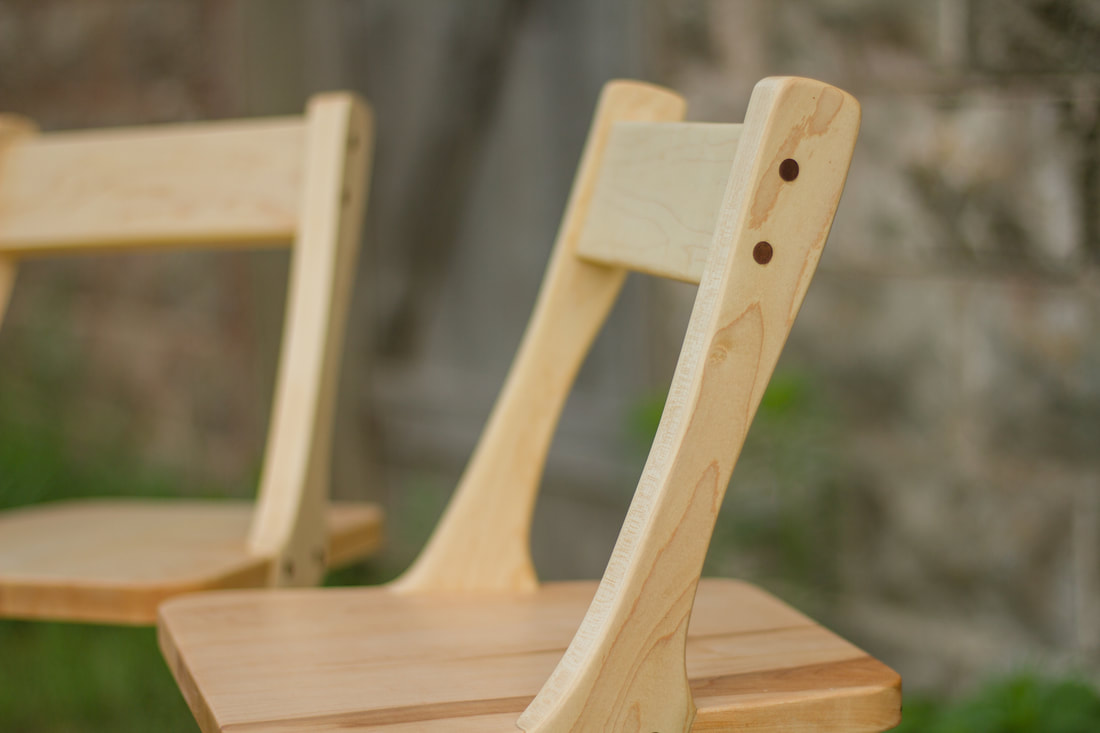
This is borrowed completely from Sam Maloof. Screws and glue are used to hold the chairs together and the holes are plugged with a contrasting color wood - in this case walnut.
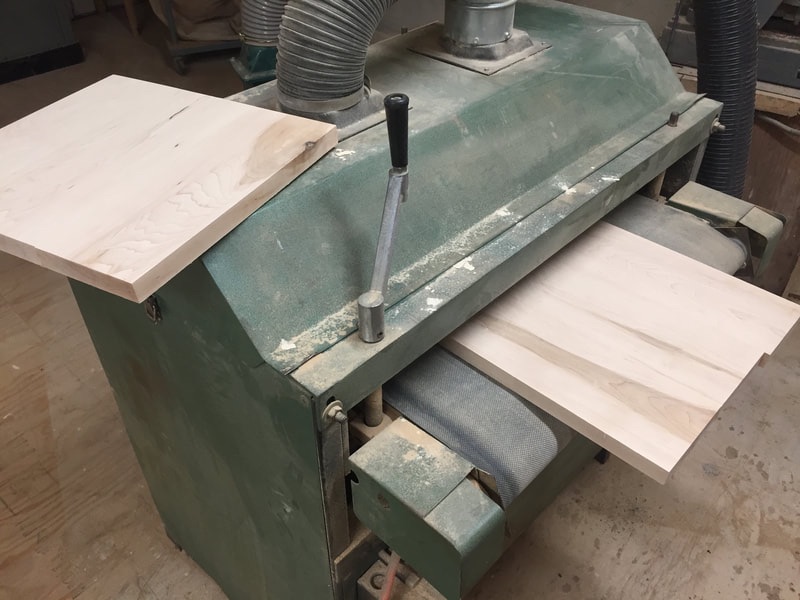
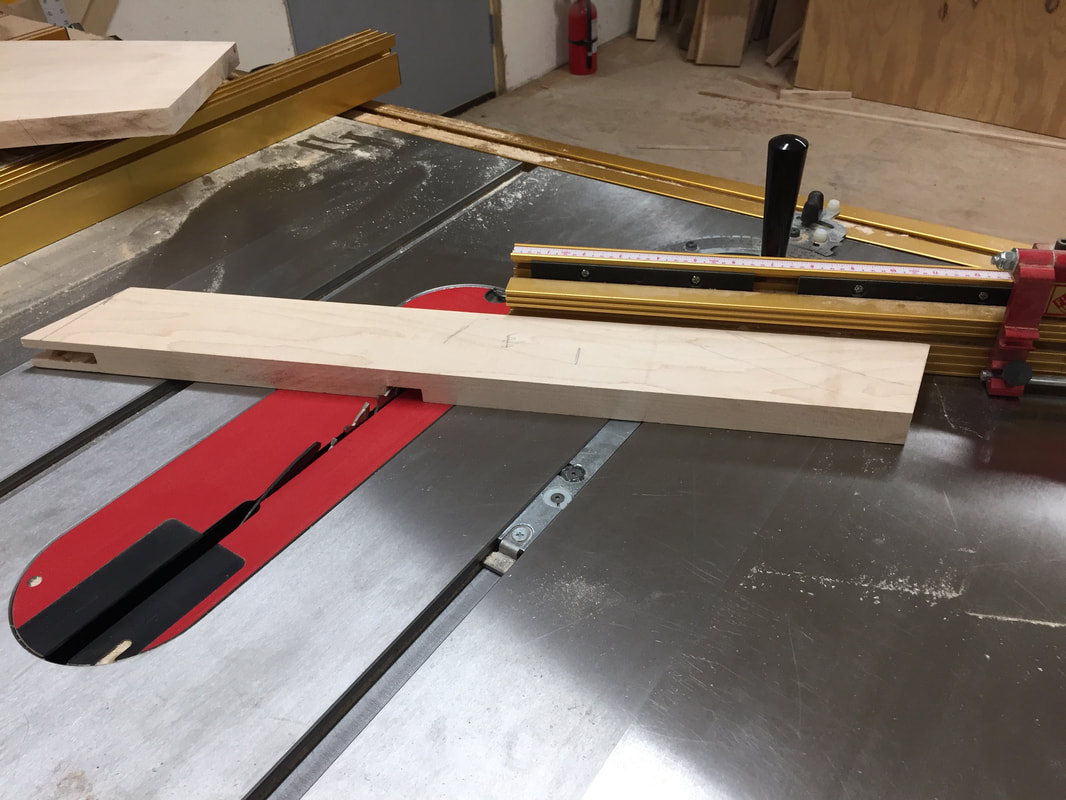
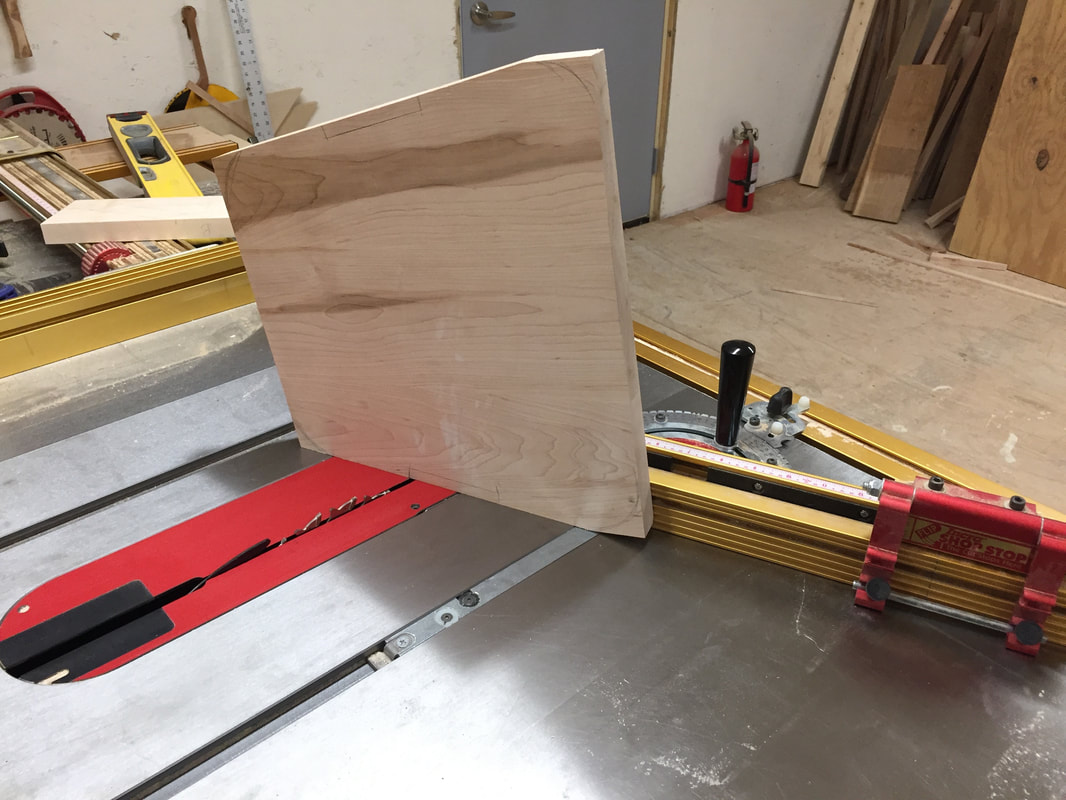
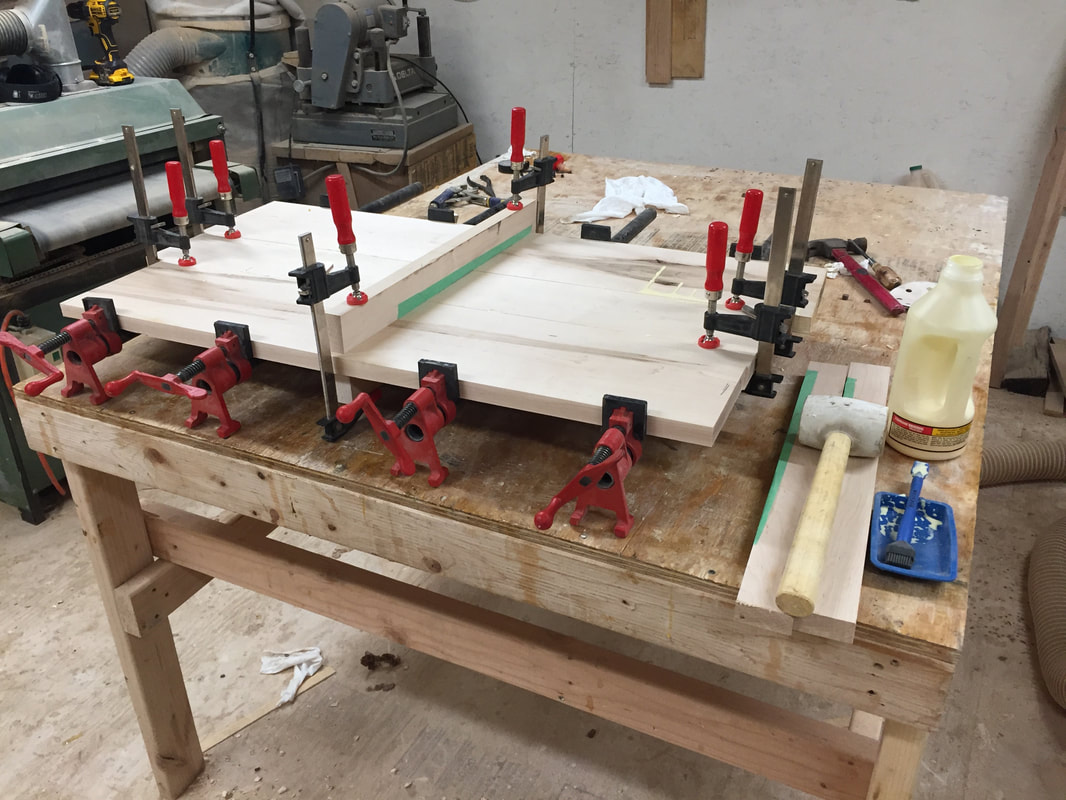
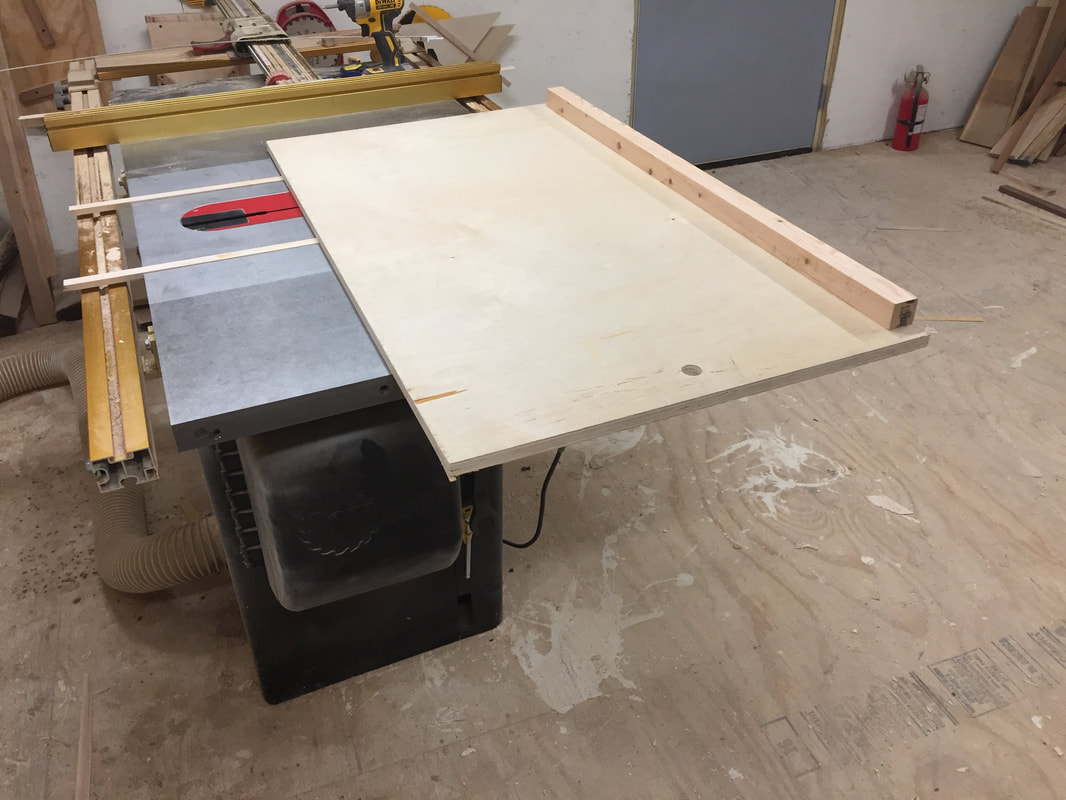
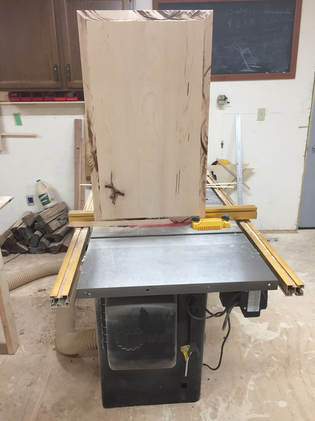
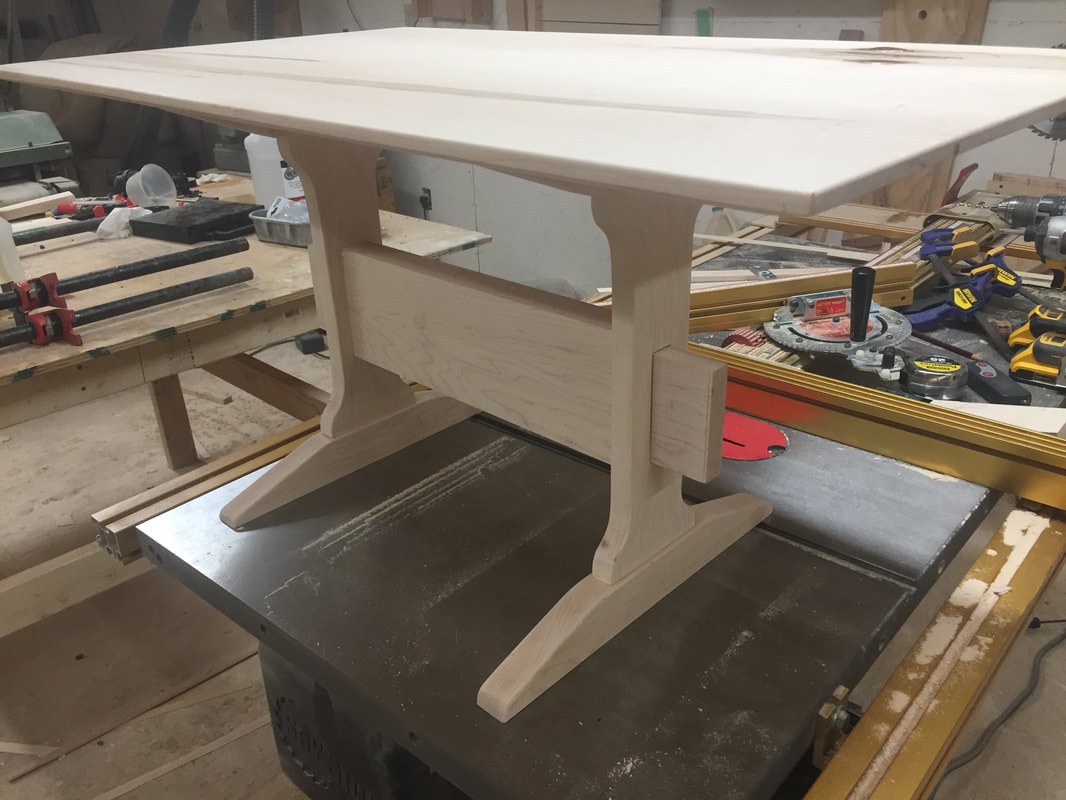
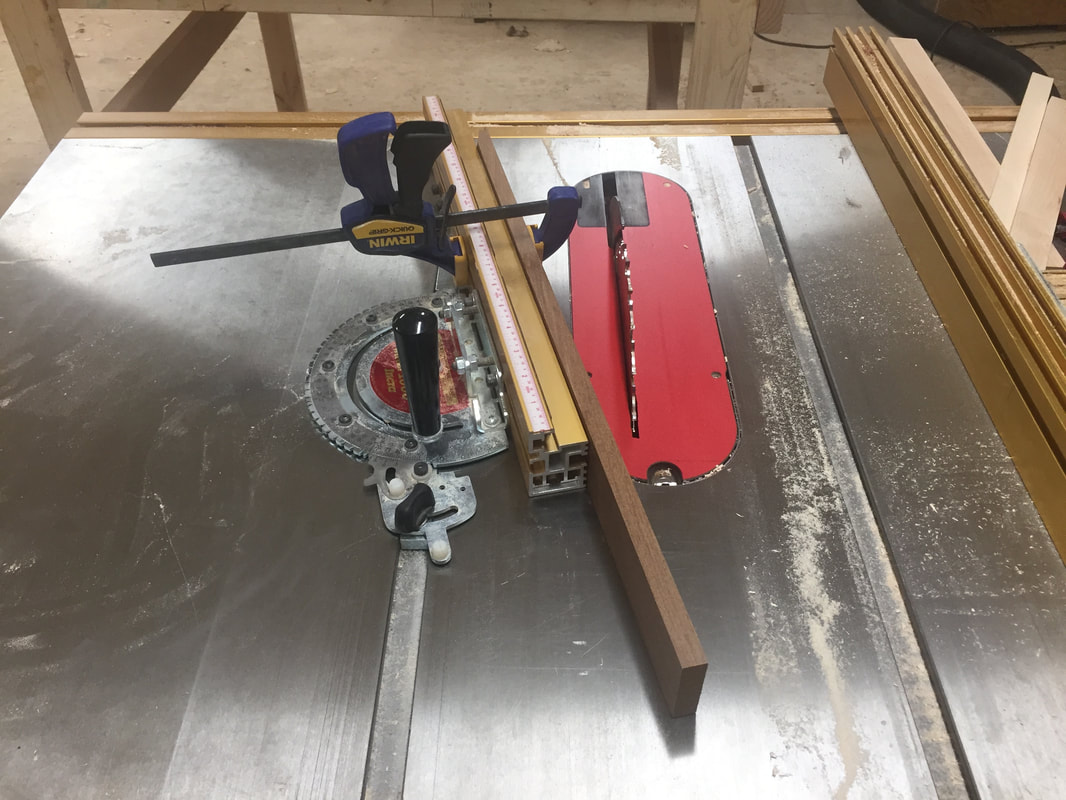
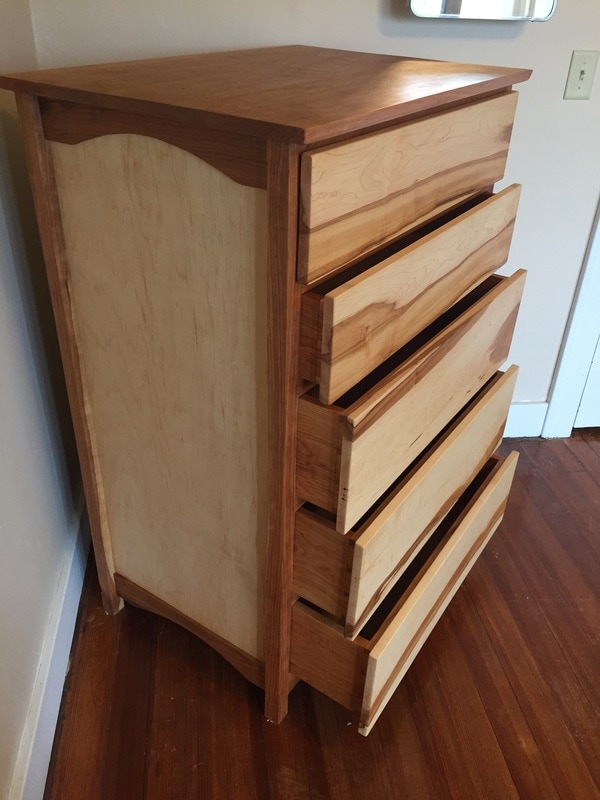
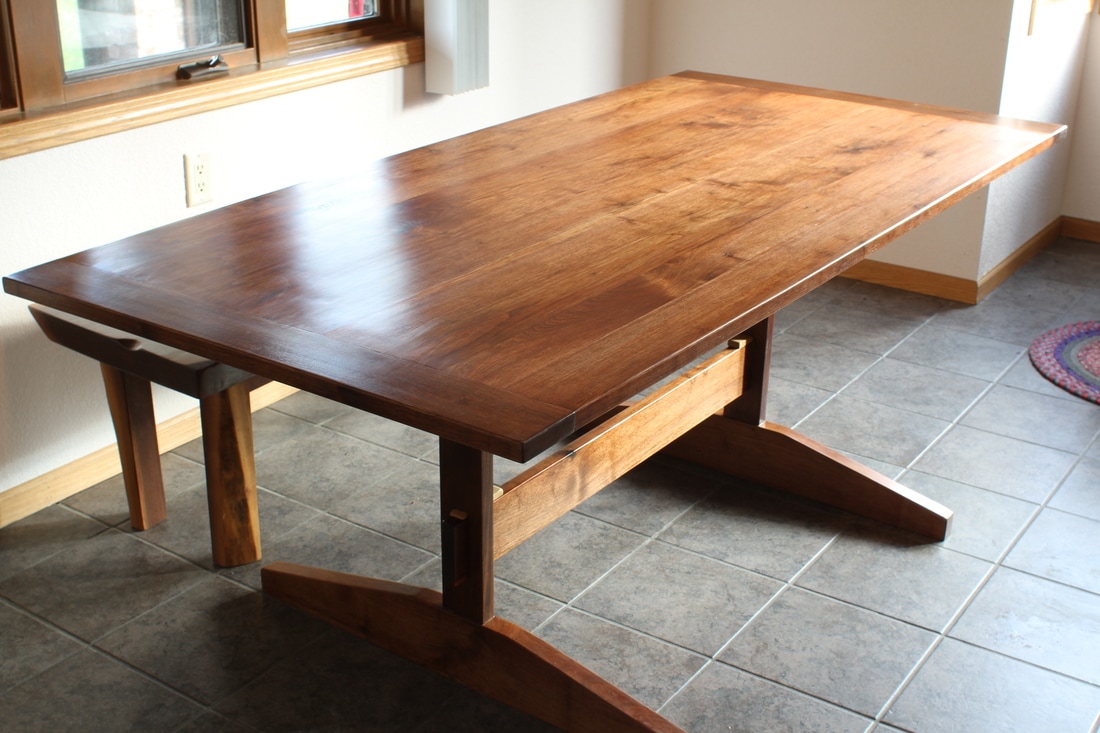
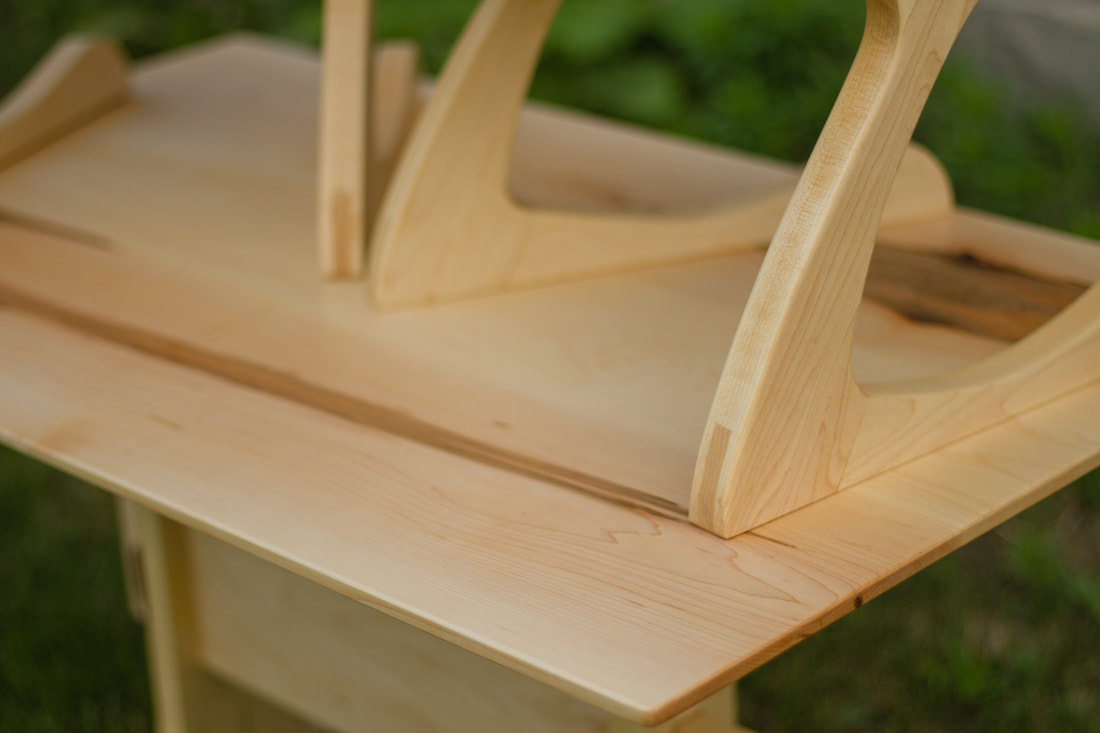
After the chairs were done the table was next. It took a long time to decide on the boards for the tabletop. This was a leftover from the dresser build I did. I like how the maple heartwood darts in from each side. One of the trickier cuts was adding a bevel to the underside of the table. This meant standing the whole top on end while cutting on the table saw.
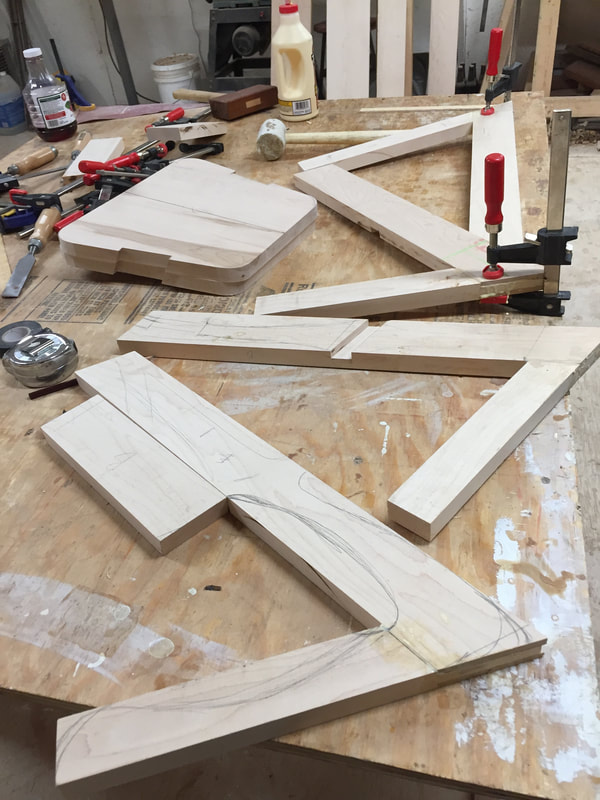
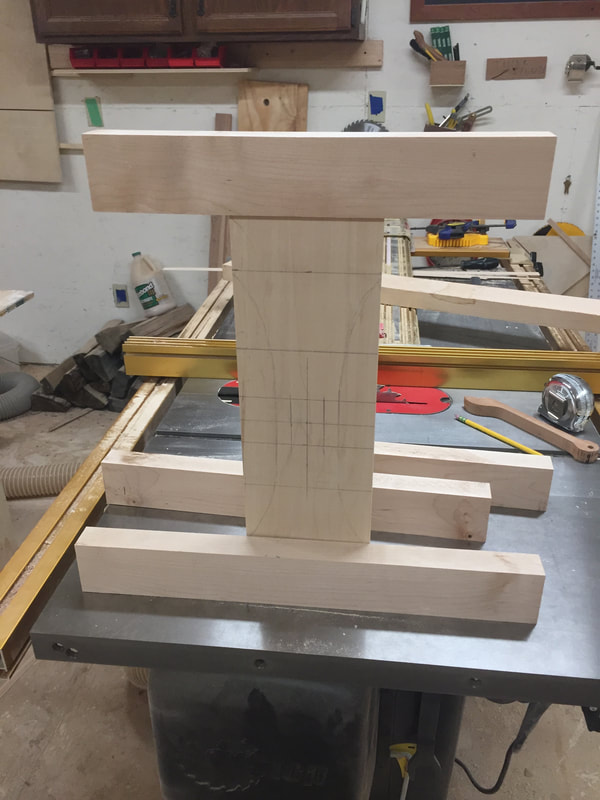
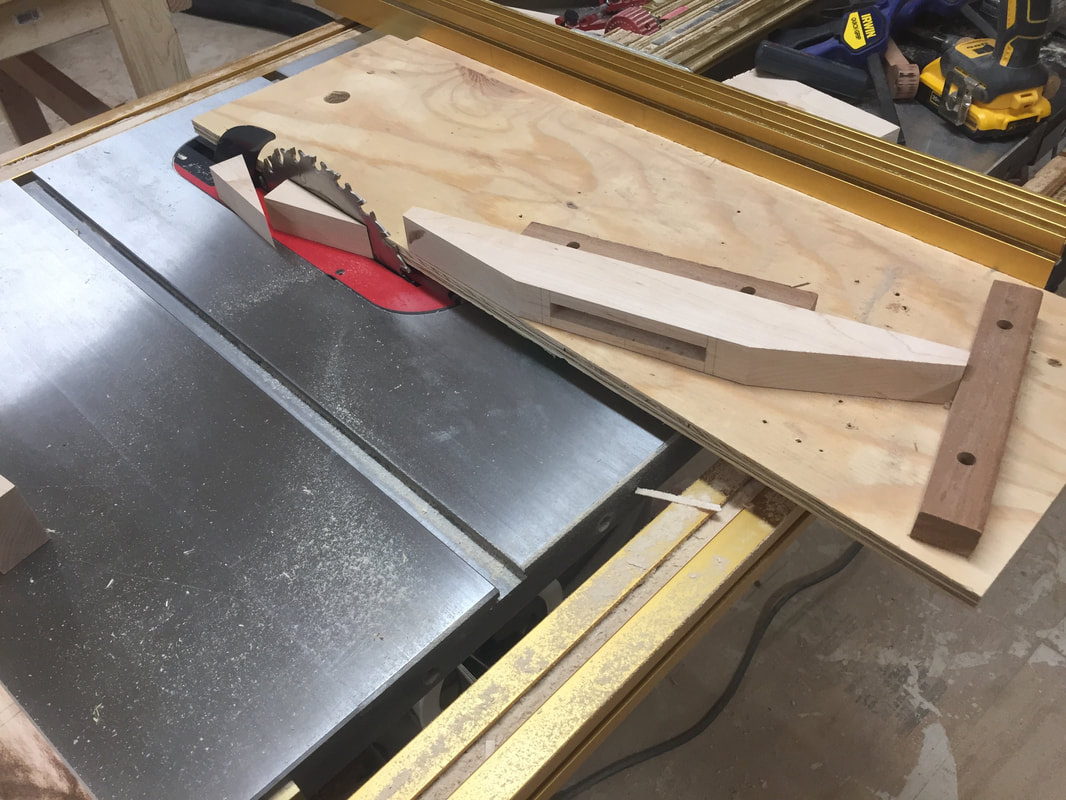
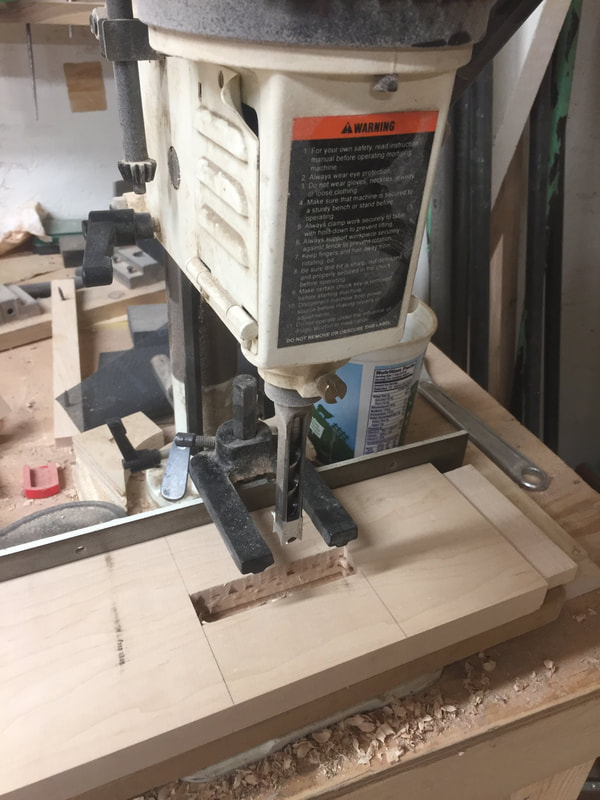
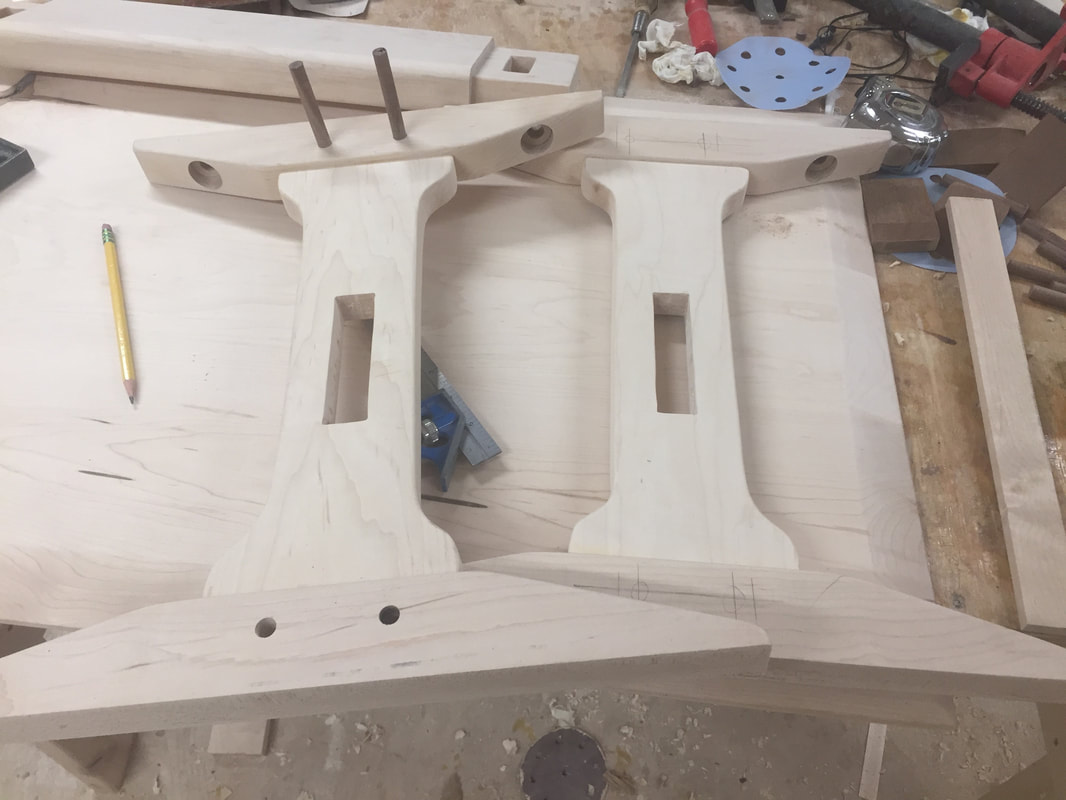
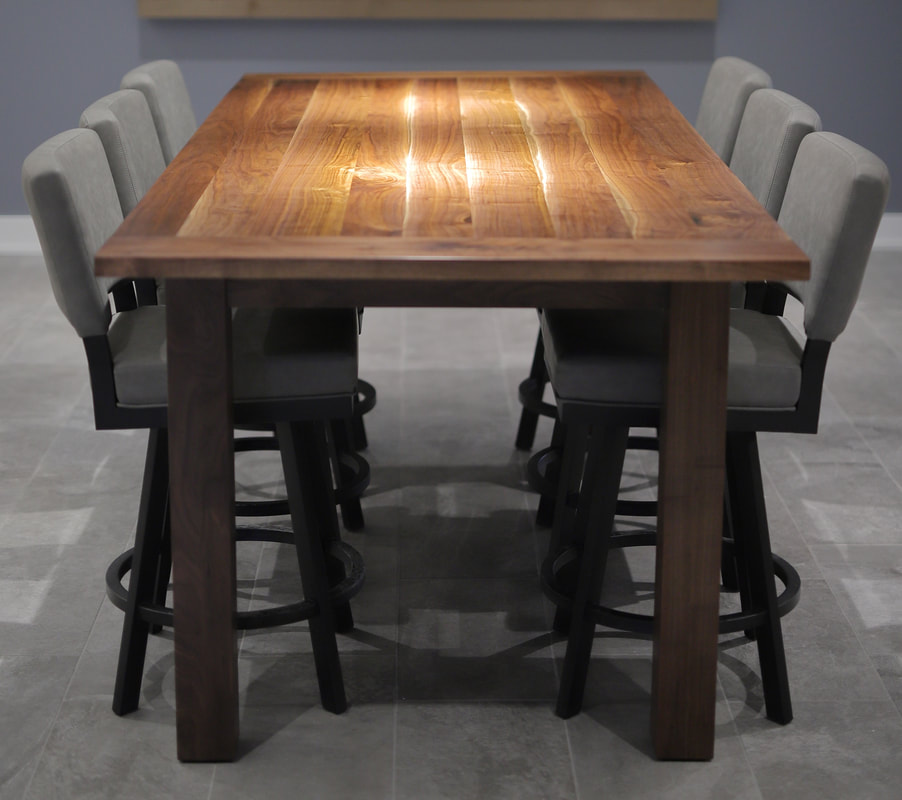
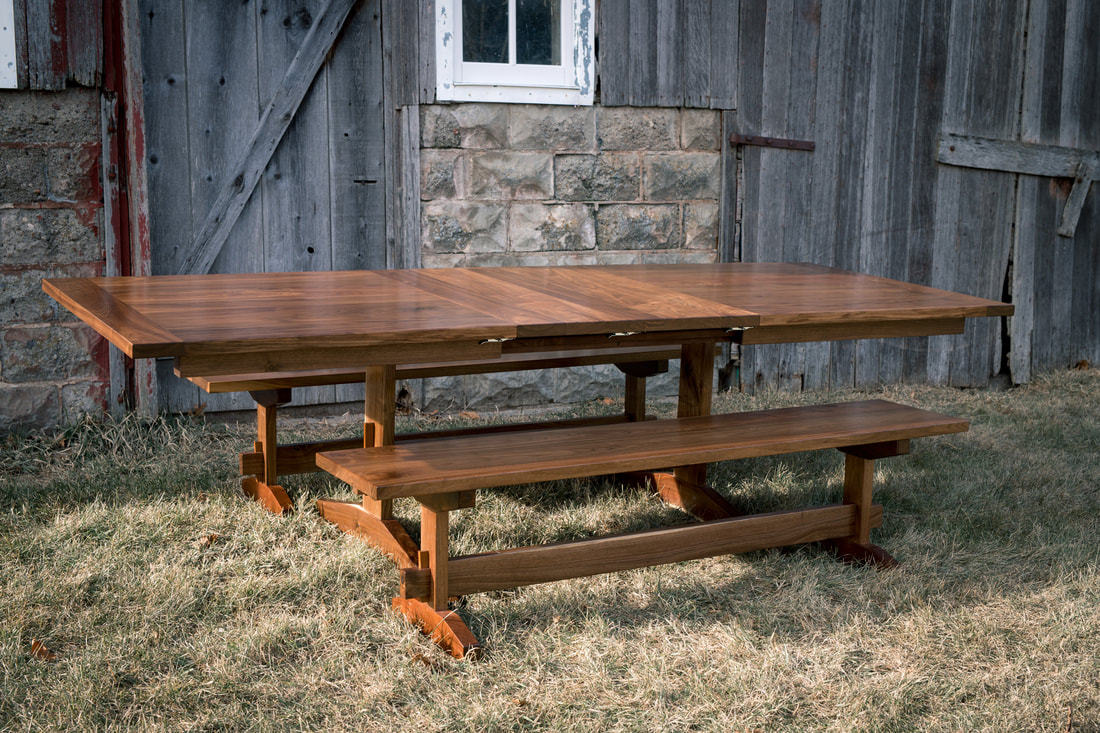
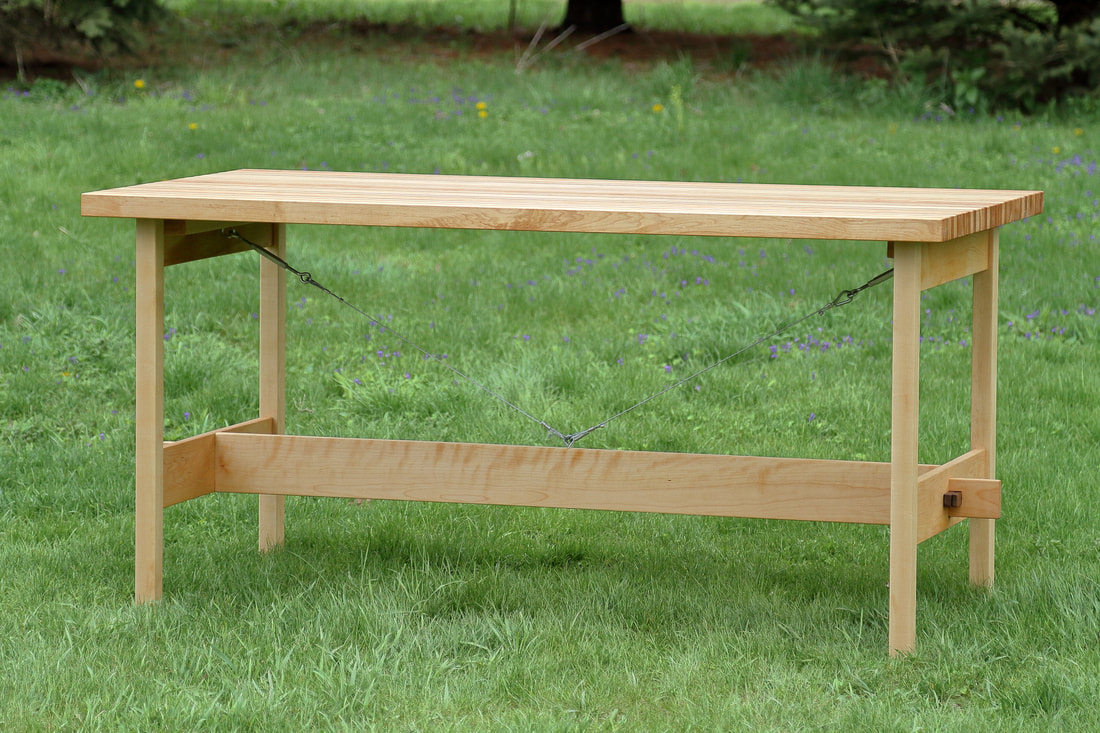
The table legs follow the same design as our walnut trestle style dining table. Mortise and tenon joints hold the vertical supports to the top and bottom supports. Each of those gets gentle angles cut on the table saw and the vertical supports get a through mortise that will accept the horizontal brace that ties it all together.
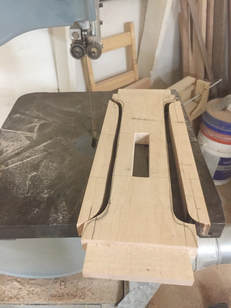
More cutting and sanding.
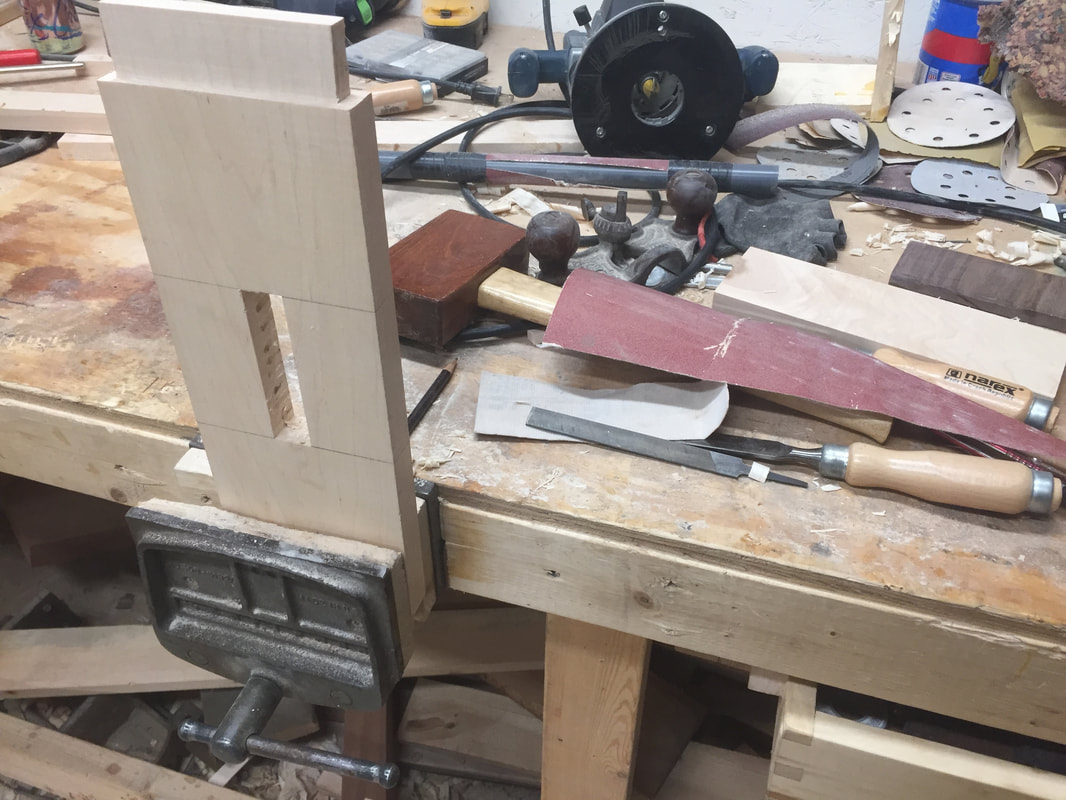
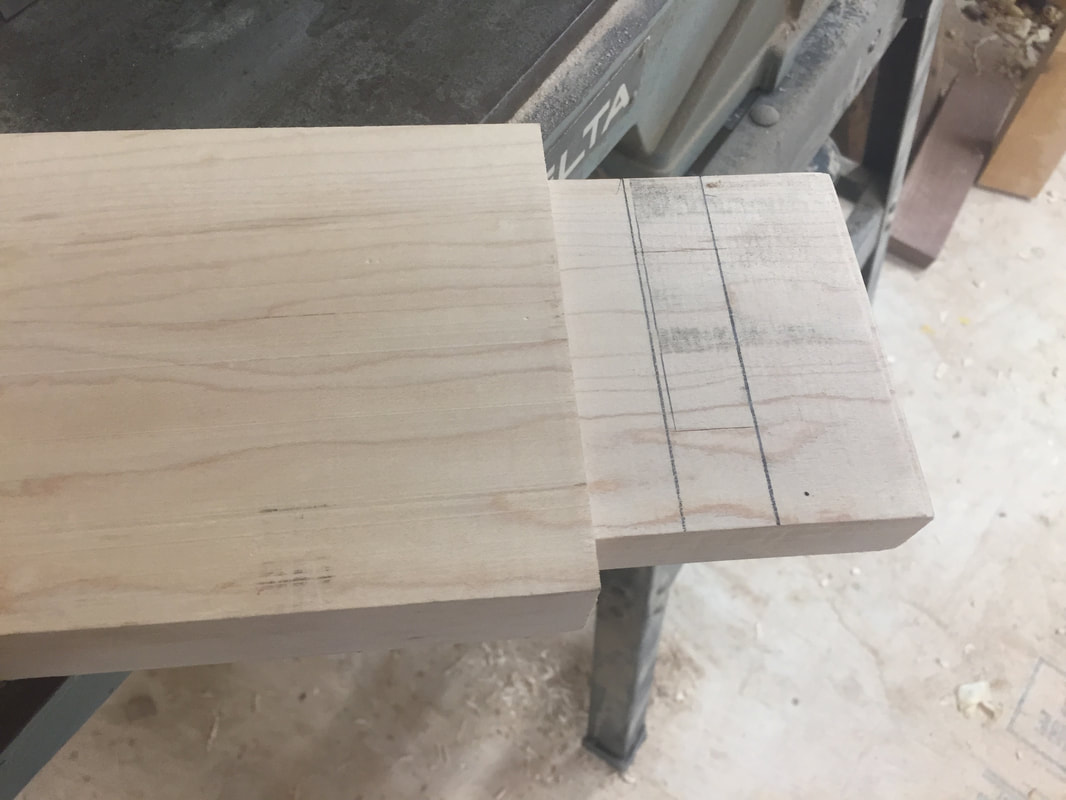
The horizontal support is fitted and gets through mortises for wedges to hold it in place.
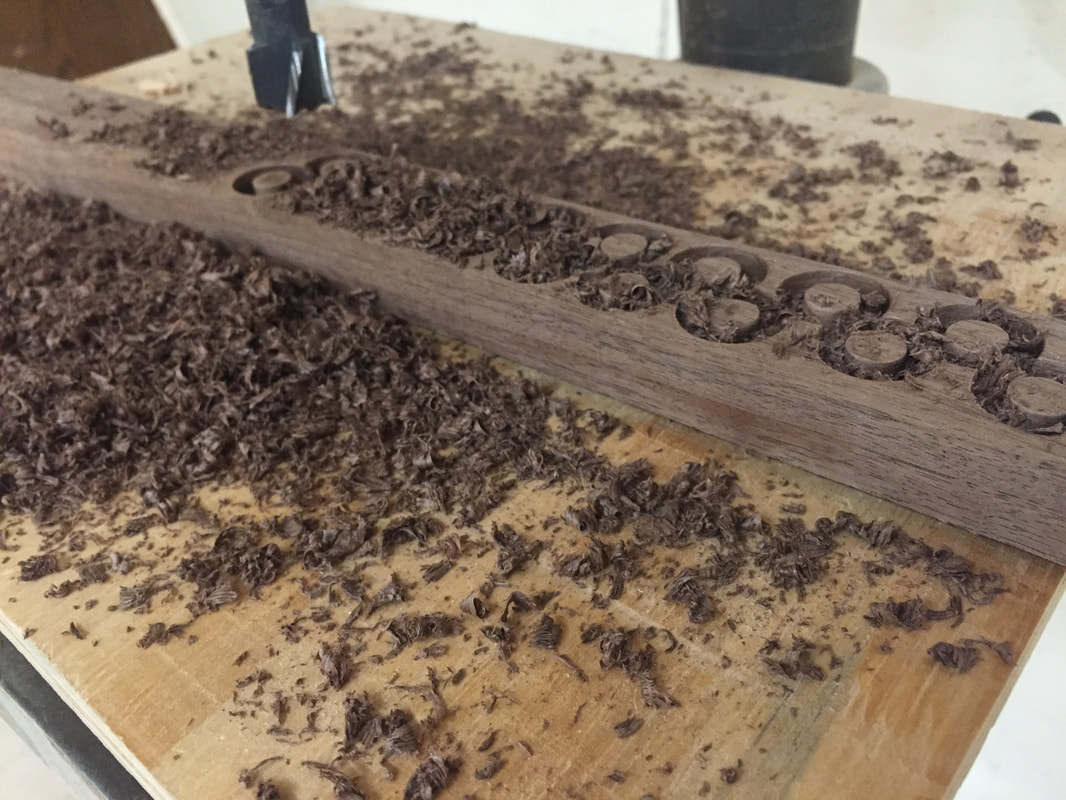
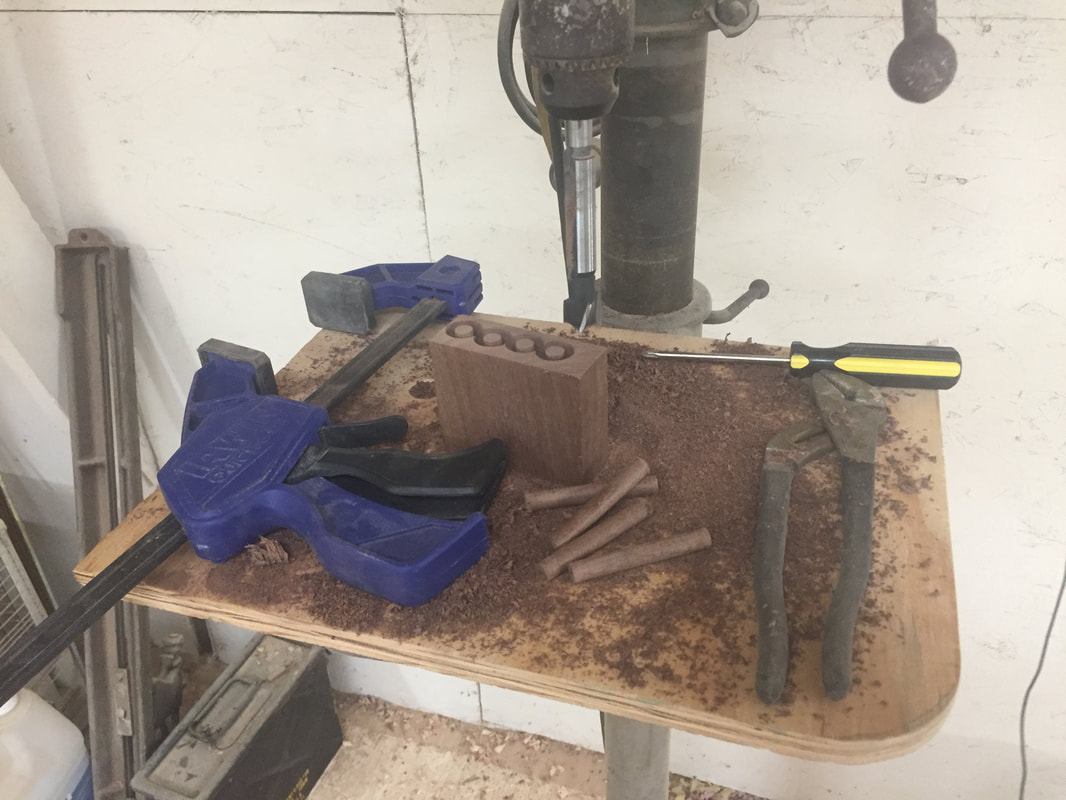
These are some decorative pegs that tie the chair style to the table. They might add a small amount of strength to the mortise and tenon joints but they are mainly meant to be decorative.
The bottom of the table gets threaded brass inserts that will be used to attach the legs. The holes in the legs are oversized to allow for movement of the solid wood top. Four wedges were cut from ipe to hold the horizontal support in place. The table and chairs were finished with my home made mixture of Linseed oil and Beeswax. This should be a durable enough finish for a kids table but also a repairable finish if that were ever needed. 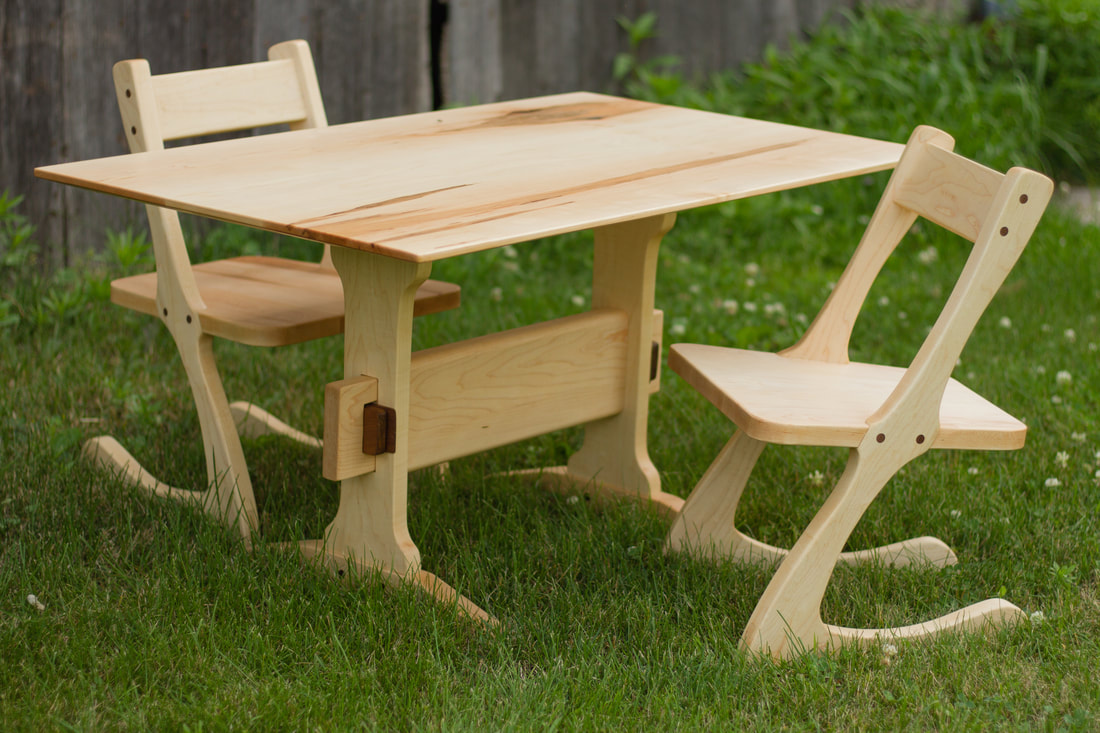 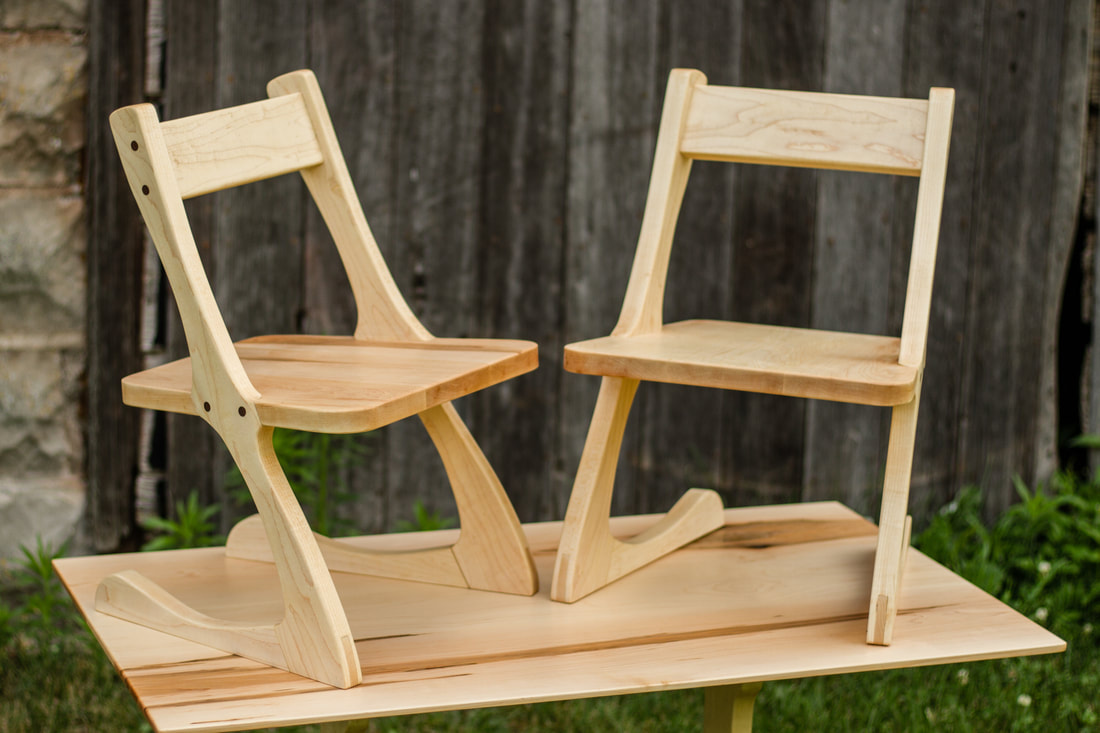 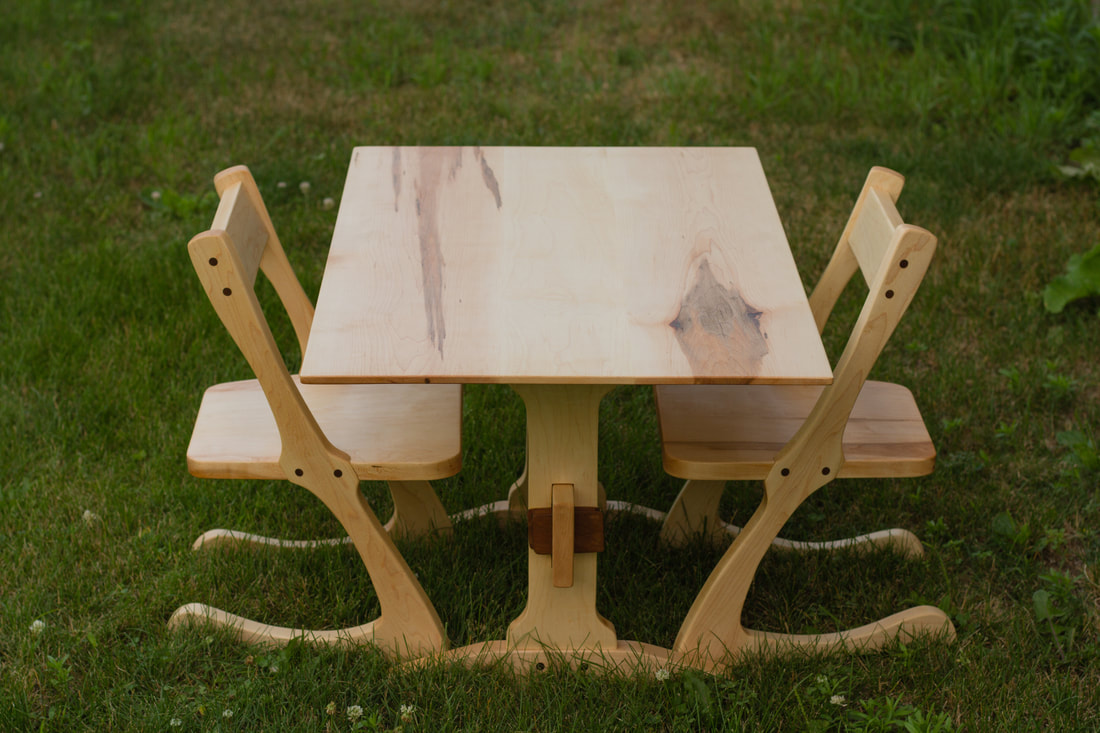
 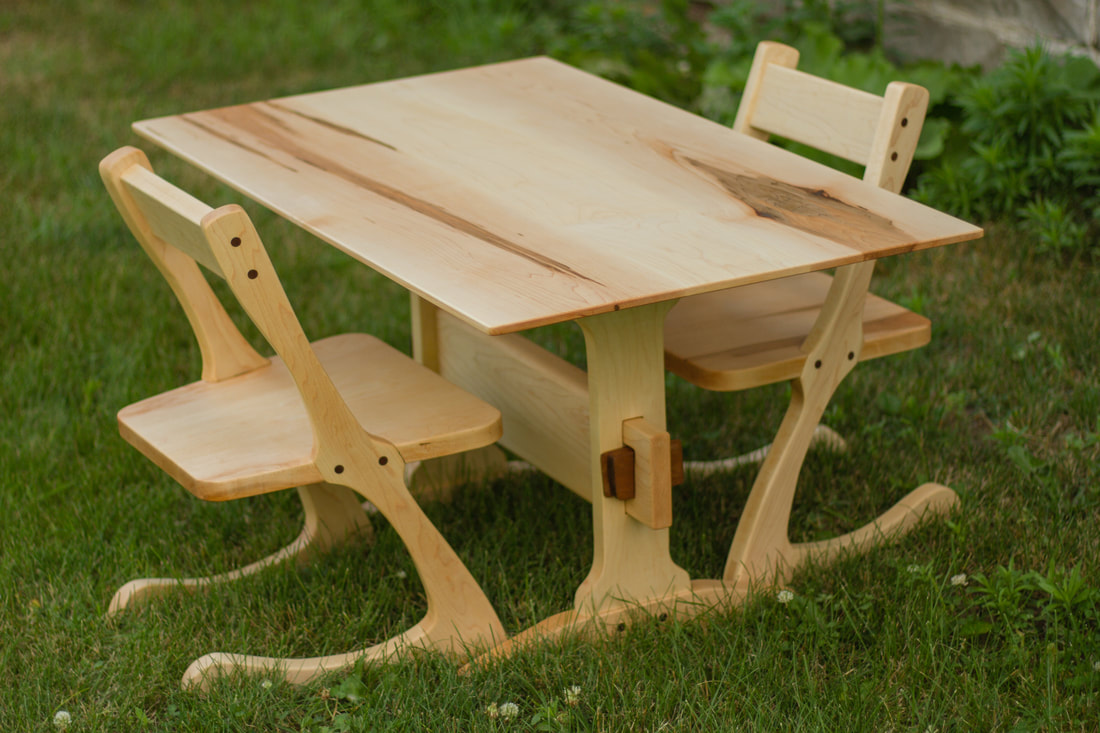 This went together really well and turned out about as well as I could have hoped. I think Jane will enjoy it for years to come. As always, thanks for checking it out!
0 Comments
|
Aaron Whalen:A blog about woodworking in Southwest Wisconsin Previous Projects
Archives
February 2024
|