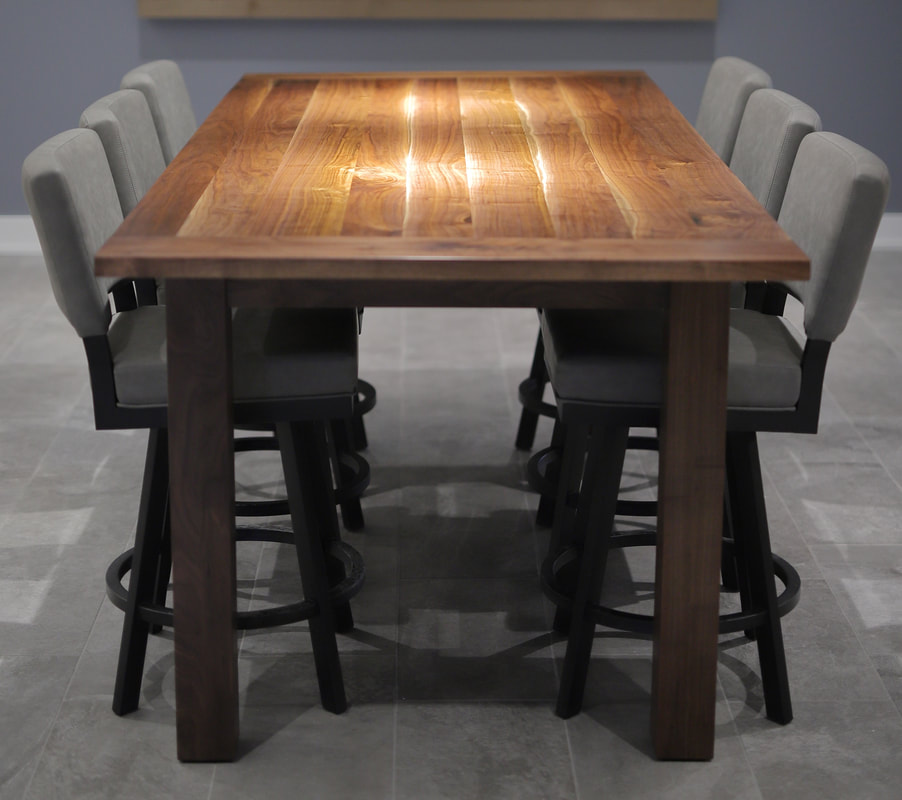
 This is our dining room. It's also where our daughter plays. This is the cleanest it can look and the metal shelf doesn't go very well with a walnut trestle table. We can do better.
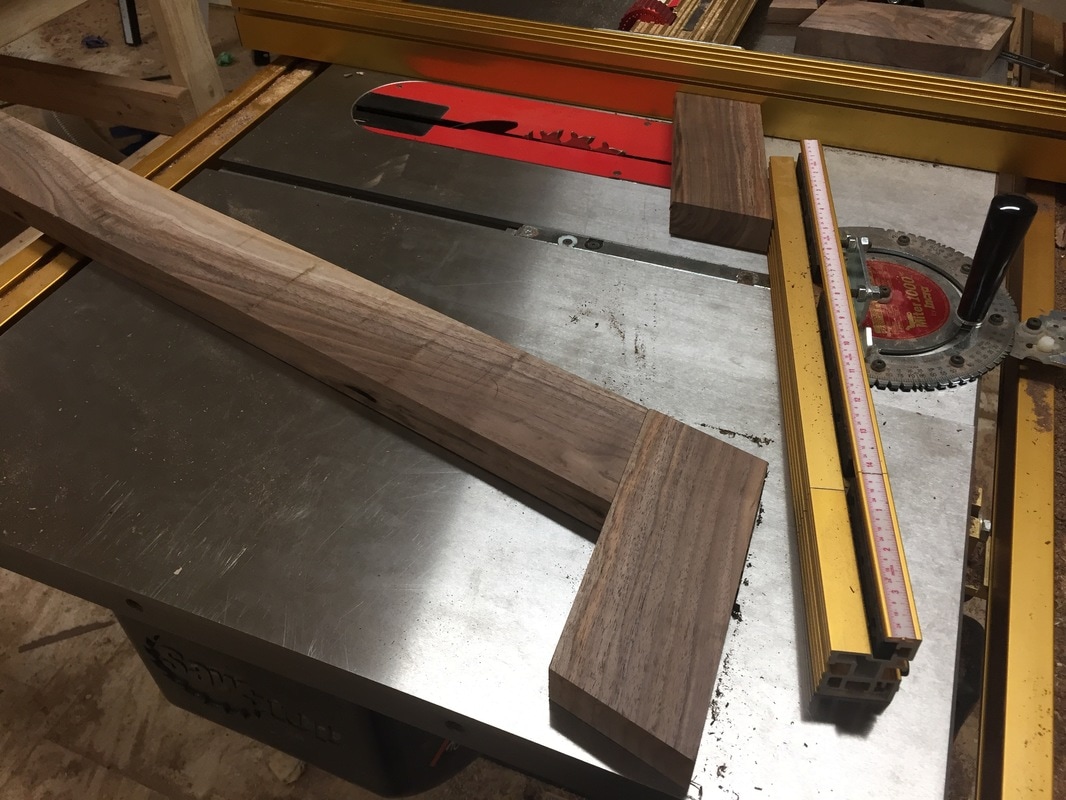
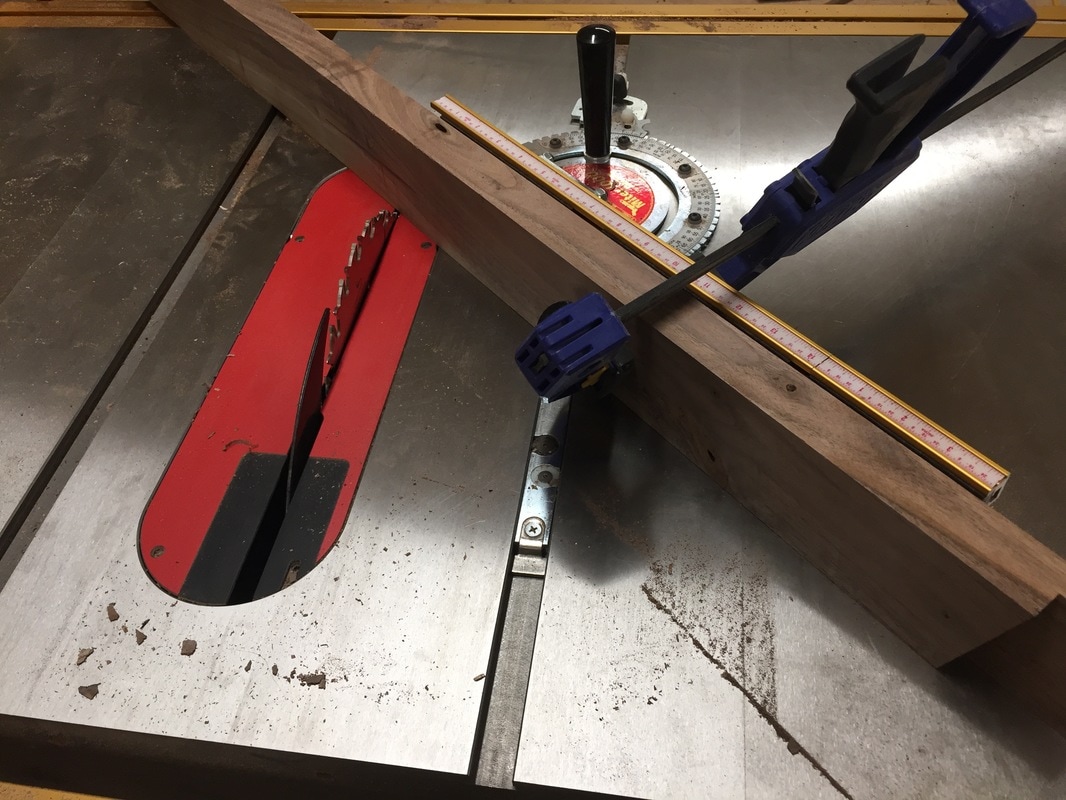
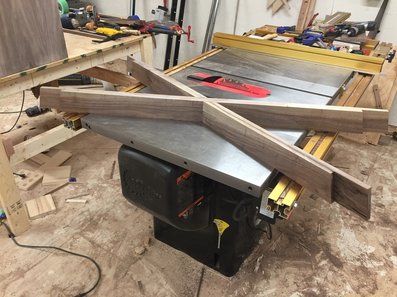
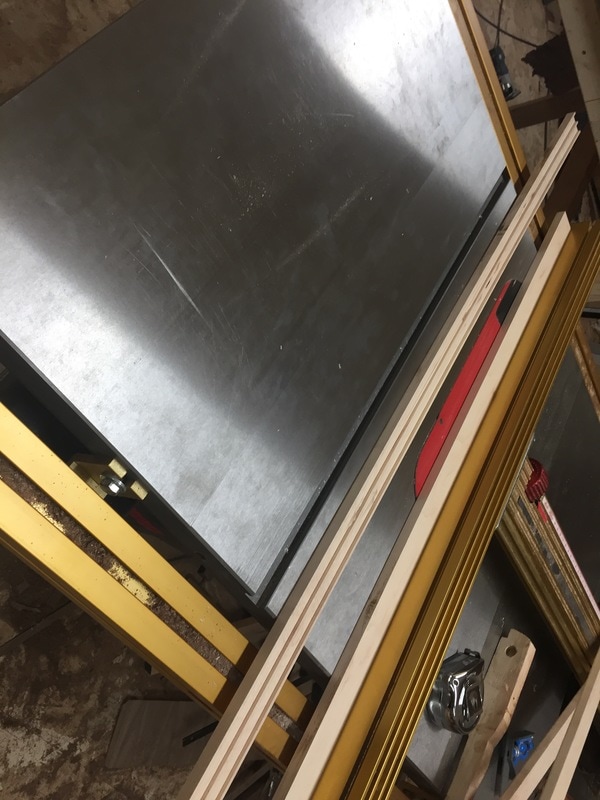
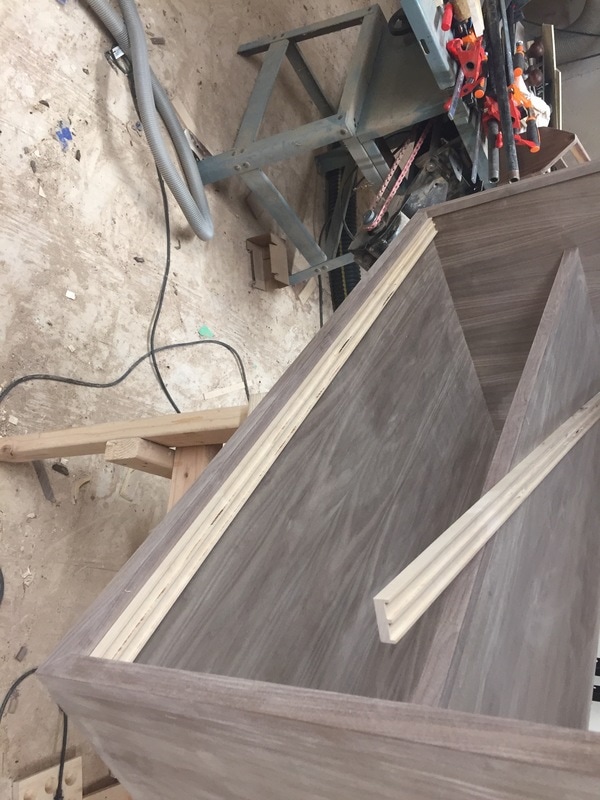
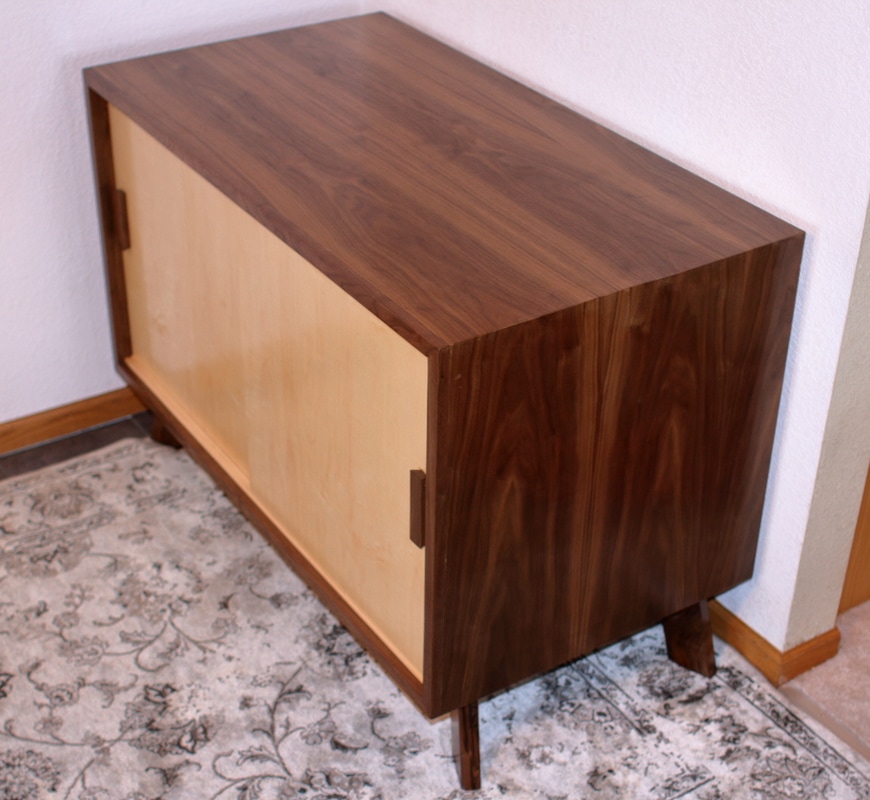
Here's the plan. I don't usually have one of those. Why is this project different? The cabinet portion will be made from a single sheet of walnut veneered plywood. It's a special order, takes 7-10 days to arrive and cost $130 each. I better not mess this up. 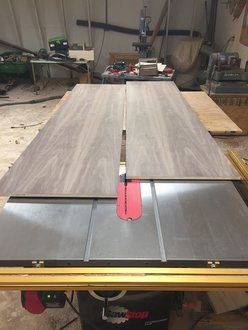 Have you ever cut a 130 dollar bill in half? It's as scary as it sounds. There is almost no waste in this design. The first cut takes the sheet perfectly in half leaving 23-15/16" for each side. This is an 80 lb sheet 4 feet wide and 8 feet long. It isn't exactly friendly to work with. The sides and top come out of one half and the bottom and shelf come out of the other. The waste is just two strips. 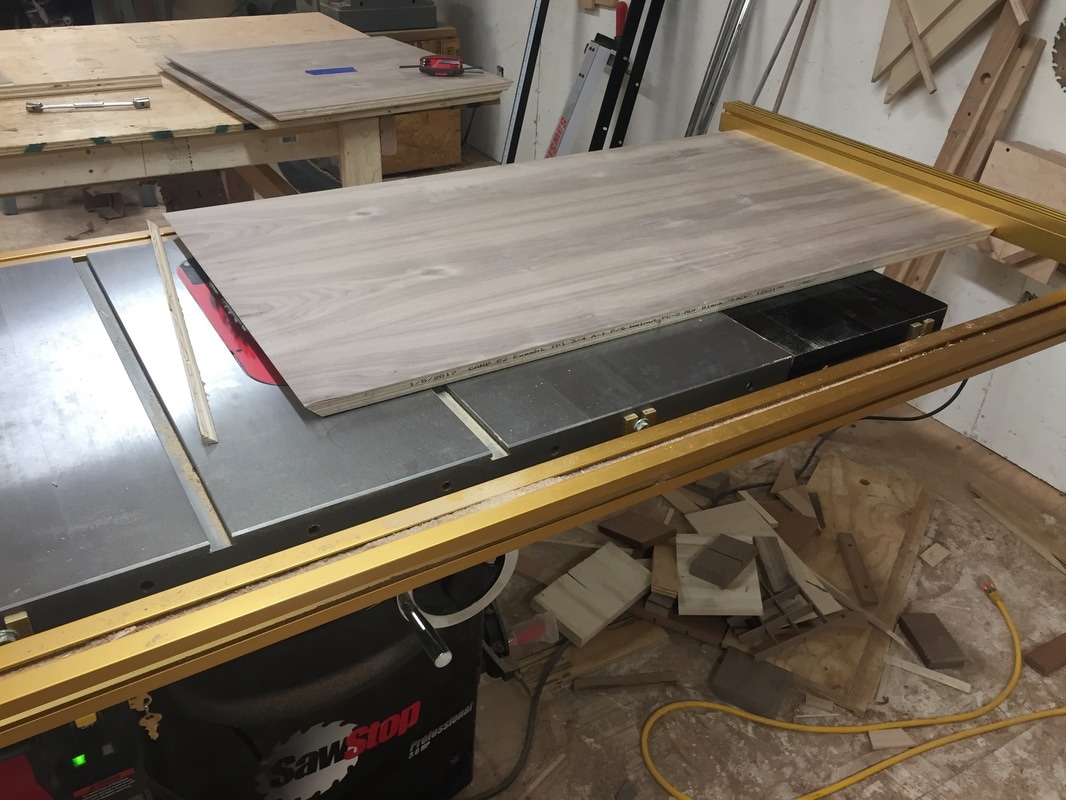 The top, bottom and shelf are about 46" wide. The top and bottom need 45 degree angles cut on each side and they need to be nearly perfect to glue up well with the sides. The only way I have to do this is on the table saw but even then I had to move my fence rails over and clamp the fence directly to the rails, This was a lot of messing around to make a few cuts but I think it was worth it. 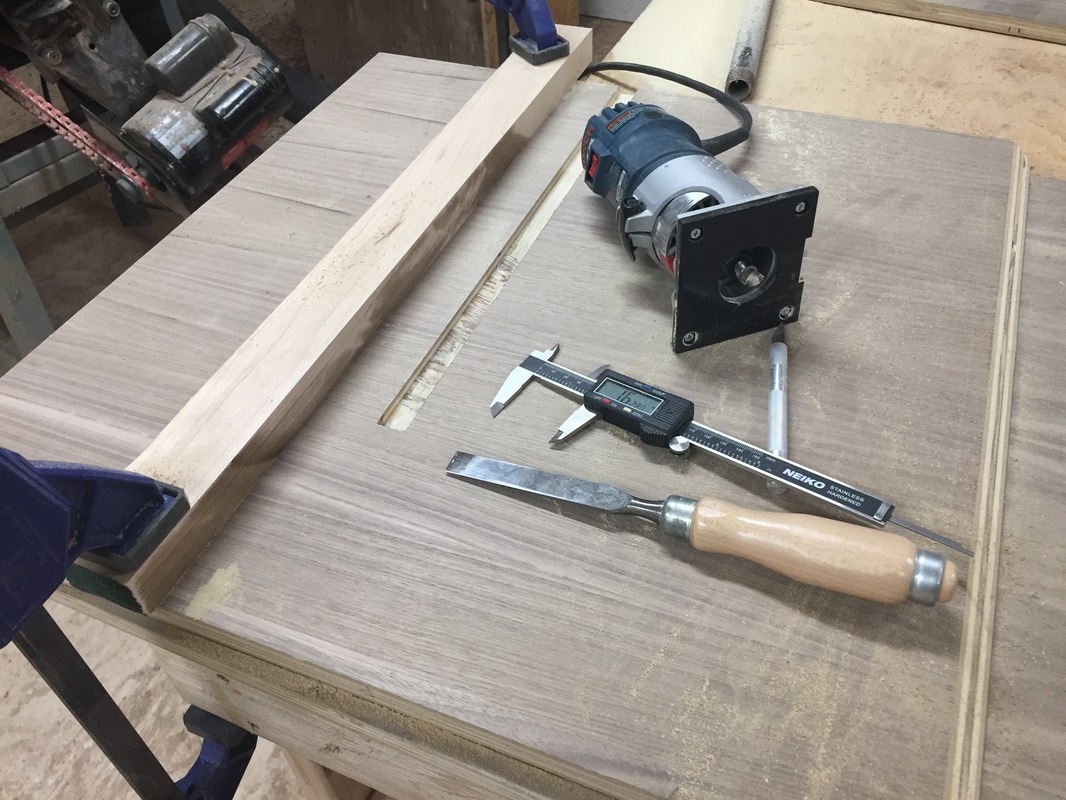 A slot gets routed into each side pice to accept the shelf and the corners are cleaned up with a sharp chisel. 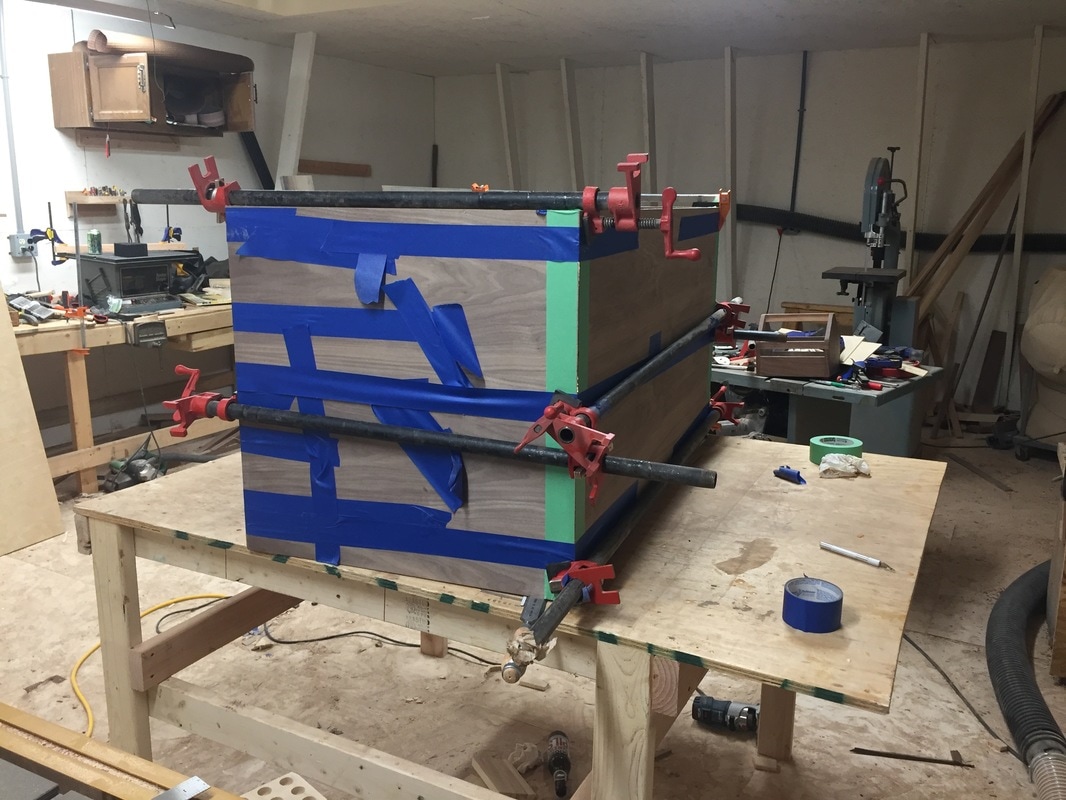 This escalated quickly... I tried "the tape method" of glueing this up and things got out of hand really quickly. On such long pieces tiny errors multiply and gaps start to grow on all the corners. I ended up grabbing a few pipe clamps and still used about half a roll of blue tape. I might need to try something different next time. 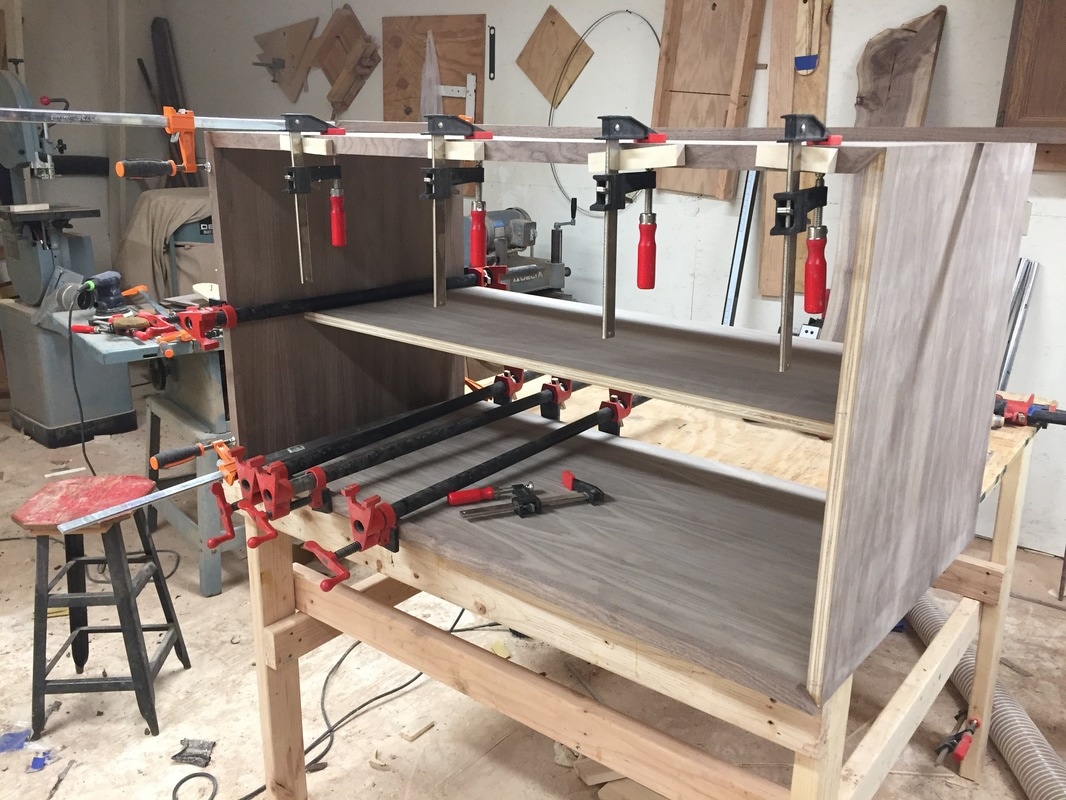 Next I worked my way around the front to add the face frame. These are all just simple miters and working it around gives me a chance to tweak each cut to be just right.
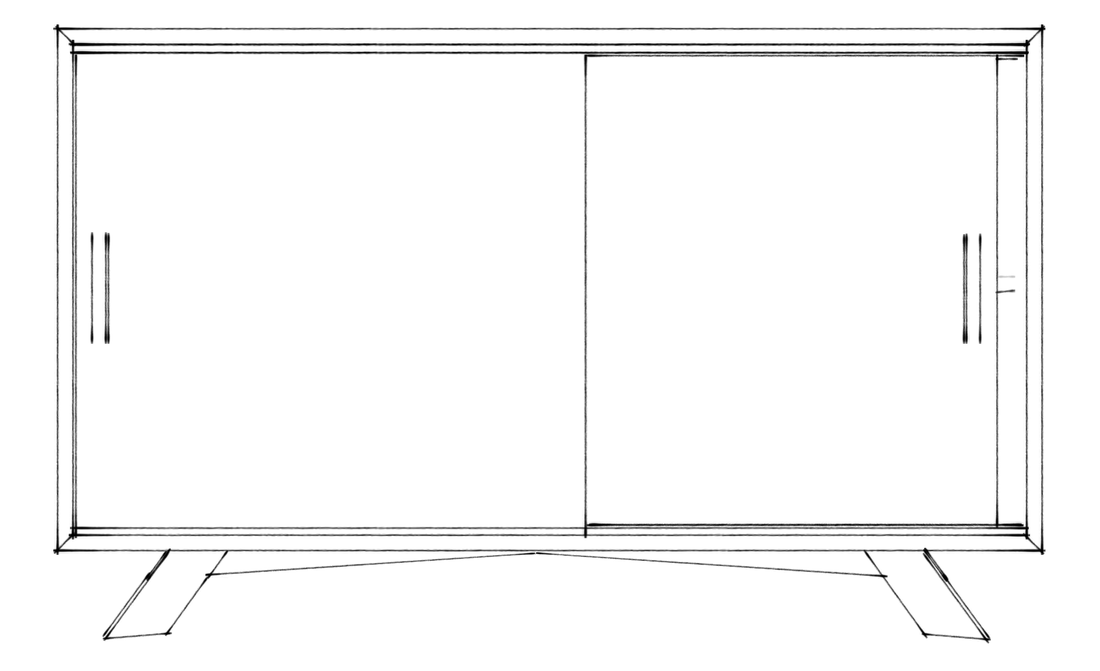
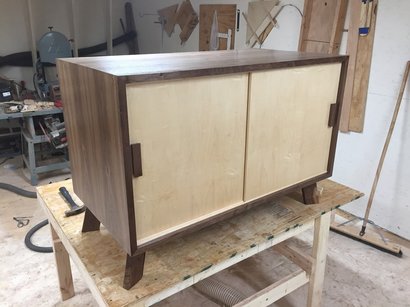
The base is two pieces of walnut with small legs attached with half lap joints. There is a notch cut in each cross piece so they slide together. I like how this lifts the credenza off the floor just a bit and adds another dimension to the look of the piece.
Next I needed a way for the doors to slide side to side. I wasn't quite sure how this was going to go together but ultimately decided to make some tracks out of maple. It's hardness was a big part of the choice and the doors are maple so it was an easy choice. These are basically just 1/2" stock with two groves cut just over 1/2" wide so the panels will slide freely. The top rail is attached with 4 screws so I can get the doors in and shim it to exactly the right fit. 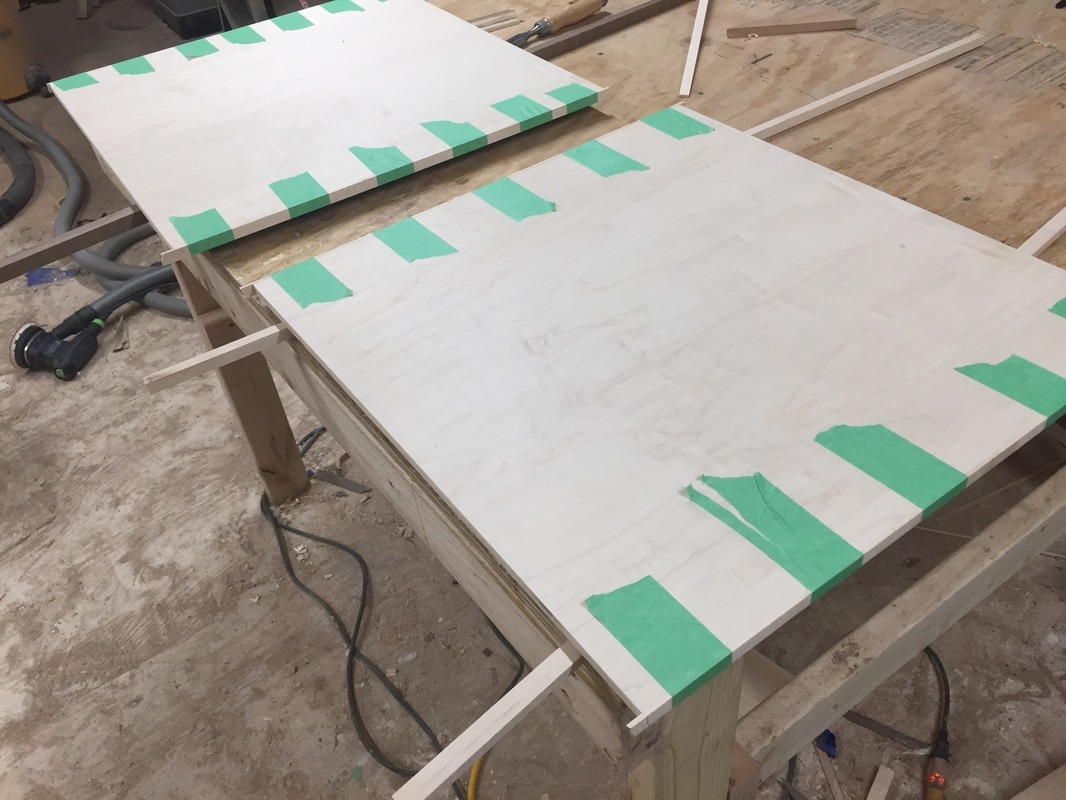 The doors are cut from a sheet of 1/2" plywood and maple edge banding is used to cover the edges. Later, walnut handles were glued to each side.
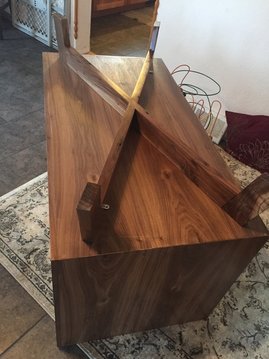
All parts got 3 coats of oil based polyurethane. Once inside, the base was attached to the cabinet with 4 figure 8 desktop fasteners. The completed credenza turned out better than I expected. I really like how smoothly the doors slide and the combination of walnut and maple. The handles fit the style perfectly and compliment the angles created by the base. It adds a ton of storage to our dining room / play area and allows for the area to clean up very nicely. 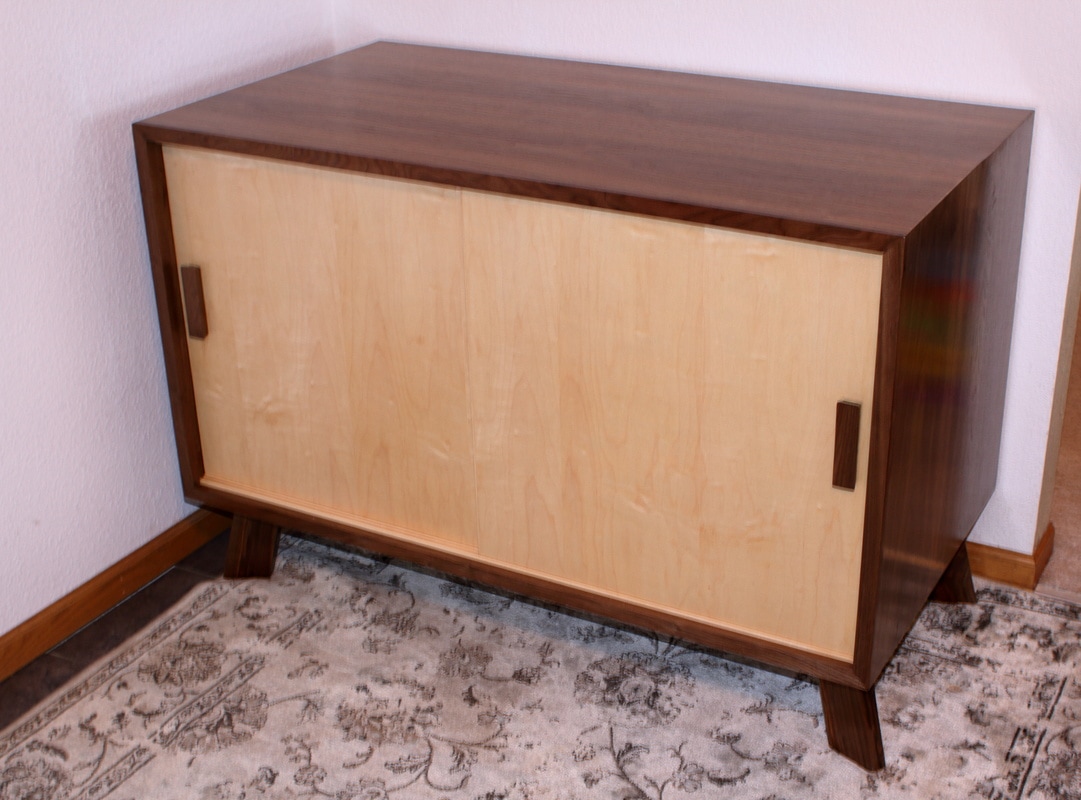  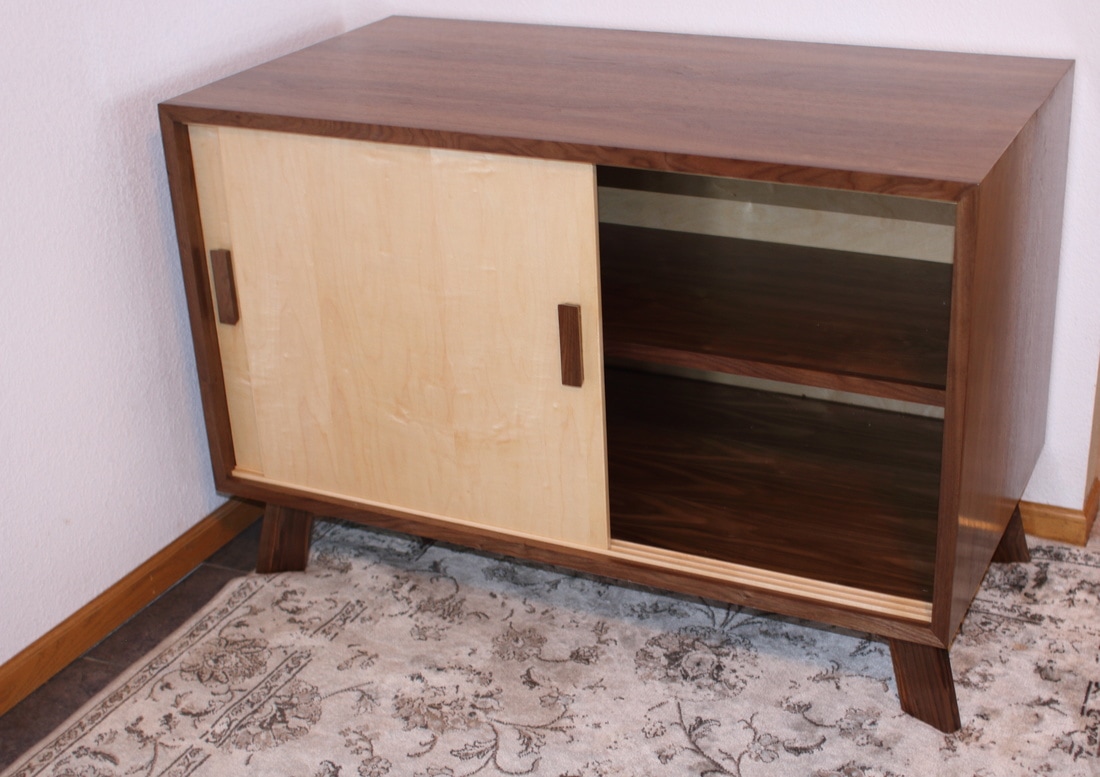 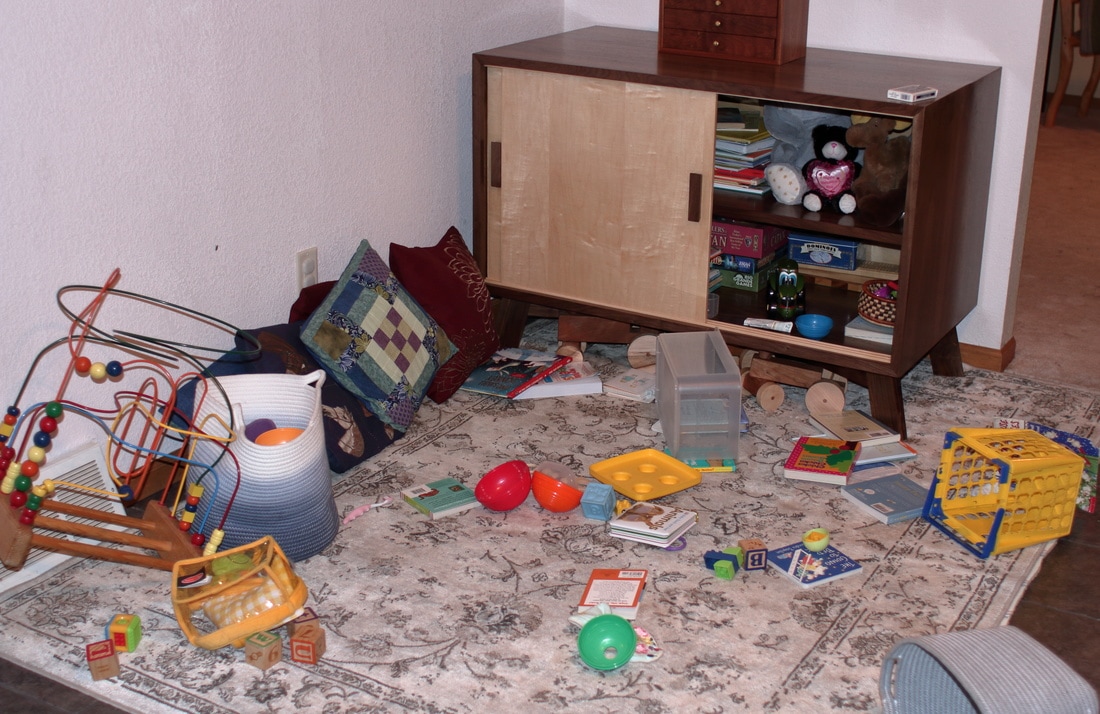 And this is how it looks after a vigorous 30 minute play session...
0 Comments
|
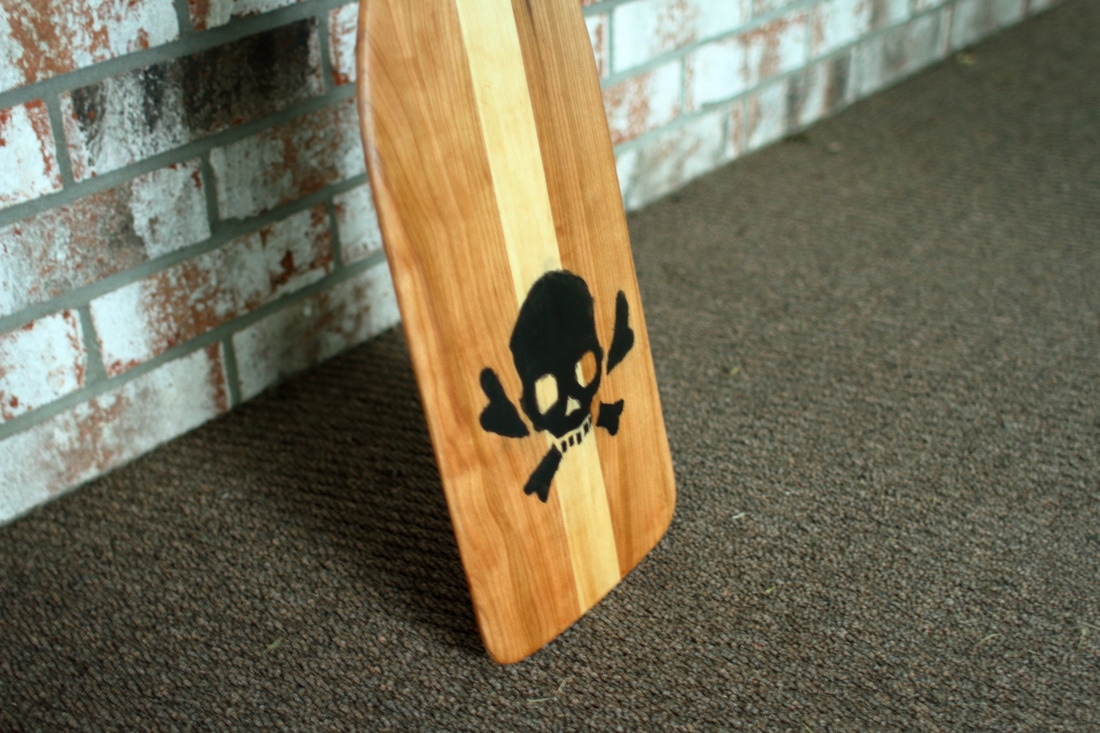
Aaron Whalen:A blog about woodworking in Southwest Wisconsin Previous Projects
Archives
February 2024
|