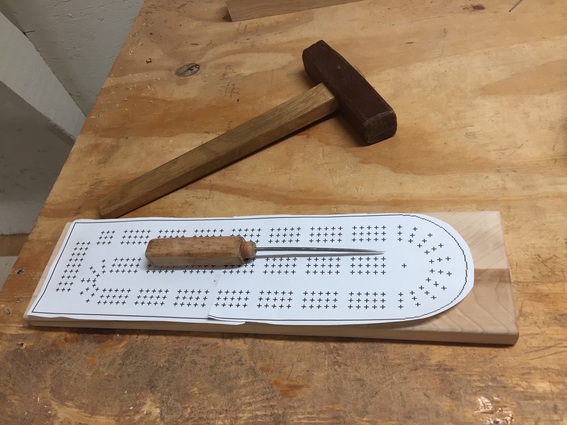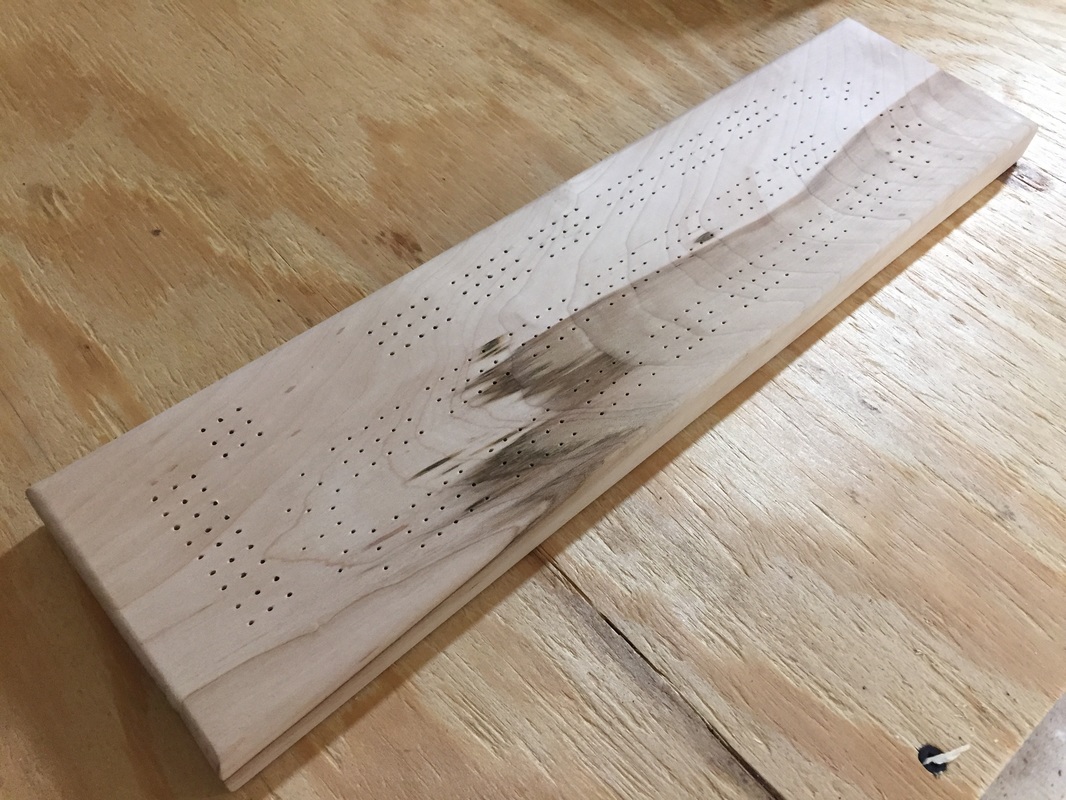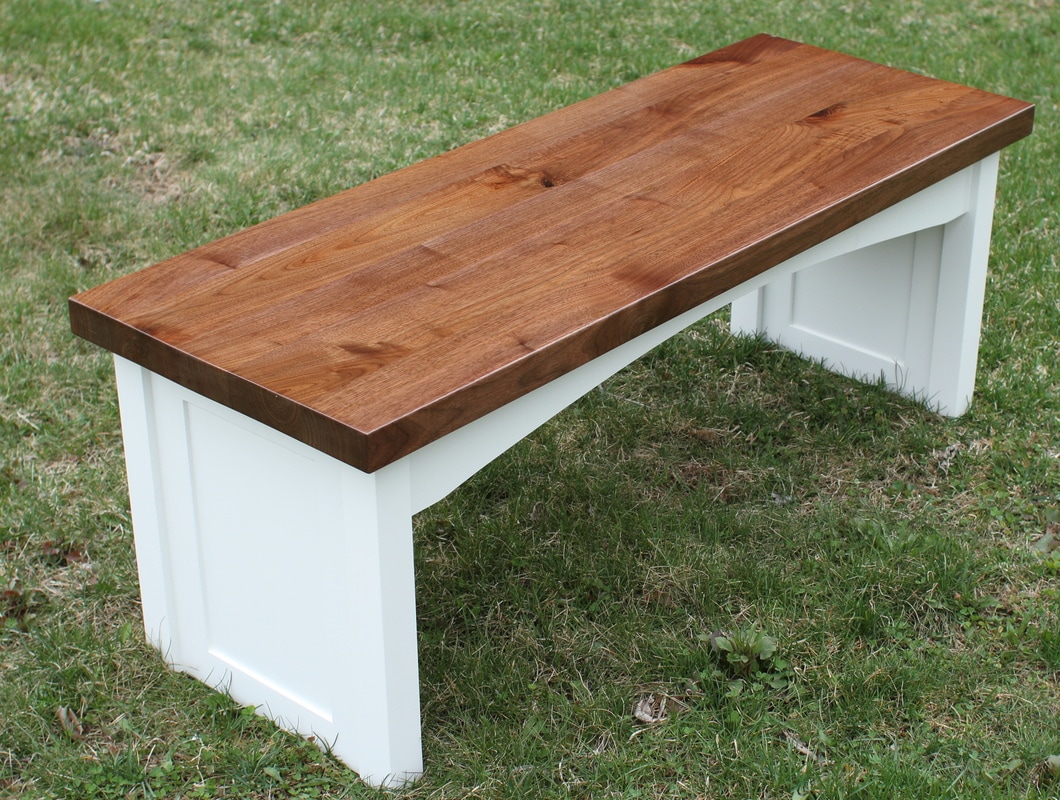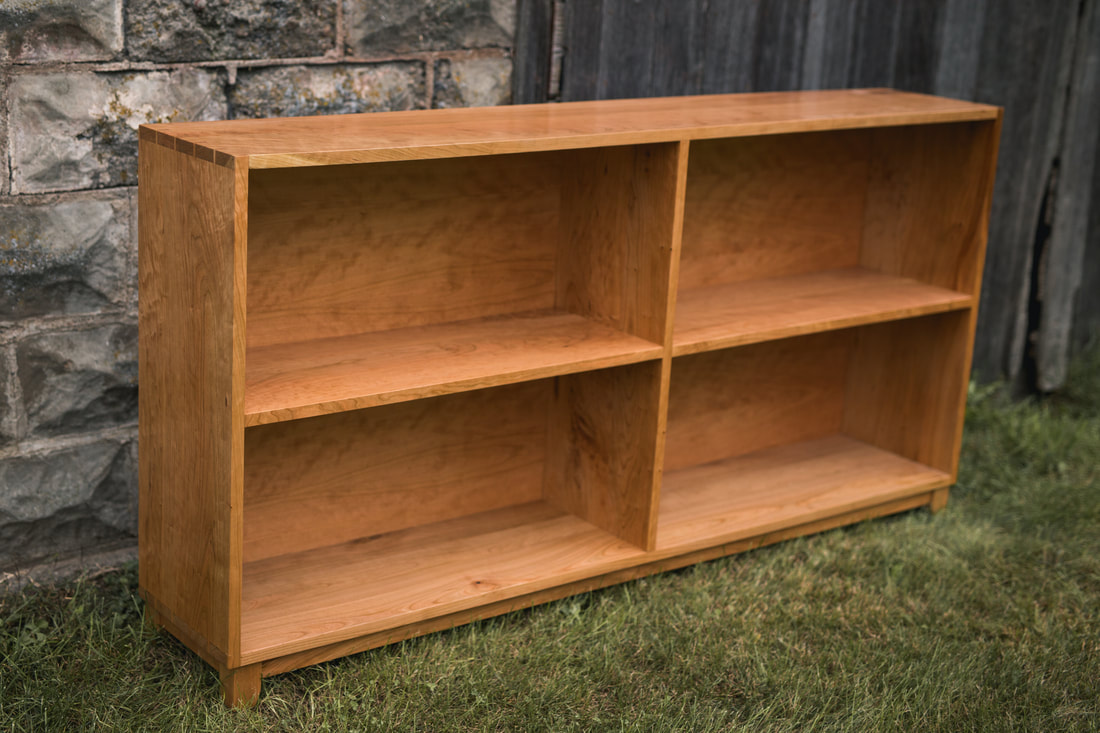
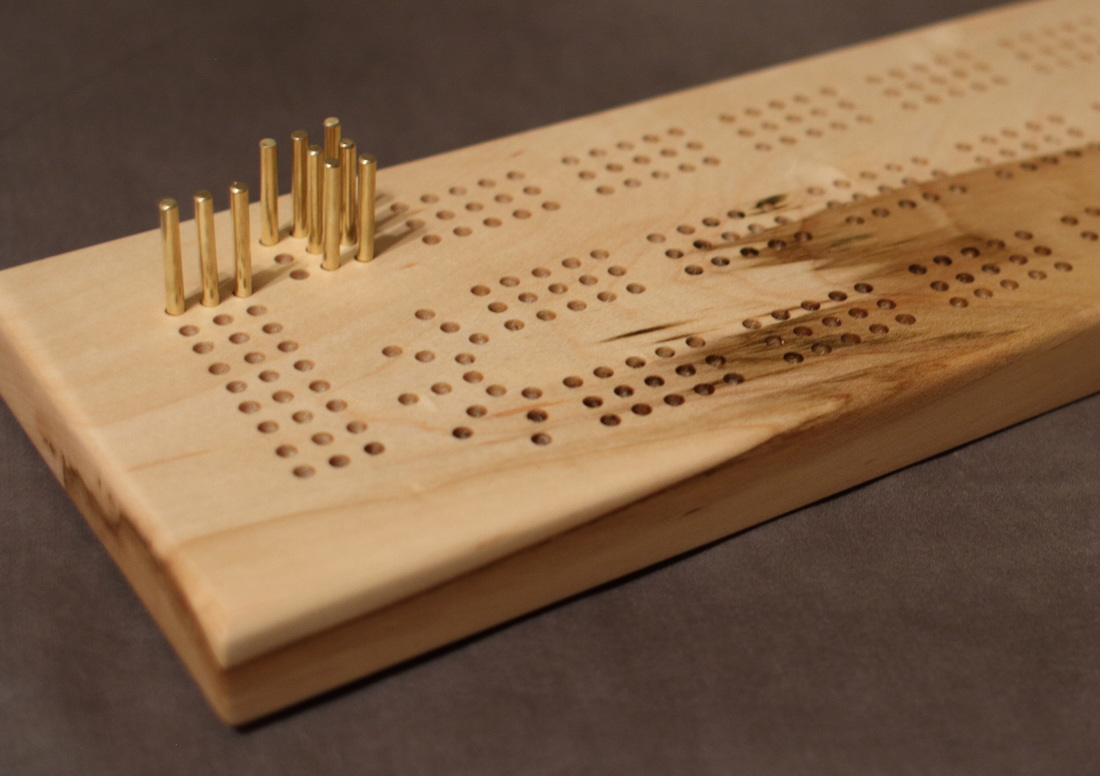
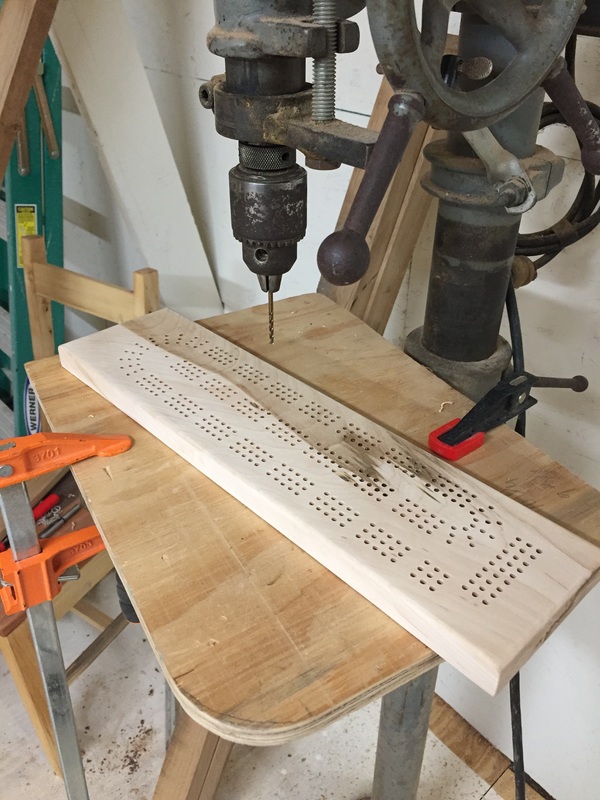
 If you grew up in Wisconsin or Minnesota, there is a good chance you played one of two different card games. You either played a game in the Skat family such as Euchre, Sheepshead or Pinochle (depending on your specific geographic location of course), or you played cribbage. In Northern Wisconsin my family played cribbage. My very first real woodworking project was actually a cribbage board. I took woodworking in high school despite having access to full shop and a fairly good instructor right at home. The main project for the semester was to make a cribbage board. I asked my dad if I could use some scraps of wood from his shop. We came up with a design for a diamond pattern and by the end of the night we had cut up two whole 8' boards of maple and cherry to make the pattern we had come up with. It seemed wasteful at the time but it's just what you have to do sometimes. This is the cribbage board my dad and I built. 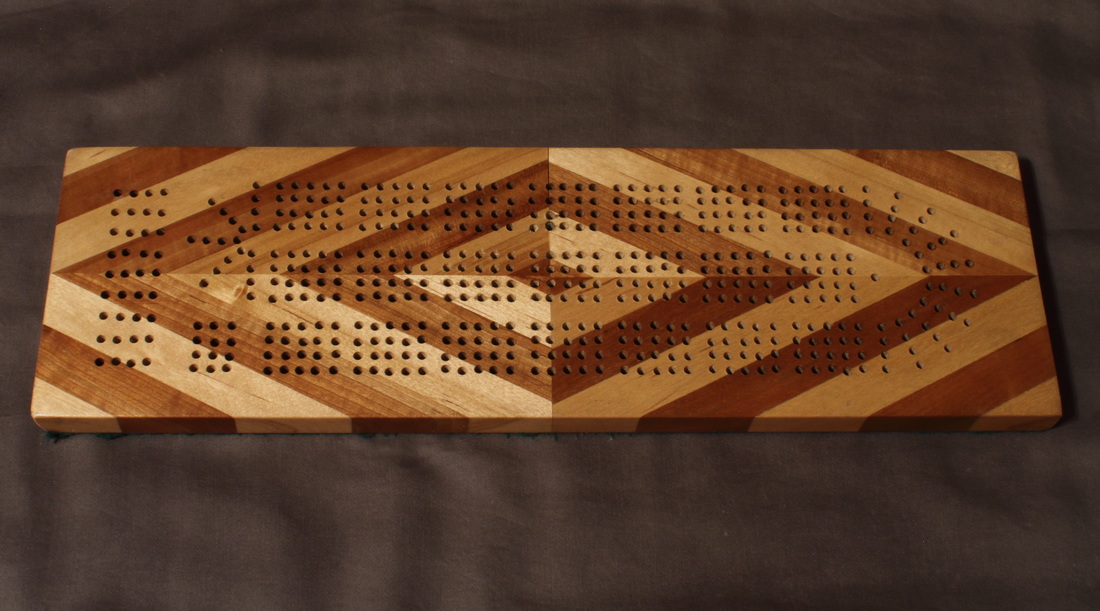 I had this piece of maple with some pretty cool heartwood. I thought it would make a great cribbage board so I went to work.  Cut to the right dimensions, edges rounded over and all the surface lightly sanded out, it was time to mark some holes. Each player's track has 120 holes. There are 9 game counter holes and an additional 3 starter spots for each player. The winning hole on a 3 player board makes a total of 397 holes to mark, drill and cleanup.
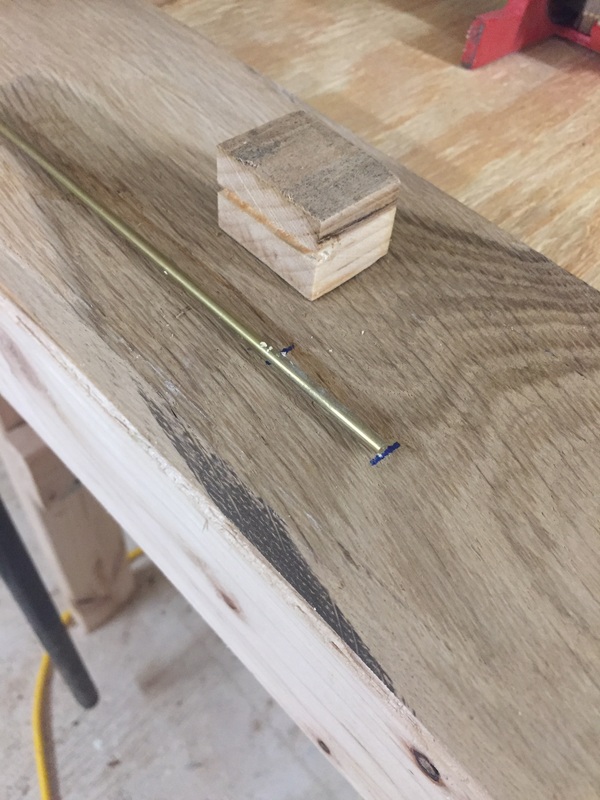
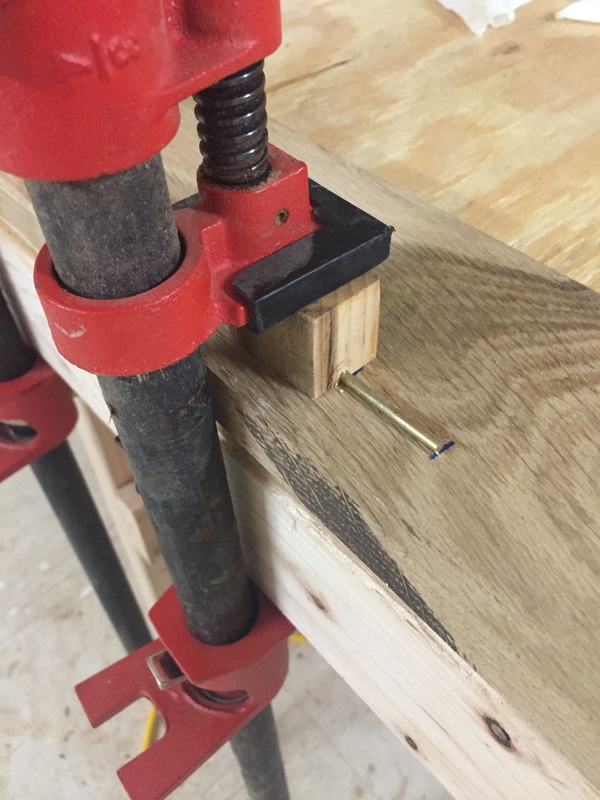
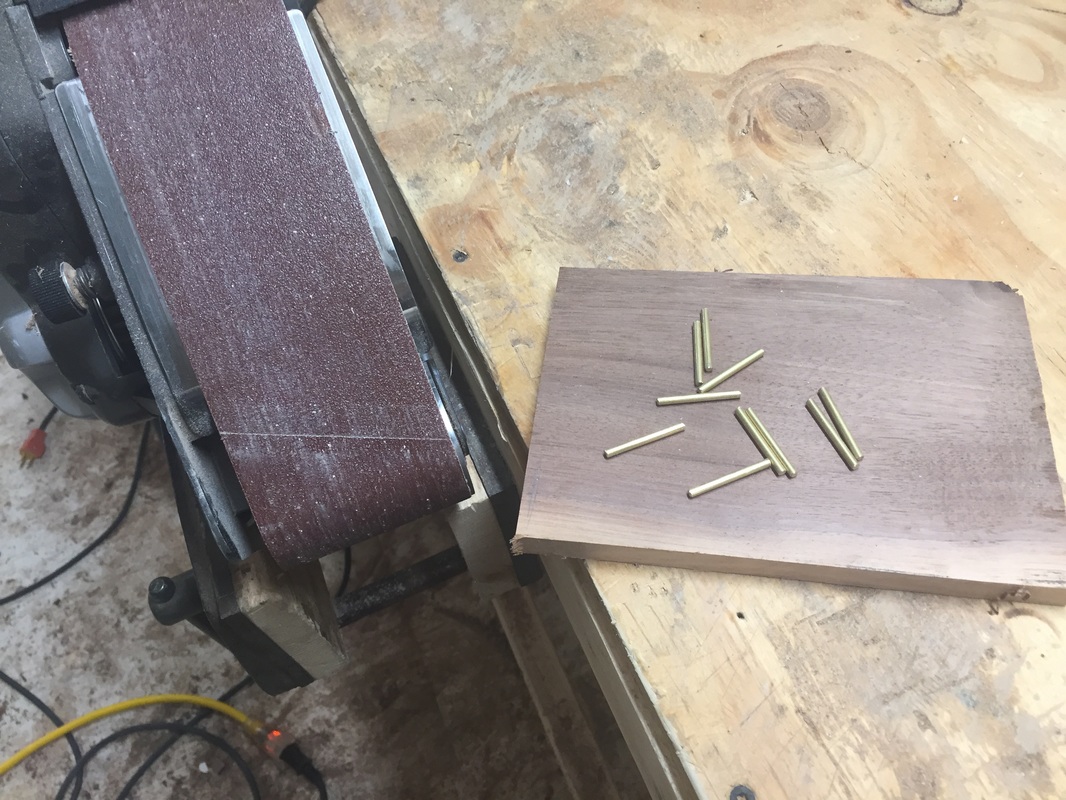
 After all the holes were drilled it was time to make some pegs. I made clamp block that held some 1/8" brass rod. It clamps firmly but just barely allows the rod to slide so I didn't have to remove the clamp each time I wanted to make a cut. The cuts were made with a reciprocating saw and then cleaned up on the belt sander.
 Sometimes you have to get creative. I slid a piece of steel wool over the ice pick and stuck it in the drill press. It made a very nice polishing tool. 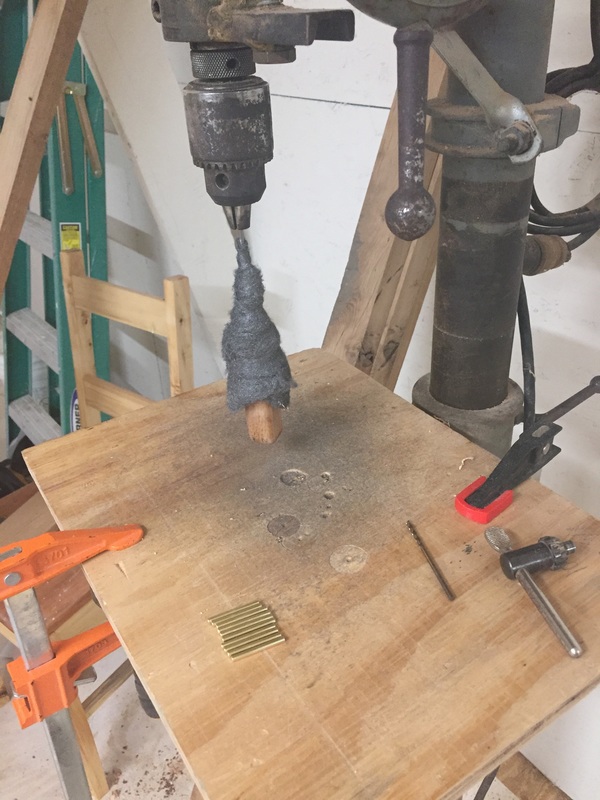 Finished product - I don't really need a third cribbage board so I put this one up for sale on Etsy. It would make a great gift that is sure to last a lifetime. Check it out on Etsy. Thanks for viewing! 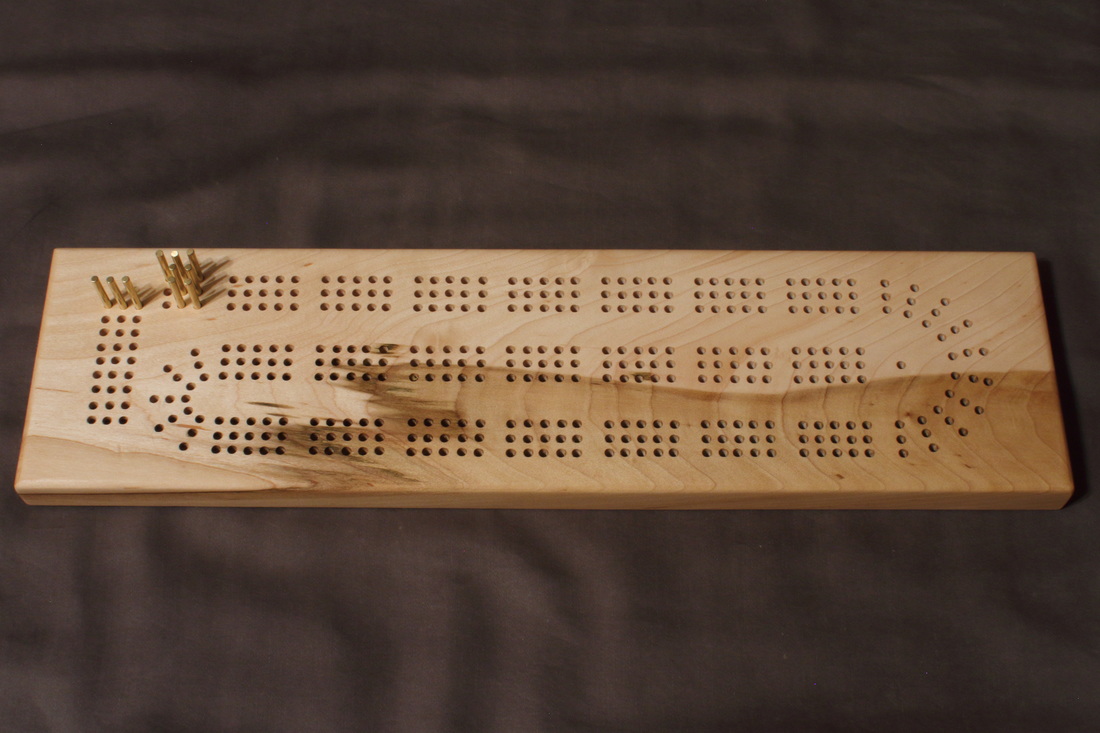 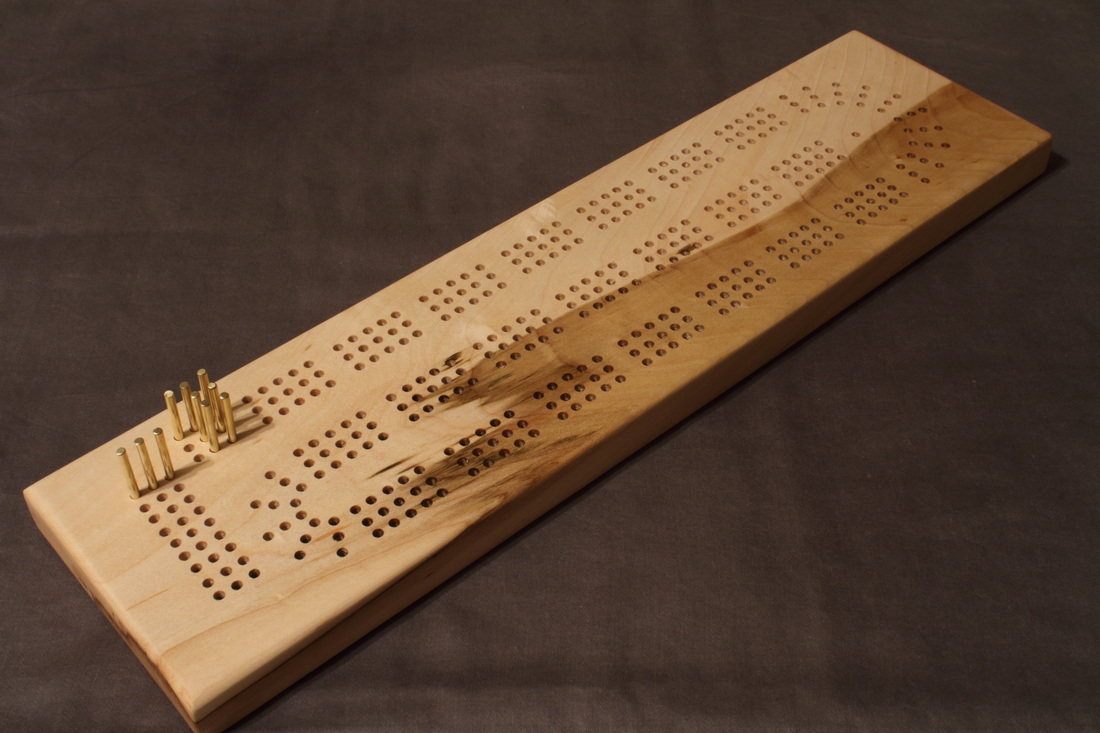
0 Comments
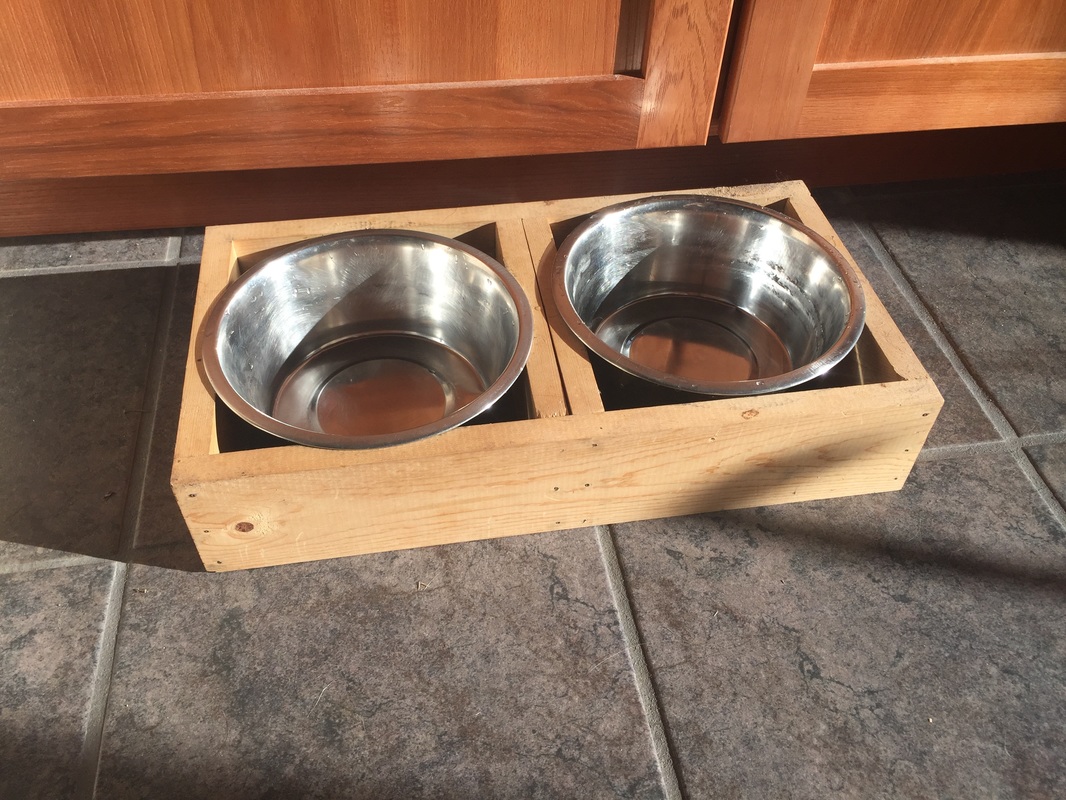
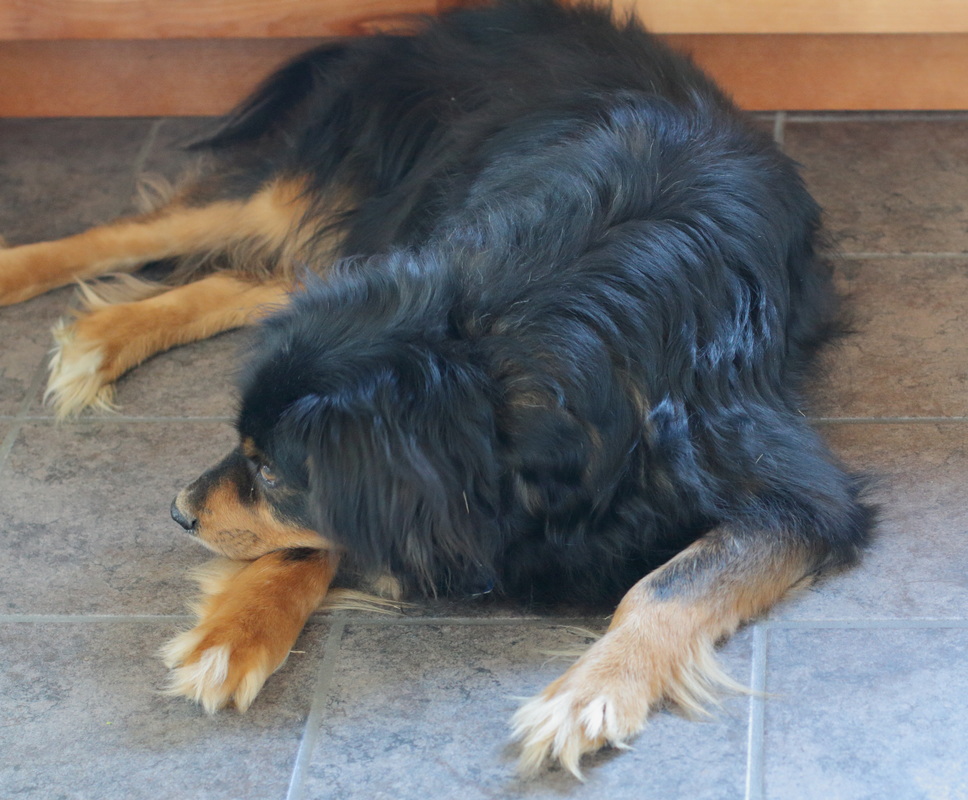
This is Isaac. He is sad. His human has made tons of beautiful human furniture around the house but he still has to eat his dry dog food from his ugly food dish holder. Things are about to change though...
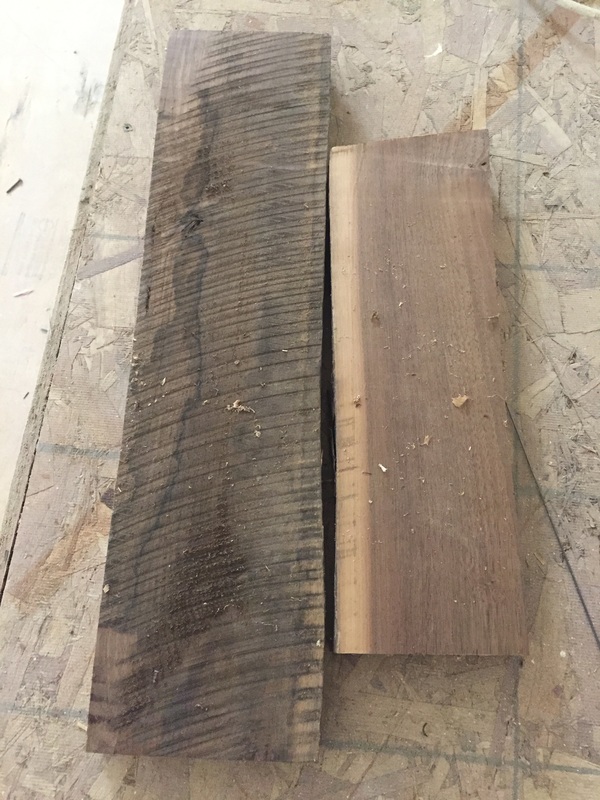
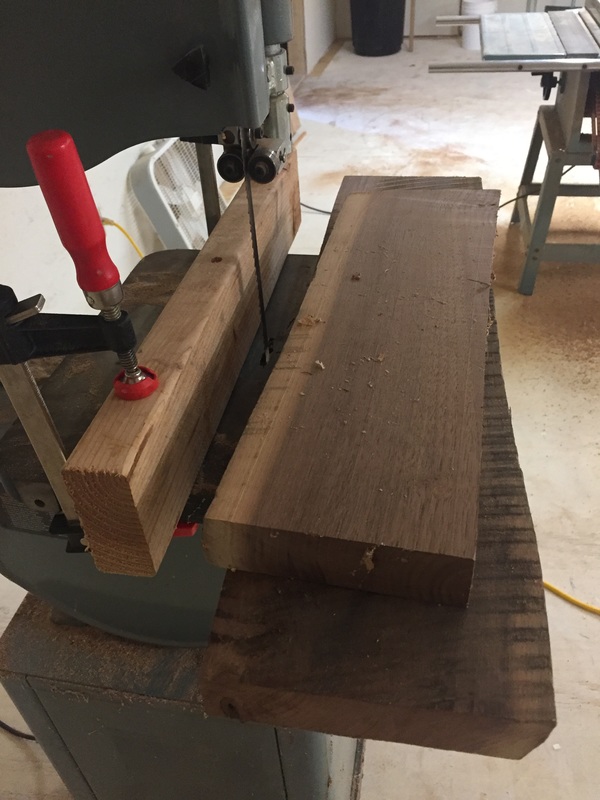
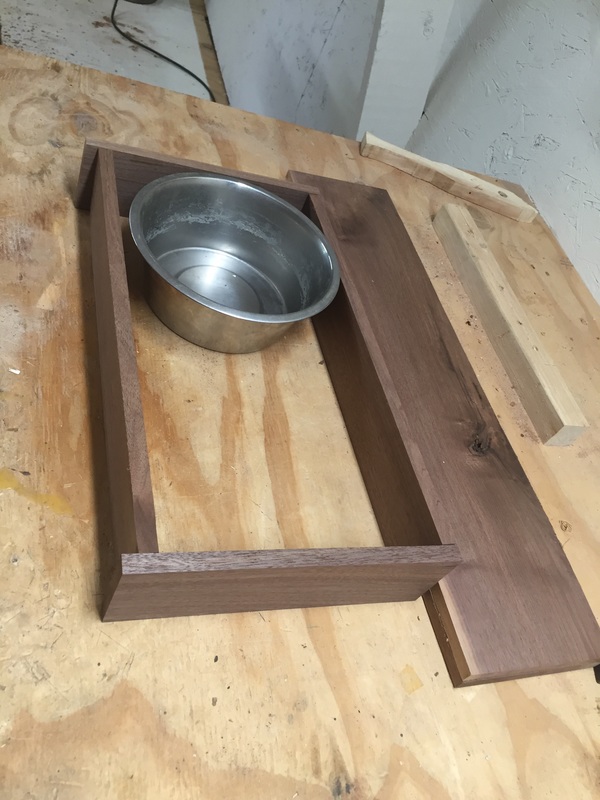
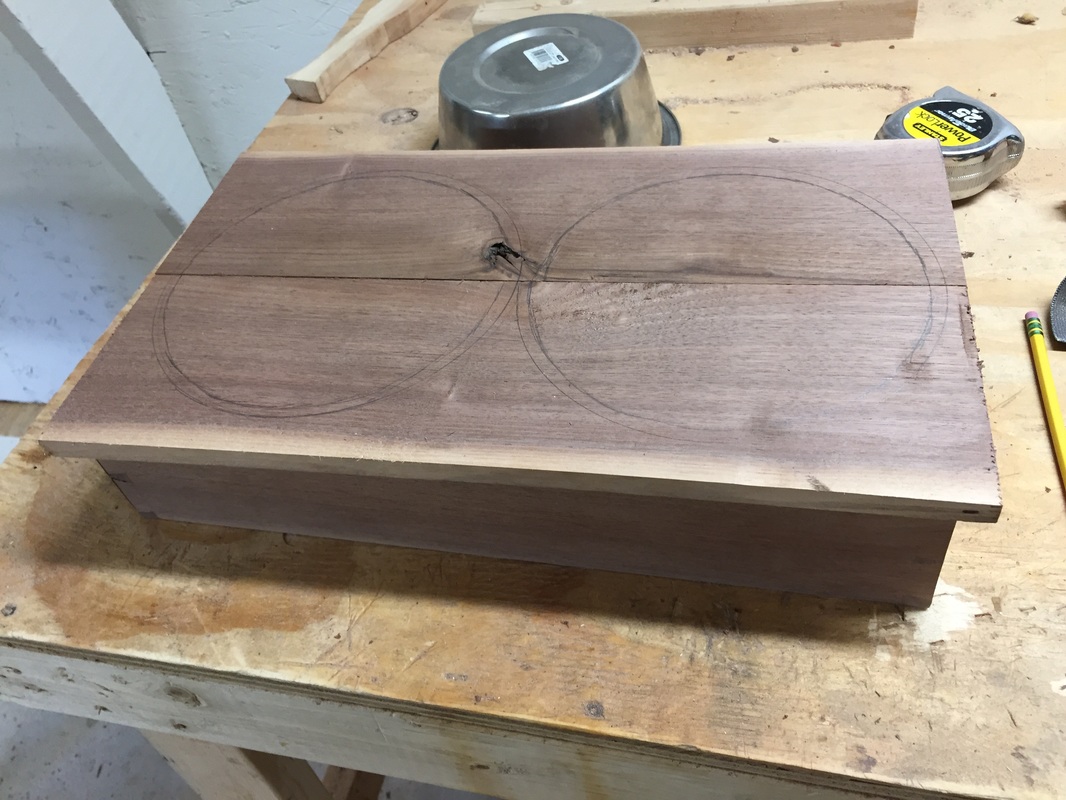
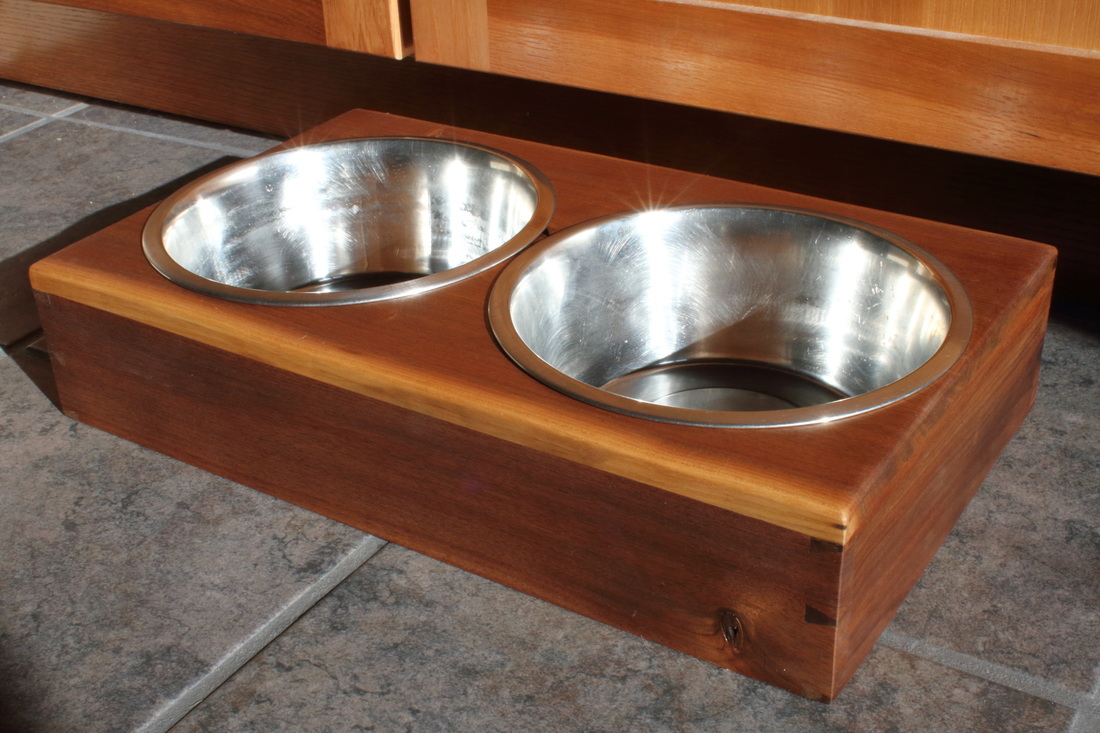
This build starts with some 6/4" scrap walnut left over from the Maloof chair build. It was thick enough to re-saw and mill to a final thickness of about 5/8" and book match for the top.
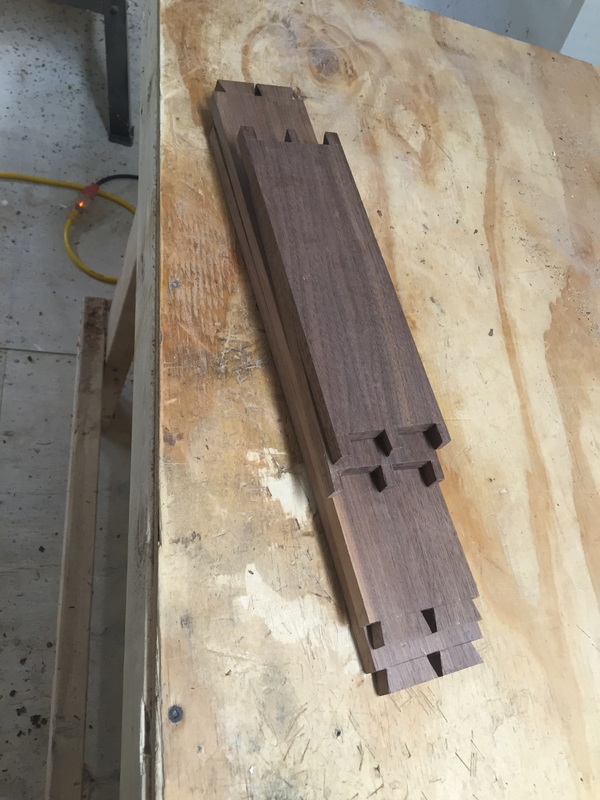
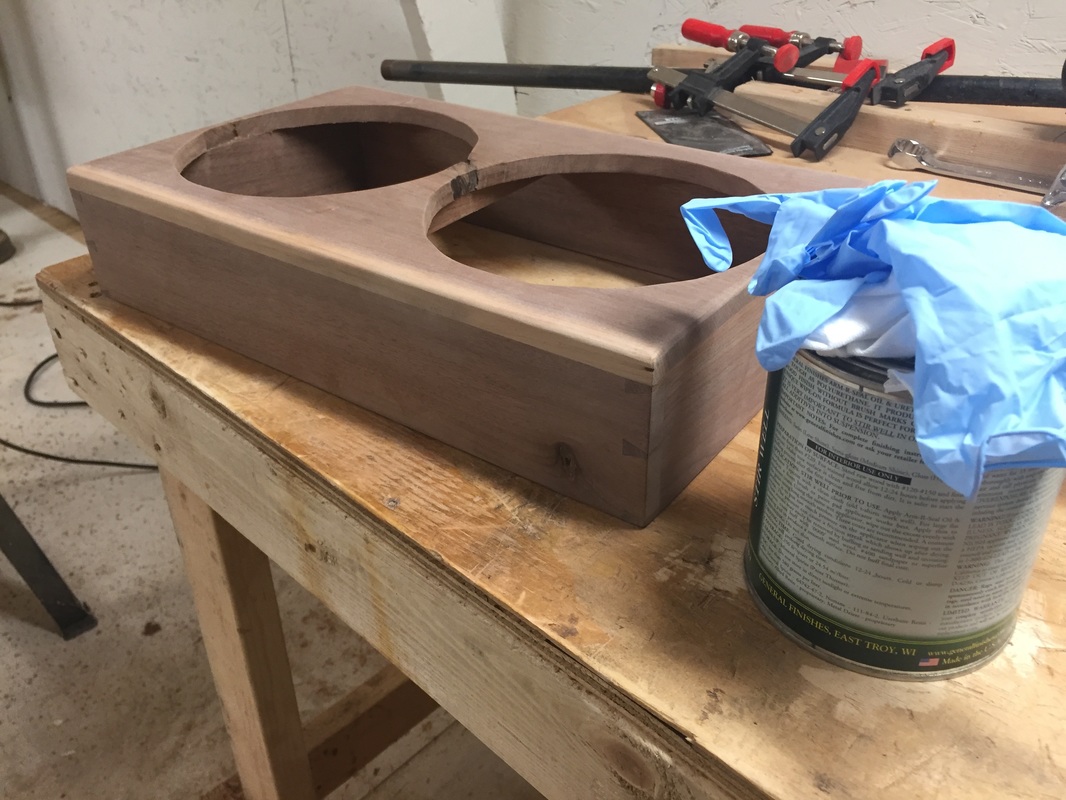
The bowl was used to size the sides and hand cut dovetails joined it all together. These weren't my best dovetails ever, but it's been a while since I've made any.
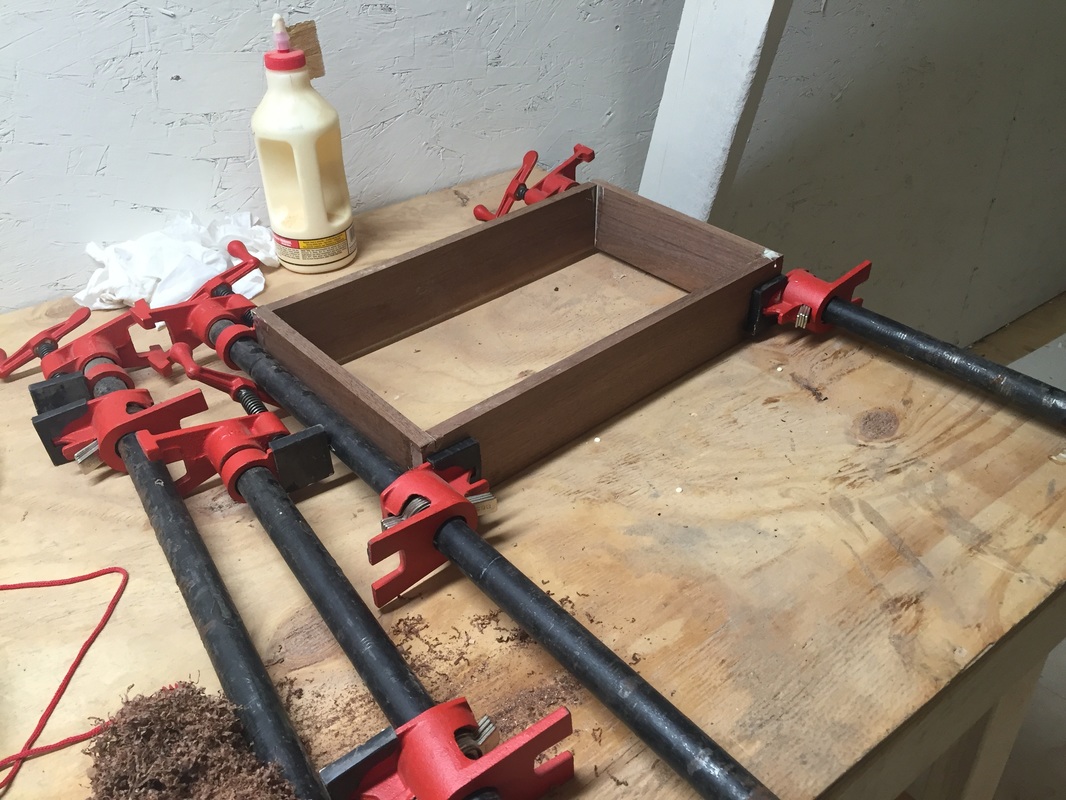
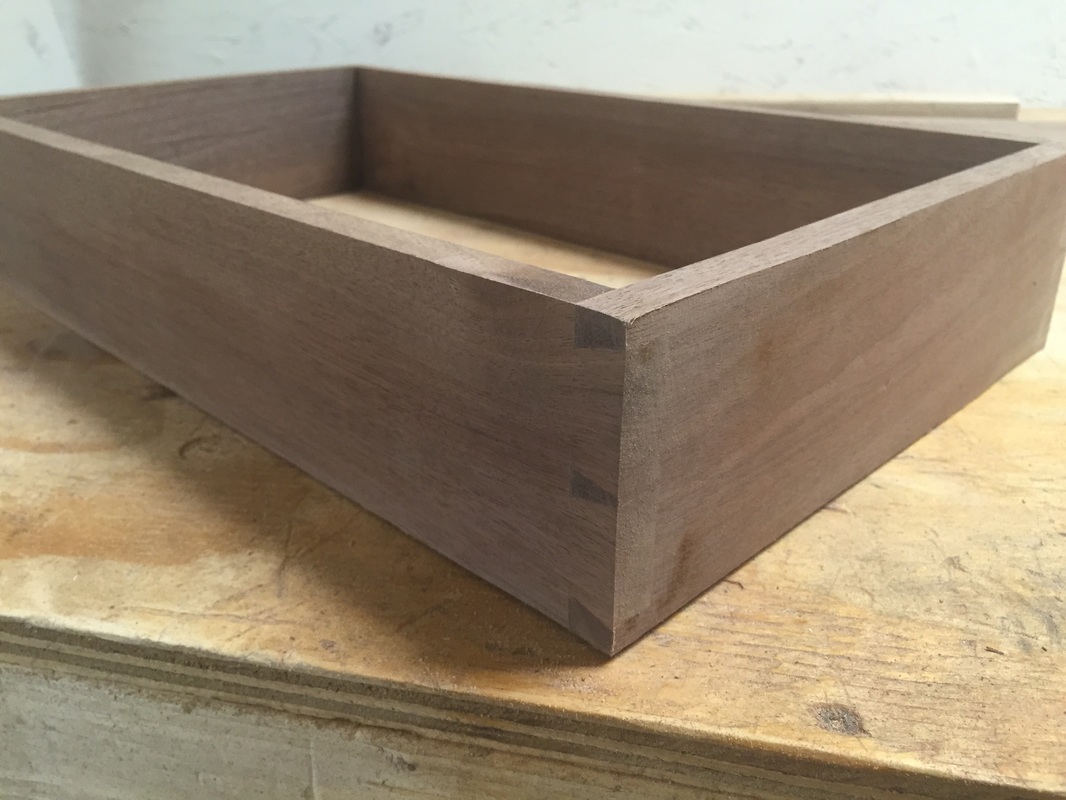
Glued up and sanded out. They ended up much nicer than I thought they were going to be.
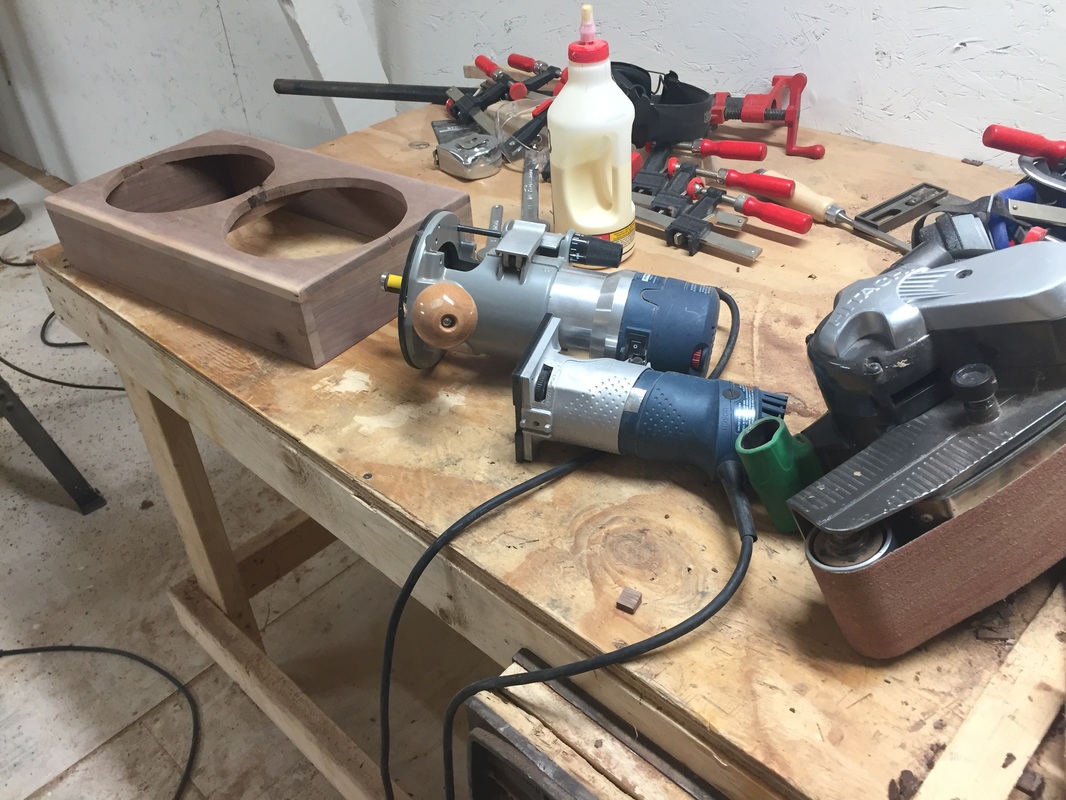
The book matched top is just wide enough for the two bowls. The holes were cut out on the band saw, the top was glued to the base and the outside was trimmed with the router and a trim bit. Edges were rounded with a 1/4" round over bit.
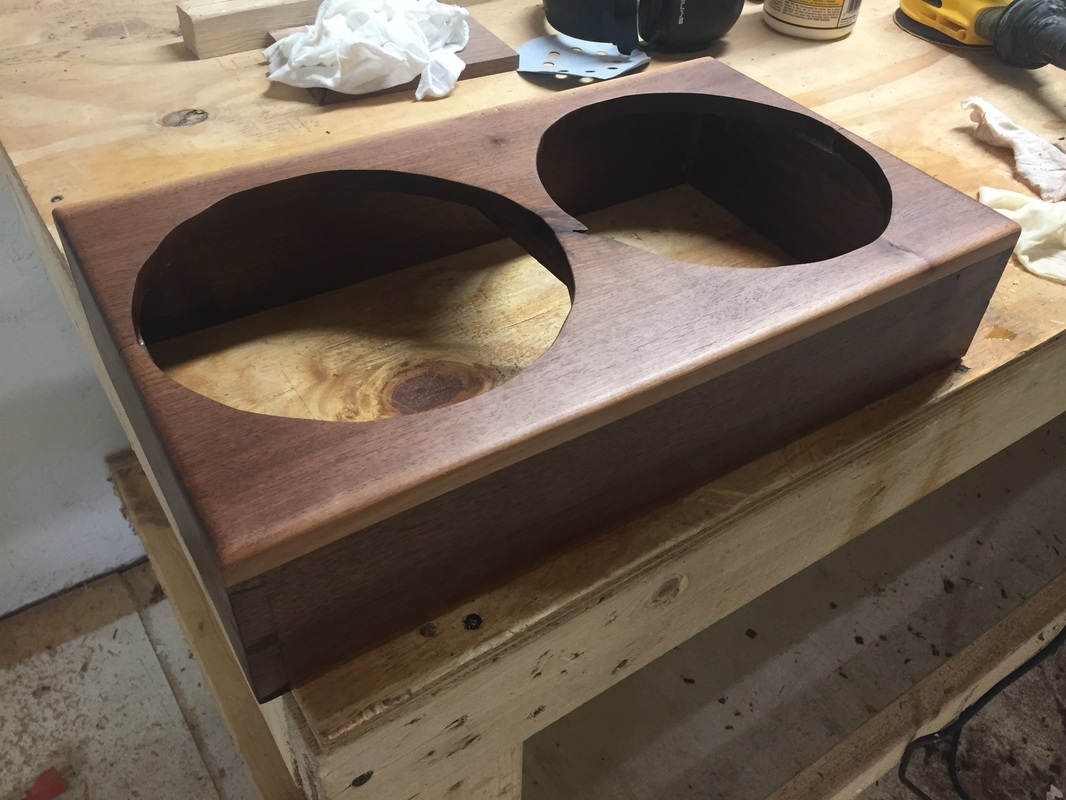
After sanding out to 220 grit, it was given 2 coats of Arm R Seal semi gloss poly. While finishing a piece is usually the most difficult part of the project, it also is the most rewarding. It's amazing how a light coat of poly will bring out all of the detail in the wood.
With the new dish holder complete, Isaac is once again a happy dog. He sure is proud of his new eating arrangements. 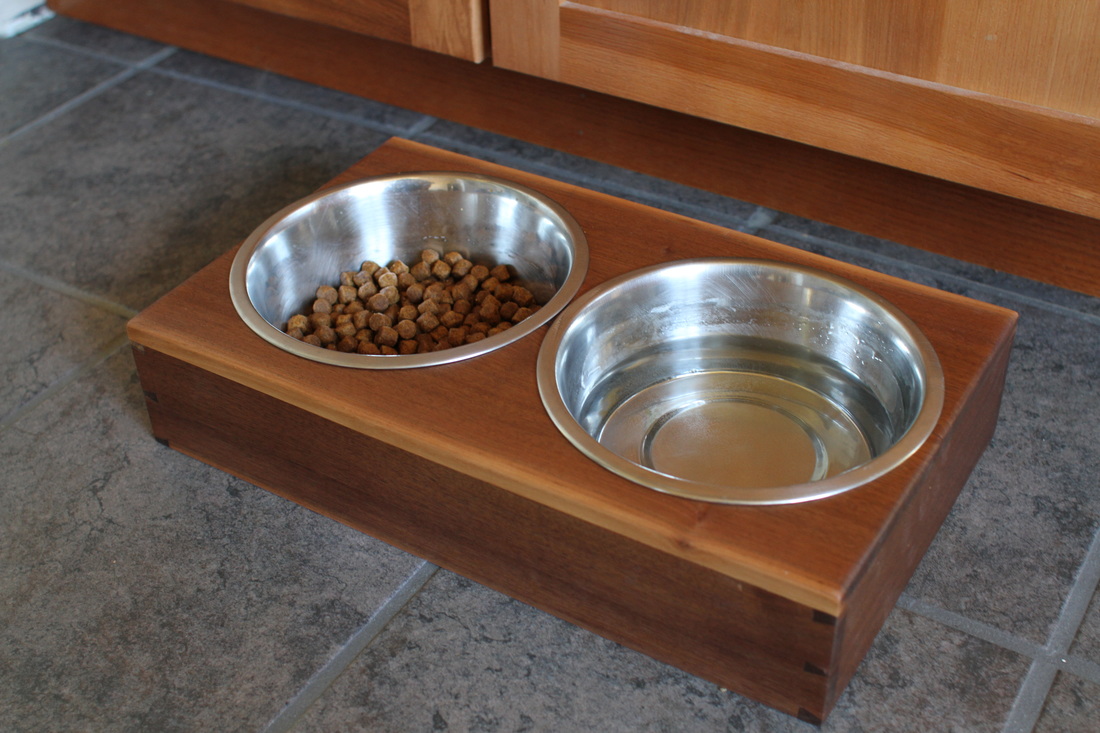 |
Aaron Whalen:A blog about woodworking in Southwest Wisconsin Previous Projects
Archives
February 2024
|